PS鼠绘绚丽的油画风格美女头像(6)
来源:红动中国
作者:Y路有你
学习:388人次
本教程的过程介绍有点简单,基本上细节部分的刻画都没有详细说明,鼠绘的时候需要多参考过程图。再按照作者的提示慢慢刻画。
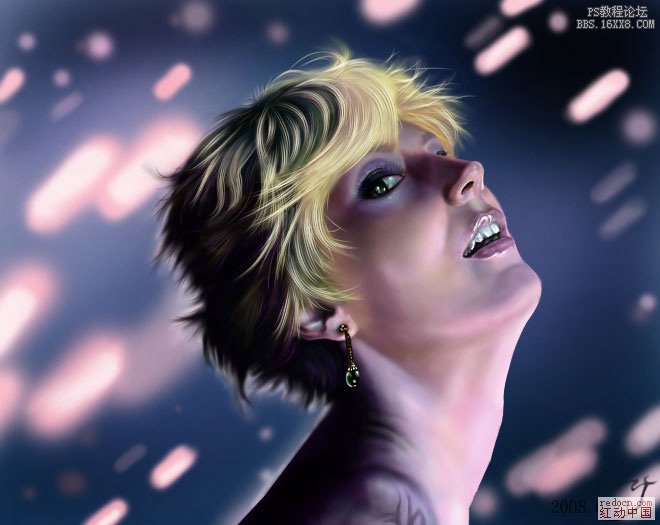
最终效果
1、先用软画笔大面积铺色,画一个背景。
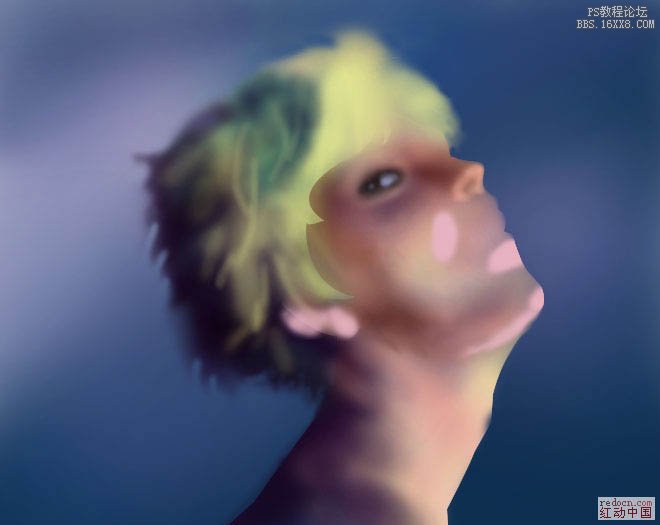
 2、画出MM的大致轮郭,结合涂抹工具。
3、进一步刻画,用钢笔工具勾出轮郭。
 4、分别用钢笔勾出五官的路径,建立单独图层进行刻画。

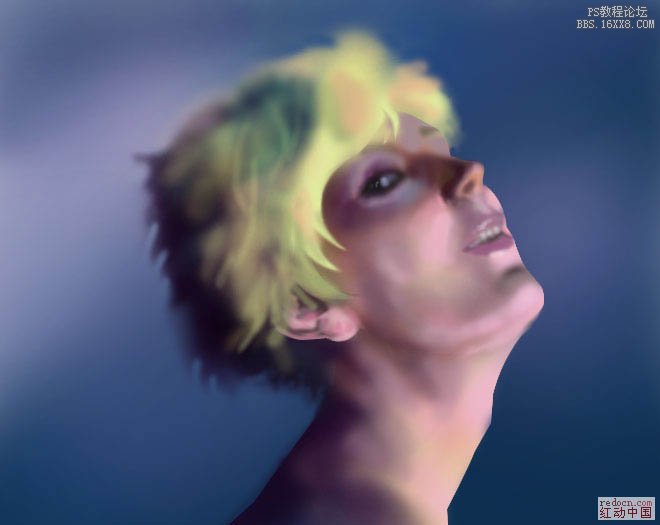
5、五官已经差不多了,下面开始画出头发的明暗关系和脖子部分,主要是涂抹工具,结合加深.减淡工具。
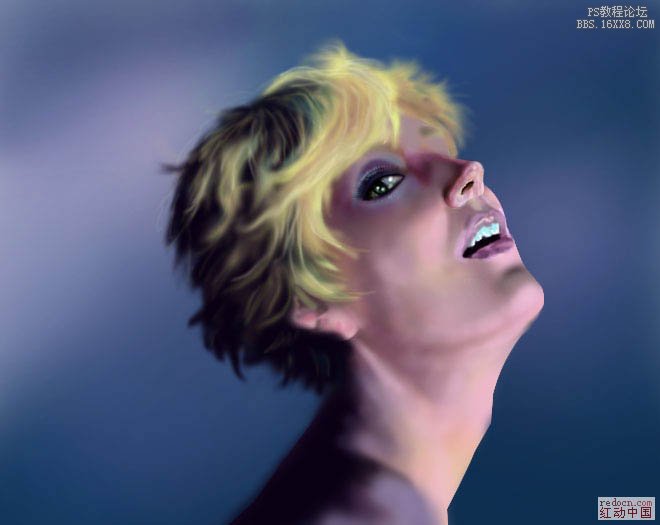 6、下面开始刻画五官和脖子部分,顺便带一下头发。

7、最后用钢笔画发丝,在背景层加些亮光。OK。
最终效果
1、先用软画笔大面积铺色,画一个背景。
2、画出MM的大致轮郭,结合涂抹工具。
3、进一步刻画,用钢笔工具勾出轮郭。
4、分别用钢笔勾出五官的路径,建立单独图层进行刻画。
5、五官已经差不多了,下面开始画出头发的明暗关系和脖子部分,主要是涂抹工具,结合加深.减淡工具。
6、下面开始刻画五官和脖子部分,顺便带一下头发。
7、最后用钢笔画发丝,在背景层加些亮光。OK。
学习 · 提示
相关教程
关注大神微博加入>>


网友求助,请回答!