Photoshop cs3修复模特图片:添加性感睫毛(3)
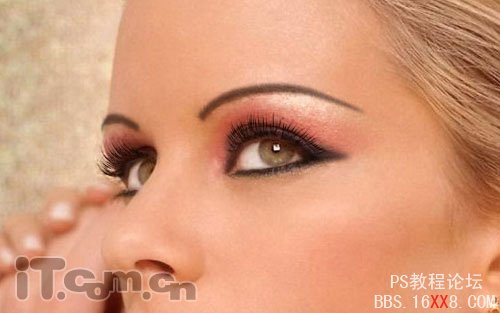
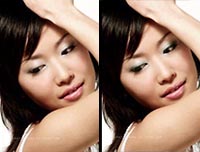
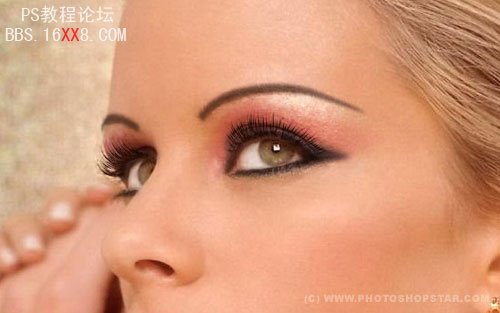
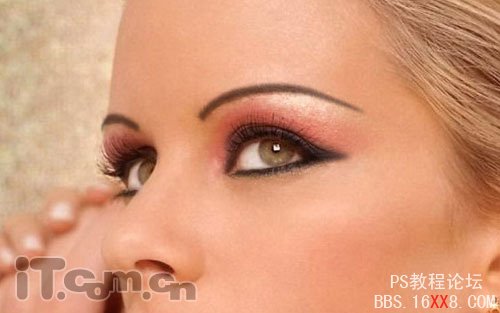
在这篇Photoshop教程里我将与大家学习如何在photoshop cs3中模仿晚宴美女的眼影化妆方法。这个教程对于处理杂志照片非常实用,希望大家喜欢
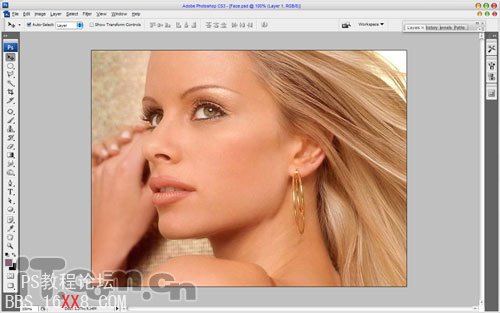
1、首先,我们要从网上下载一些女孩的脸部特写图片,然后运行你的photoshop打开这些图片,如图所示
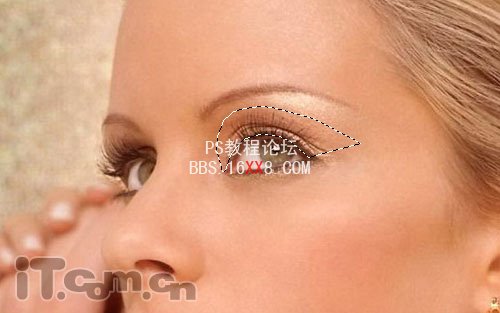
2、使用套索工具在添加眼影的位置创建选区,如图所示
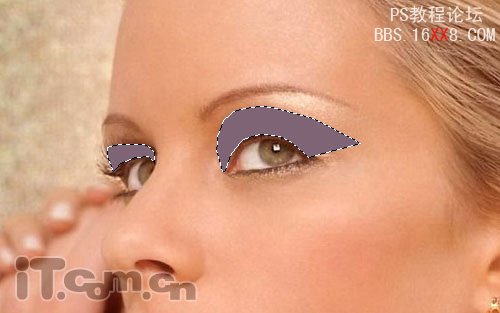
3、按着Shift键,当光标附近出现加号时,表示你可以再添加另一眼影的选区。之后创建一个新图层,在选区内填充颜色#806475,如图所示
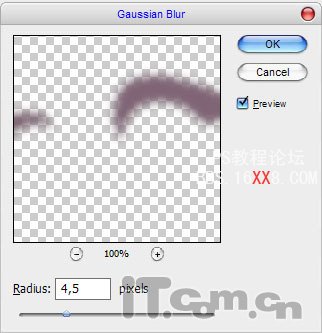
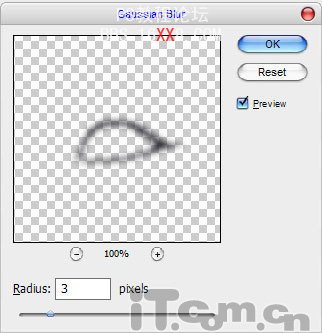
4、按下Ctrl+D取消选择,然后执行“滤镜—模糊—高斯模糊”,参考下图所示的设置
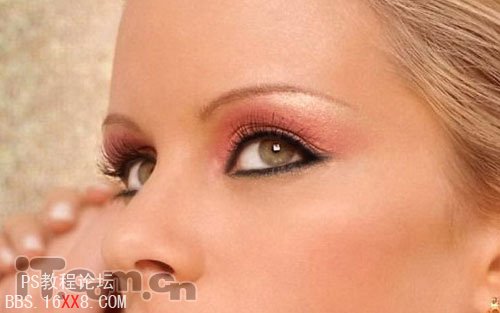
5、设置图层混合模式为叠加,效果如图所示
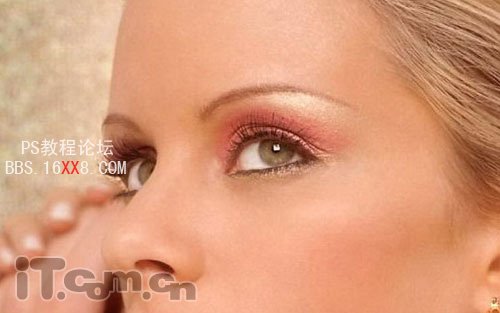
6、由于眼影的边界太明显,我们可以使用涂抹工具(强度:70%)柔化一下,如图所示
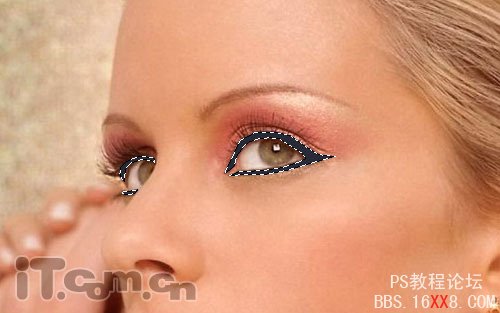
7、创建一个新图层,使用套索工具创建眼线的选区,然后填充颜色#282a37,如图所示
8、取消选择,然后设置高斯模糊效果,如图所示
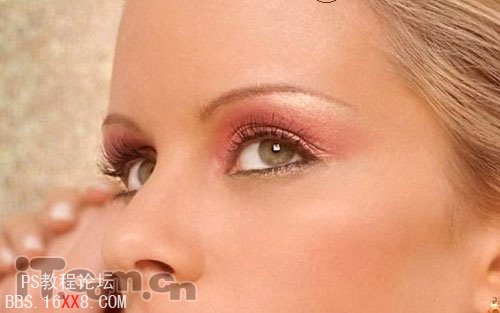
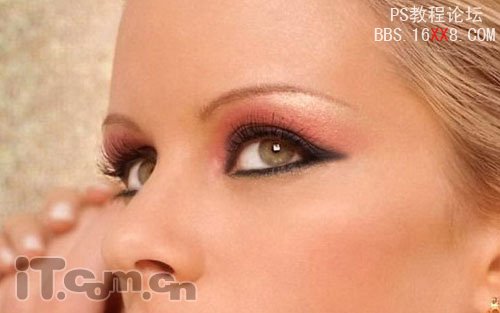
效果图如下
9、使用涂抹工具涂抹眼线,很眼睛后起来更大,如图所示
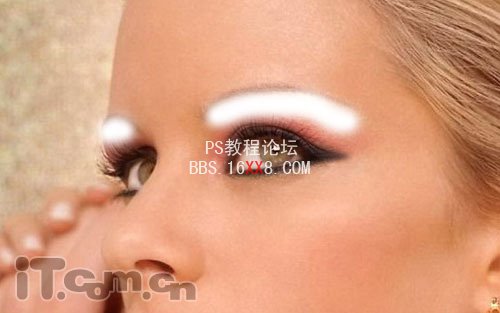
10、接下来为眼影添加一些闪粉的效果,创建一个新图层,然后使用画笔工具在眉毛下的地方画出两道白色,如图所示
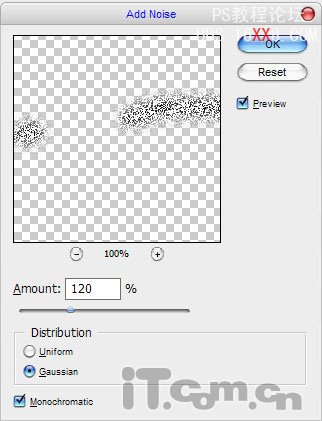
11、执行“滤镜—杂色—添加杂色”,设置高斯分布、单色,如图所示
12、设置图层混合模式为柔光,如图所示
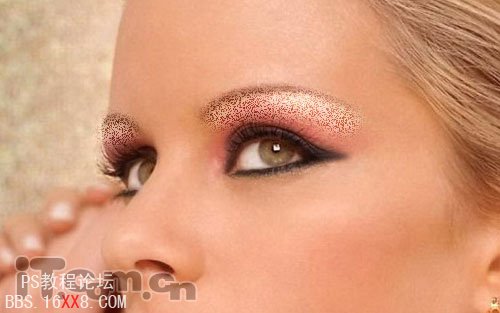
13、使用模糊工具,涂抹一下闪粉,使它柔和一点,如图所示

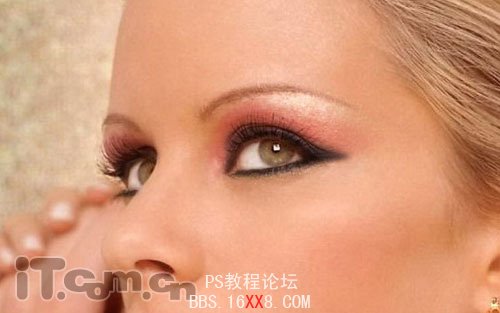
14、你还可以使用橡皮擦工具进行一些清理,使用眼影看起来更真实,更自然,如图所示
15、接下来就是画眉。创建一个新图层,使用套索工具创建眉毛选区,然后填充黑色,如图所示
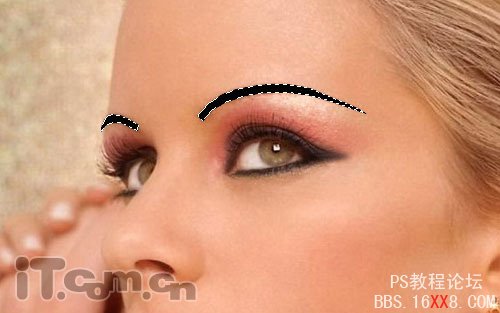
16、取消选择,设置高斯模糊效果,然后设置图层不透明度为40%左右,如图所示
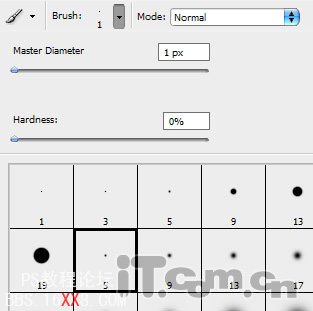
17、最后,我们要为女孩添加睫毛。首先设置画笔工具,如图所示
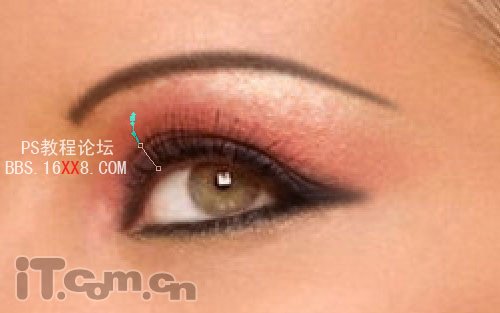
18、设置前景色为黑色,然后使用钢笔工具创建一条睫毛的路径,如图所示
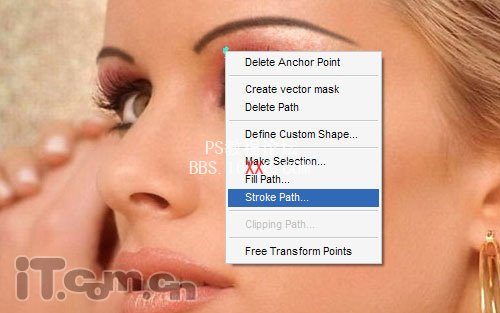
19、单击右键,在弹出的快捷菜单中选择描边路径,如图所示
20、在弹出的对话框中设置画笔、选择模拟压力,然后单击确定,如图所示
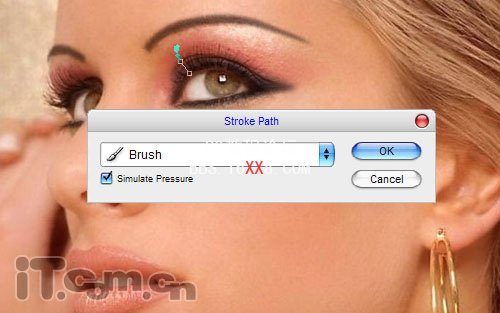
你应该得到下图所示的效果
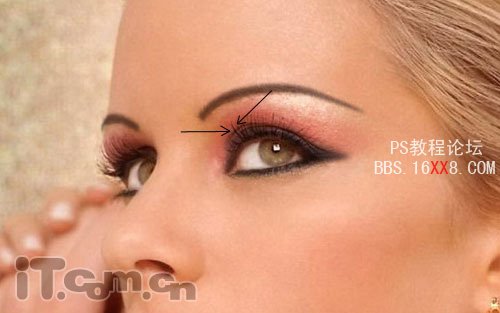
21、再单击右键,选择删除路径,然后使用相同的方法制作更多的眼睫毛,如图所示