Photoshop教程:颓废风格帅哥
来源:未知
作者:bbs.16xx8.com
学习:197人次
作者:大巴 出处:
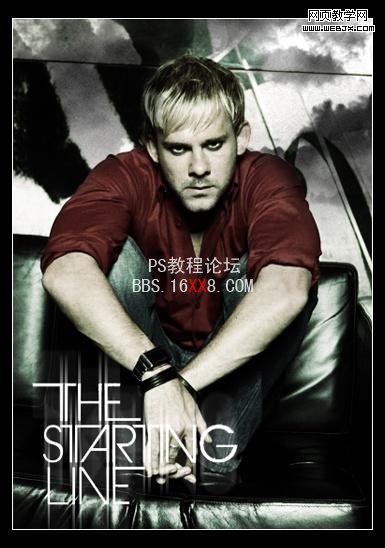
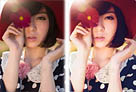
效果图
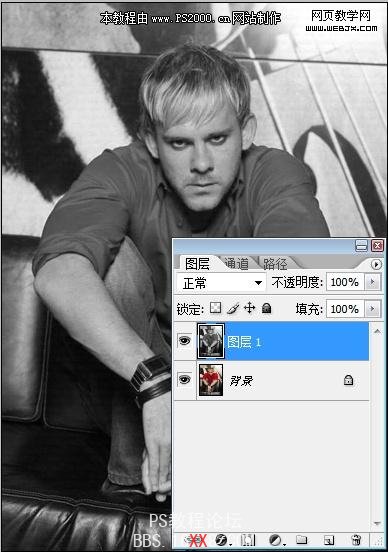
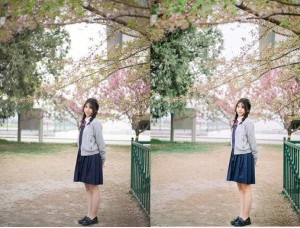
原图

第一步:打开原图,ctrl+J复制图层,ctrl+shift+U去色
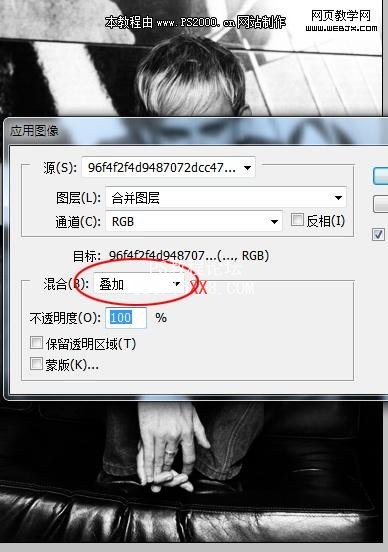
第二步:图像—应用图像,让图像黑白对比度更强
第三步:ctrl+U着色,不同的参数最终效果会各不相同

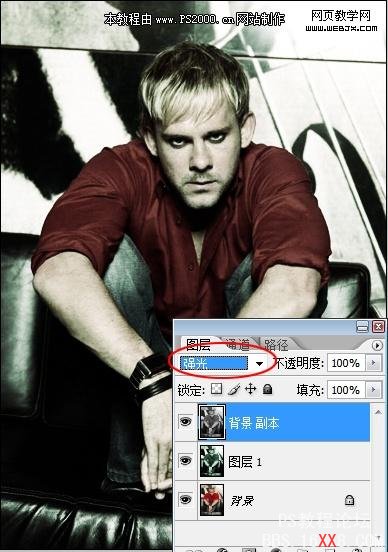
第四步:回到背景层,复制图层,去色,将此图层放至最上方,改为强光
最后用笔刷装饰一下,完成!
学习 · 提示
相关教程
关注大神微博加入>>


网友求助,请回答!