ps非主流帅哥教程(3)
来源:ps教程论坛
作者:bbs.16xx8.com
学习:414人次
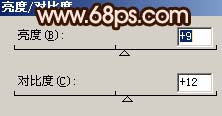
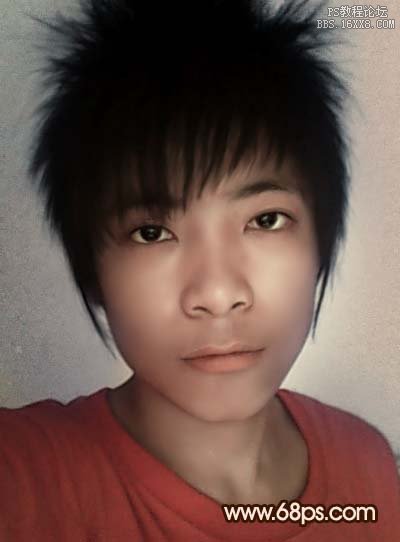
13、创建亮度/对比度调整图层,参数设置如图21,效果如图22。
14、新建一个图层,盖印图层,适当的用Topaz滤镜锐化一下。
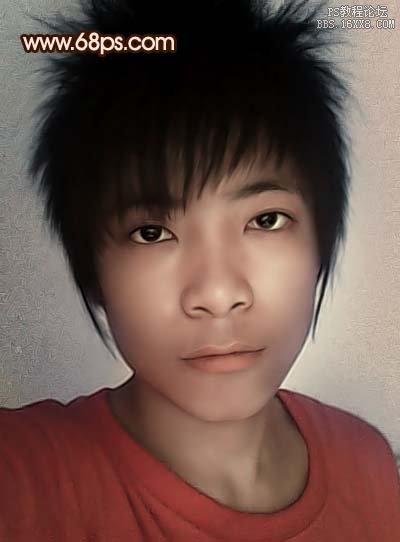
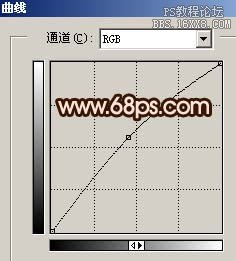
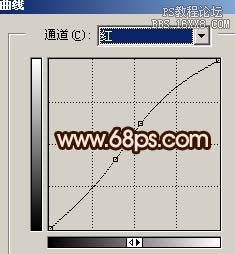
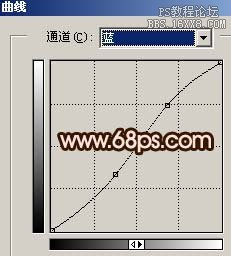
15、按Ctrl + Alt + ~调出高光选区,创建曲线调整图层,参数设置如图24-26,效果如图27。
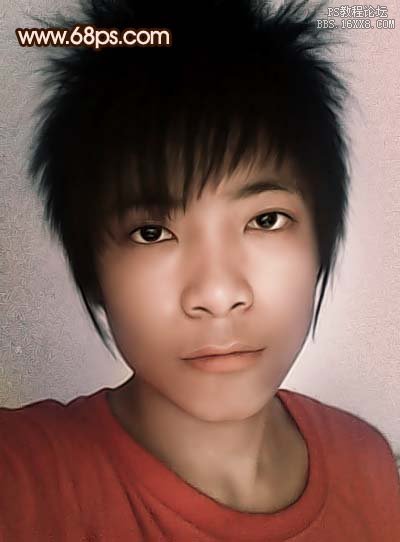
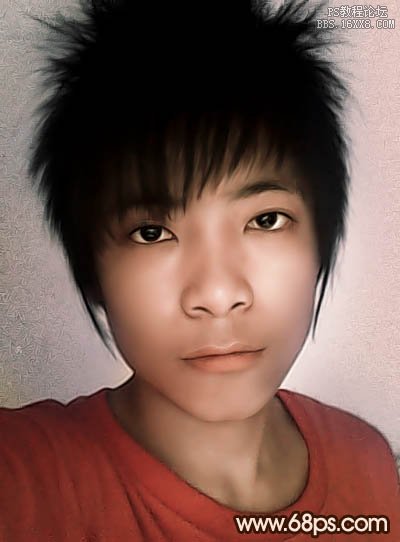
16、新建一个图层,盖印图层,整体修饰下细节,完成最终效果。
学习 · 提示
相关教程
关注大神微博加入>>


![[非主流PS教程] 黑色断线抽丝](http://pic.16xx8.com/article/UploadPic/2007/10/26/2007102672554774_lit.gif)
网友求助,请回答!