ps做环绕光效教程
来源:ps爱好者
作者:佚名
学习:23697人次
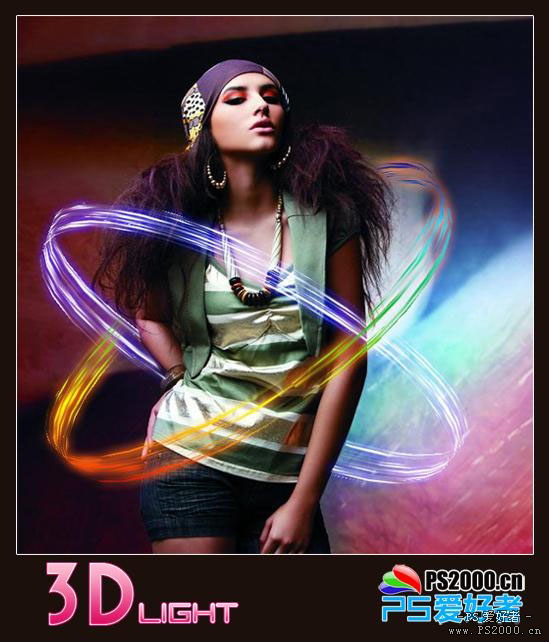
最终效果
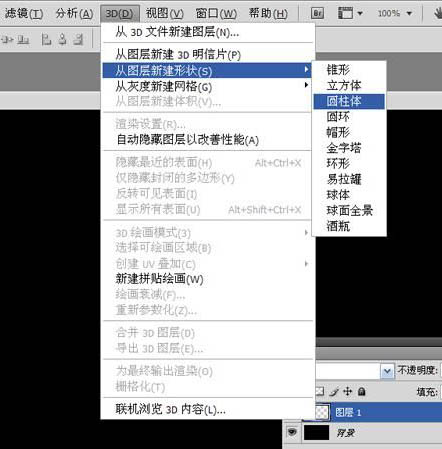
1、新建长900、宽500像素文档。填充黑色,新建图层。在3D菜单添加圆柱体形状。
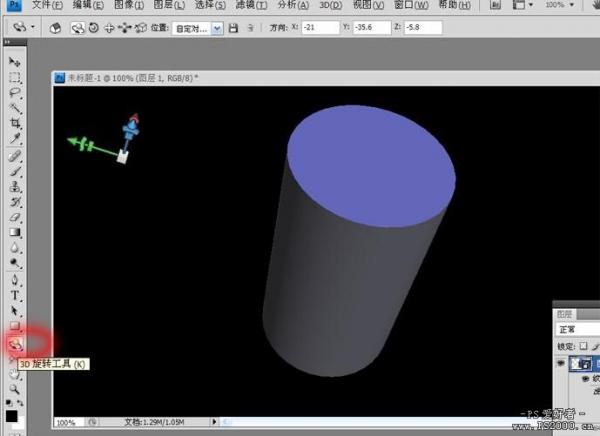
2、选择3D旋转工具,我们可以拖动此圆柱体作360度全方位移动。
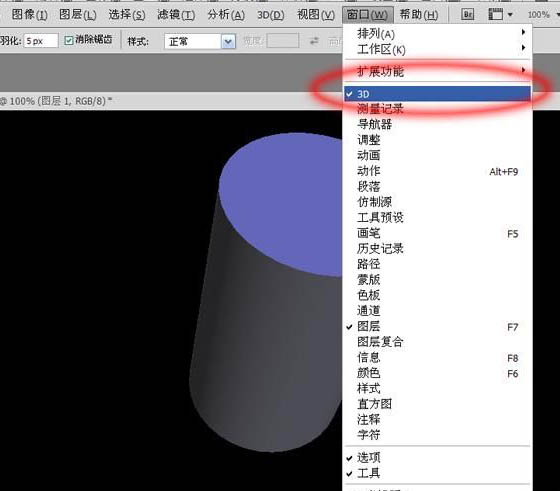
3、在窗口菜单打开3D工具栏。
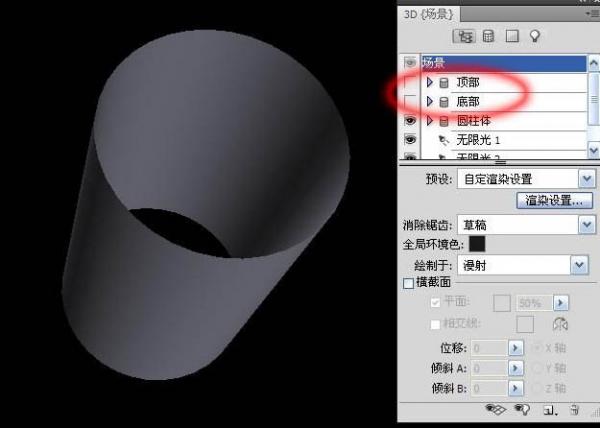
4、我们只要圆柱体的外表面即可,因此在场景中关闭顶部和底部(点前面的小眼睛即可)。
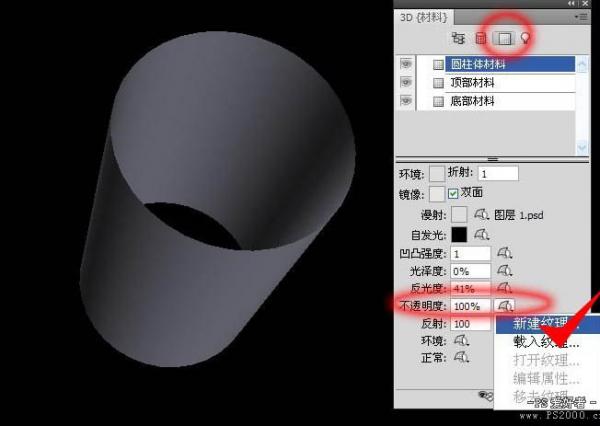
5、点击材料图标,在不透明度栏目新建纹理。
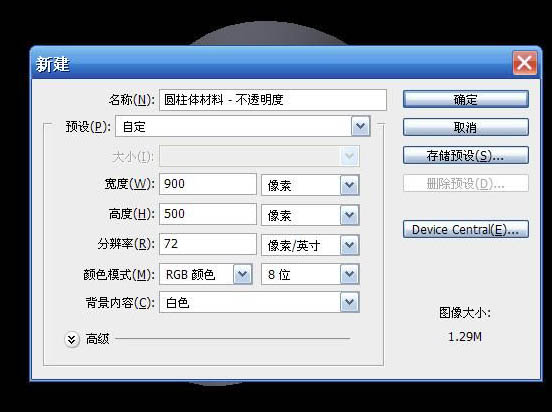
6、同样新建900*500像素文档,背景填充黑色。
学习 · 提示
相关教程
关注大神微博加入>>


网友求助,请回答!