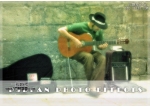
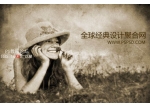
PS照片处理怀旧褐色色调(2)
来源:POCO
作者:深蓝色的温度
学习:12901人次
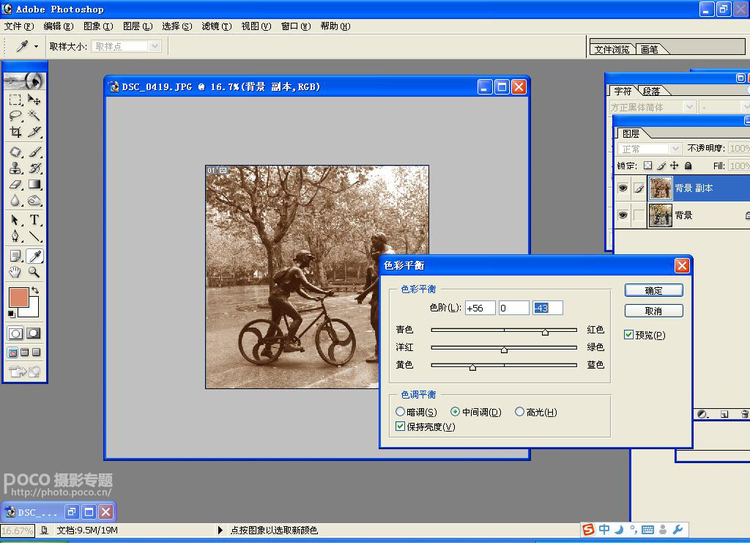
3.复制图层和色彩平衡
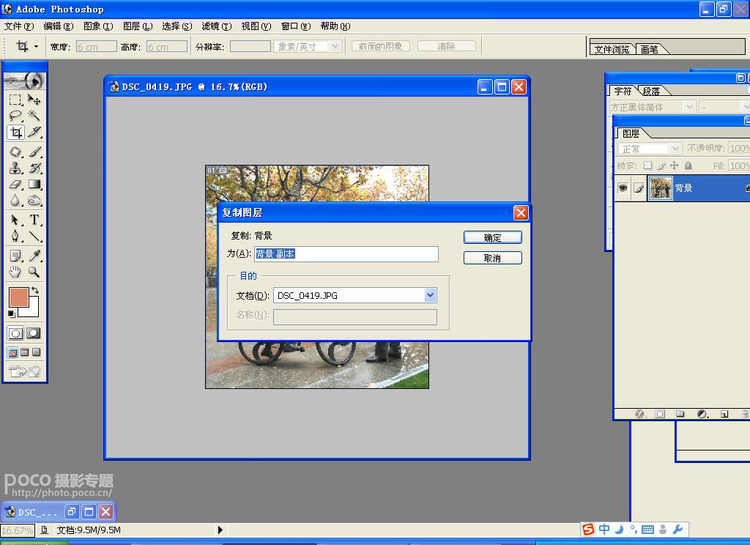
选择图层—复制图层。
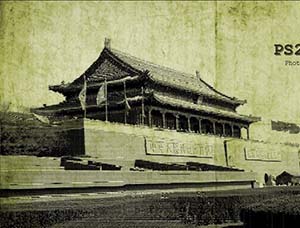
选择图像—调整—去色,然后进行色彩平衡调整。

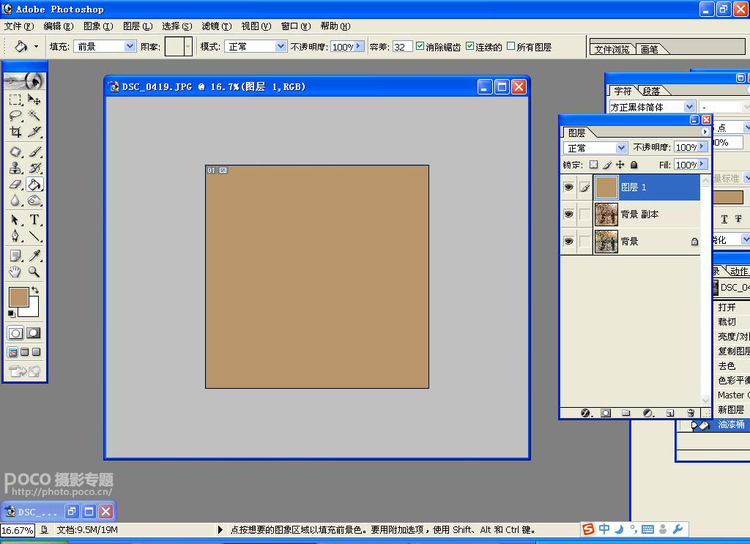
4.不透明度与填充
选择不透明度70%(根据画面需要)。
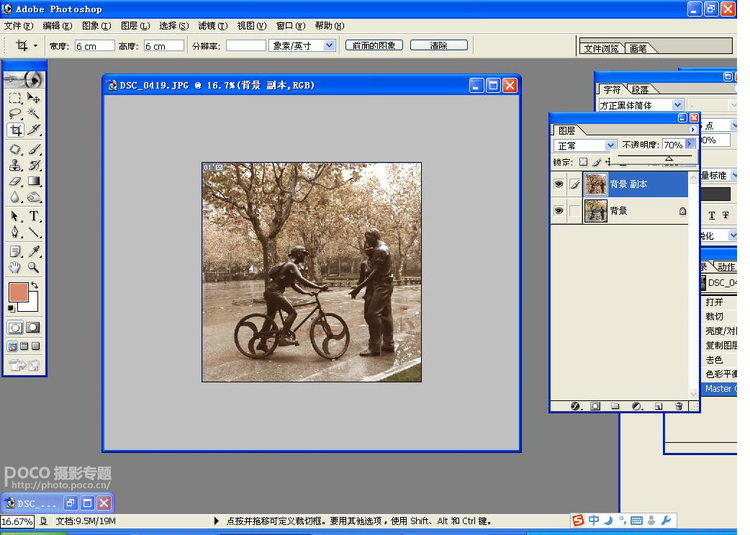
选择浅咖啡色进行添充。
学习 · 提示
相关教程
关注大神微博加入>>

网友求助,请回答!
3.复制图层和色彩平衡
选择图层—复制图层。
选择图像—调整—去色,然后进行色彩平衡调整。
4.不透明度与填充
选择不透明度70%(根据画面需要)。
选择浅咖啡色进行添充。
相关教程