PS滤镜制作抽象花朵图片(3)
来源:Dear丶孤花独败
作者:佚名
学习:31173人次
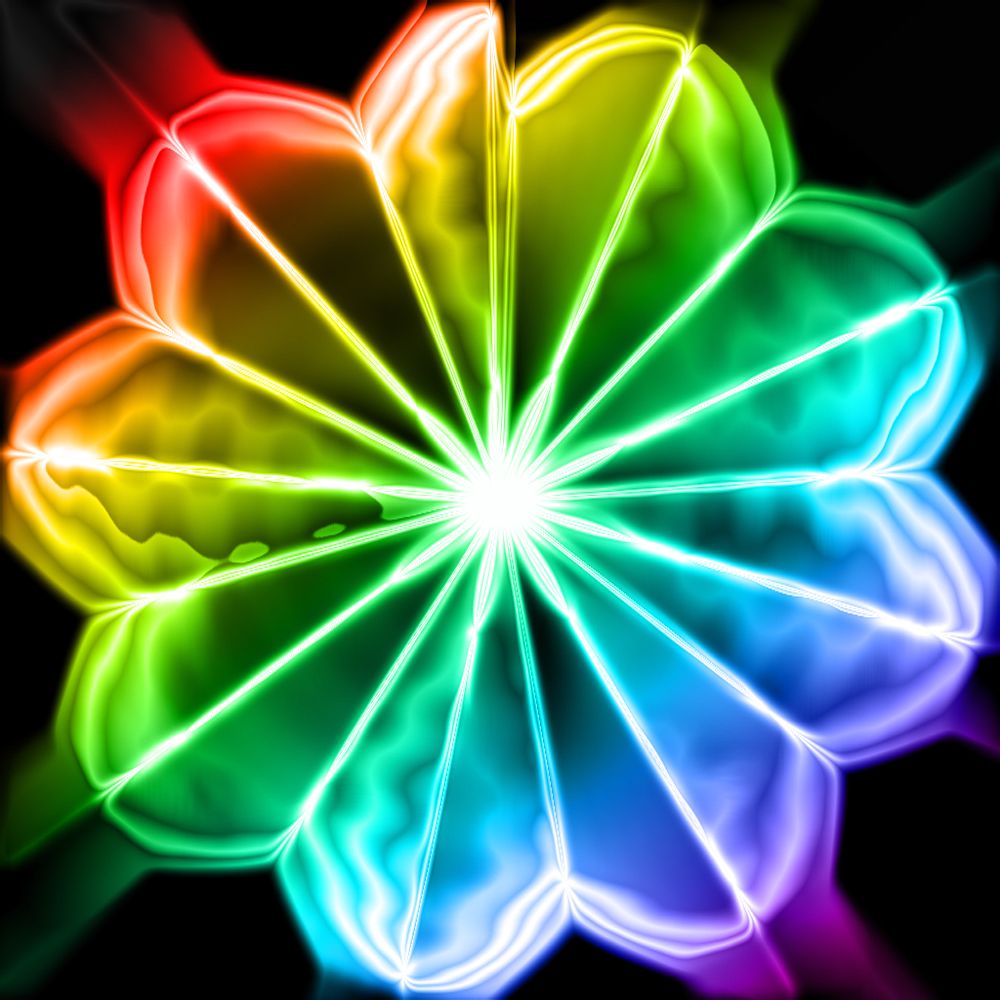
本文介绍用PhotoShop用滤镜制作一朵抽象的花朵,PS的滤镜是非常强大的,只要多动动脑筋,就可以制作出更多的特色效果。就像下面的效果图,可以适当的进行旋转扭曲,或者吧一些数值稍微改动一下,就会出现各种风格不同的效果哦!赶快去试试吧!
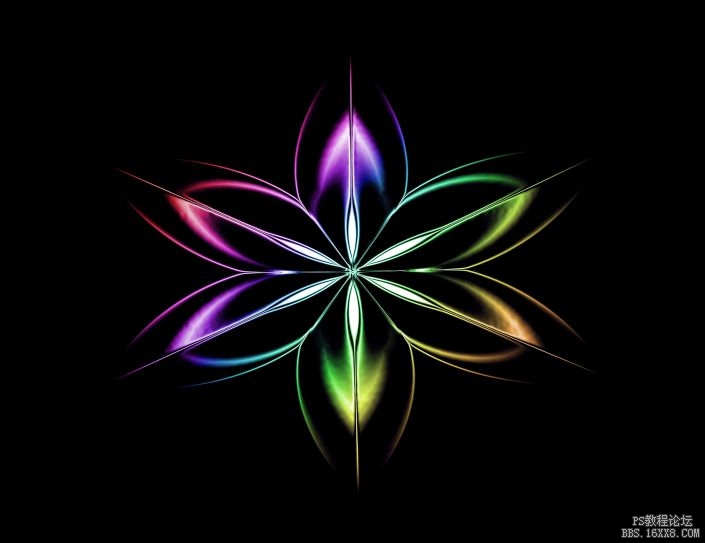
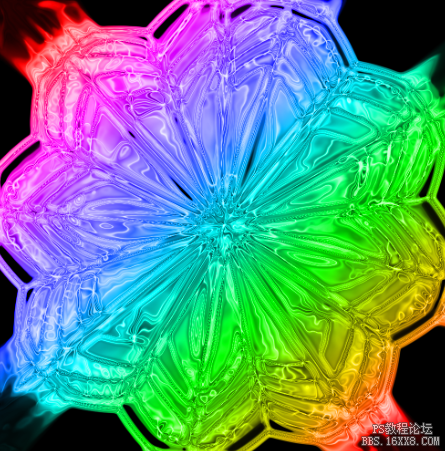
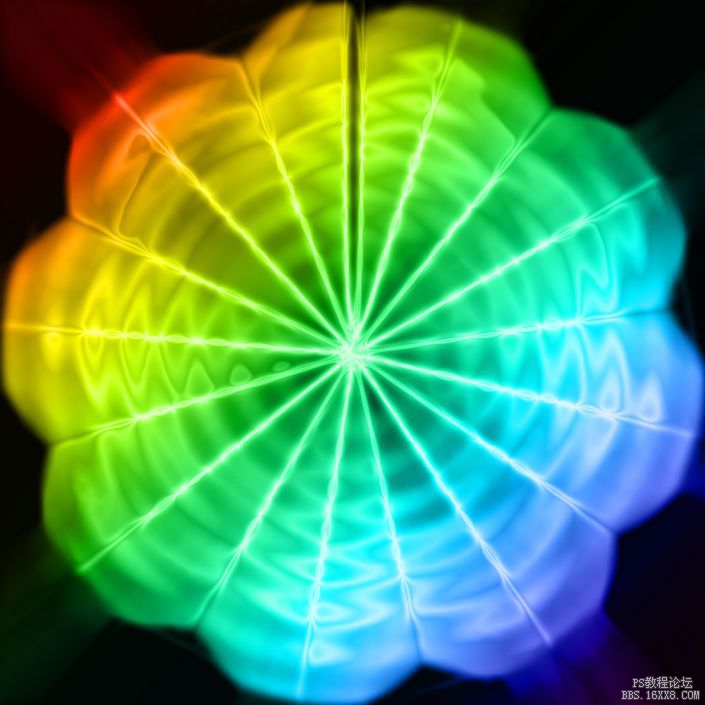
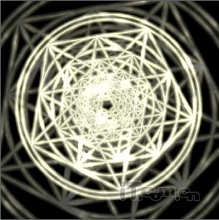
效果图:
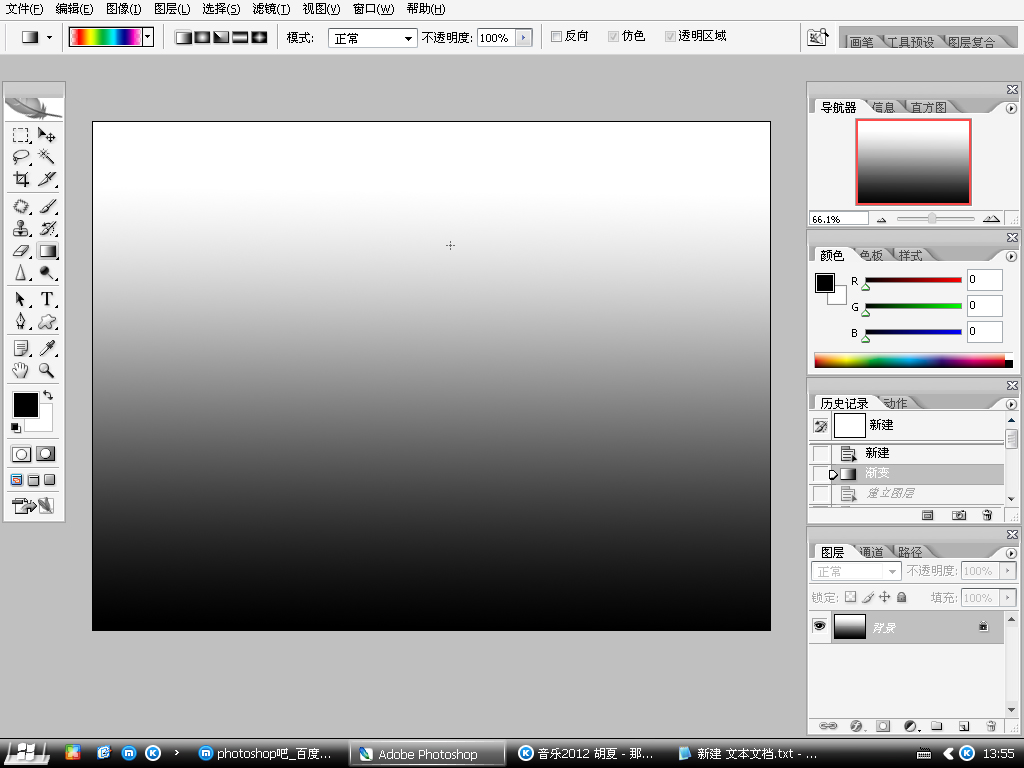
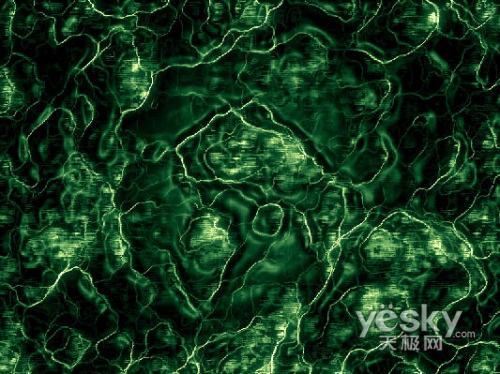
1、首先在Photoshop里面新建一个1000*1000の白色背景的文件,然后用渐变填充方式填充画面如下:
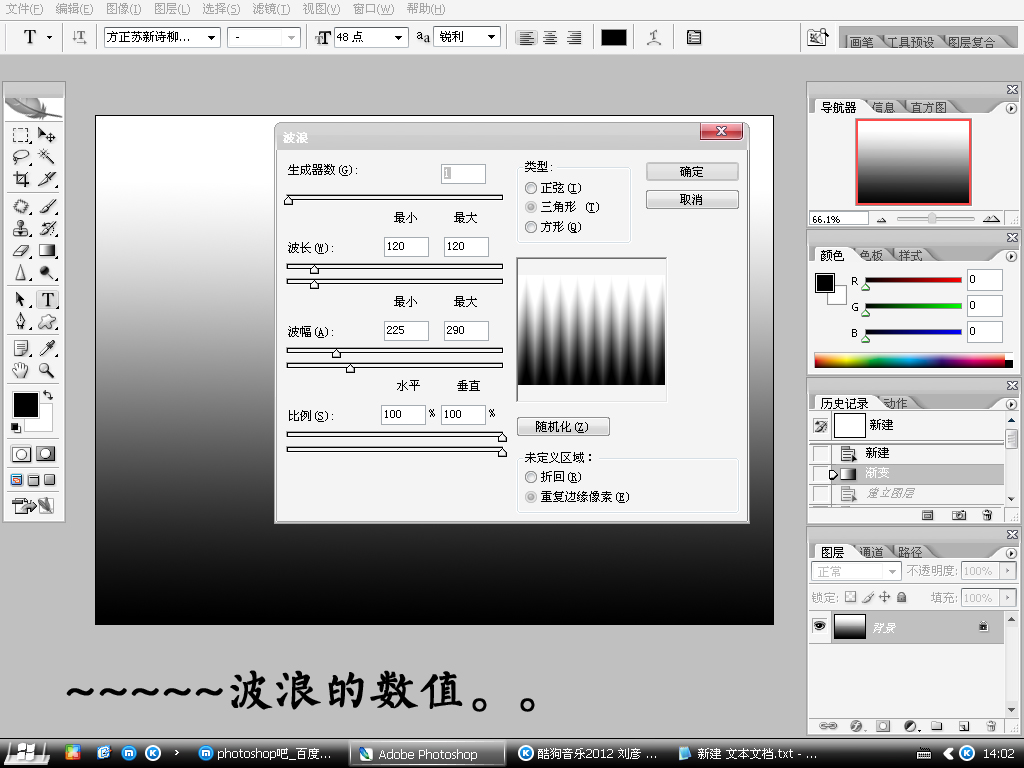
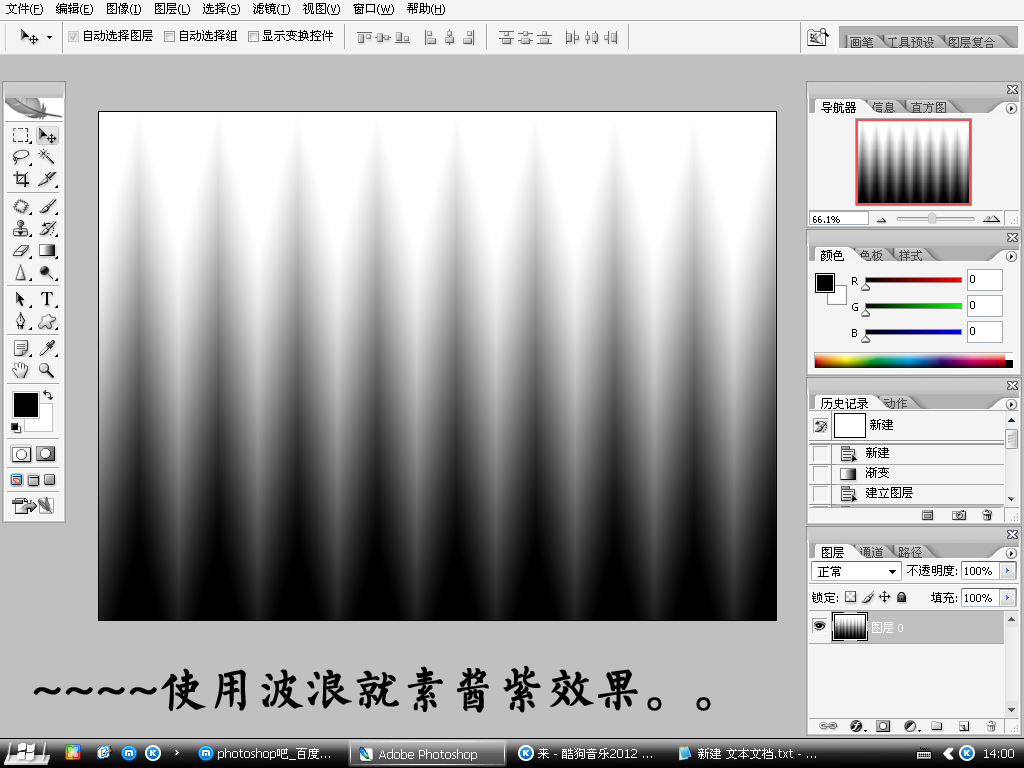
2、燃后,请在“虑镜”-“扭曲”-“波浪”里面设置如下图:
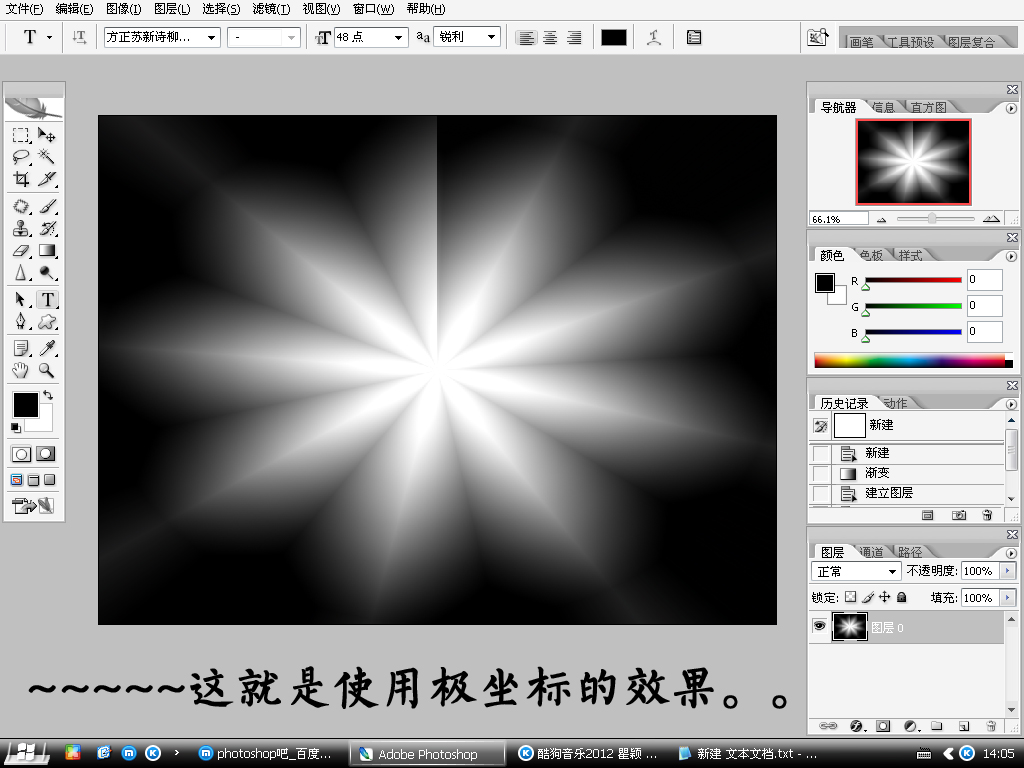
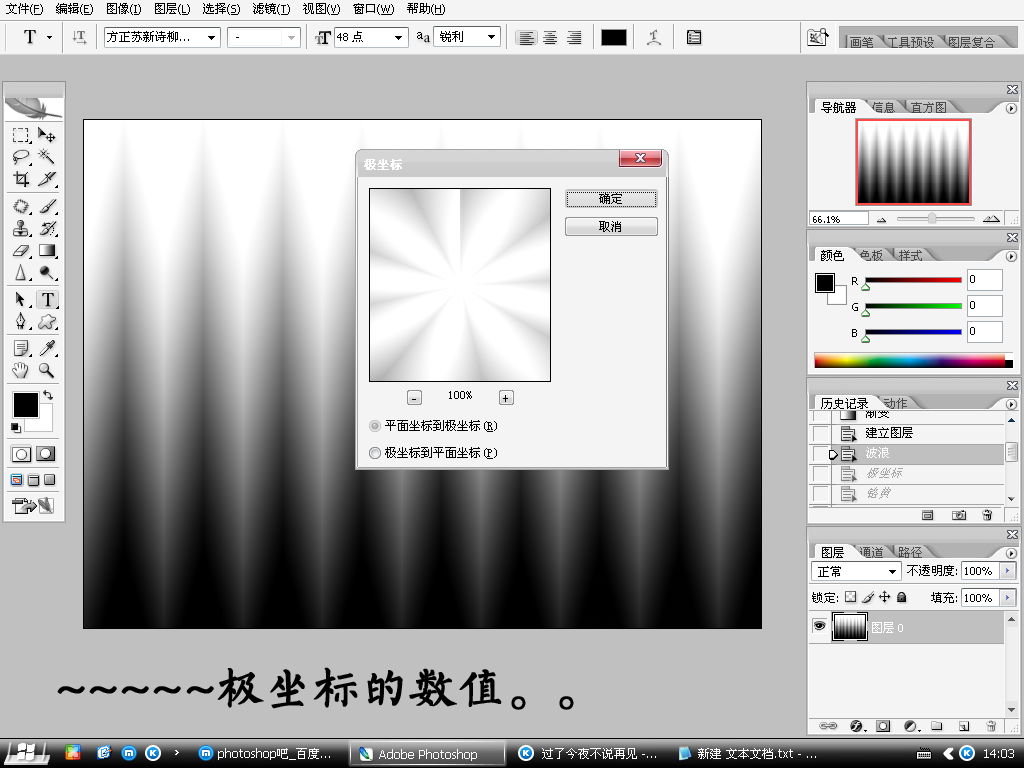
3、设置好后,继续“虑镜”-“扭曲”-“极座标”设置如下图:
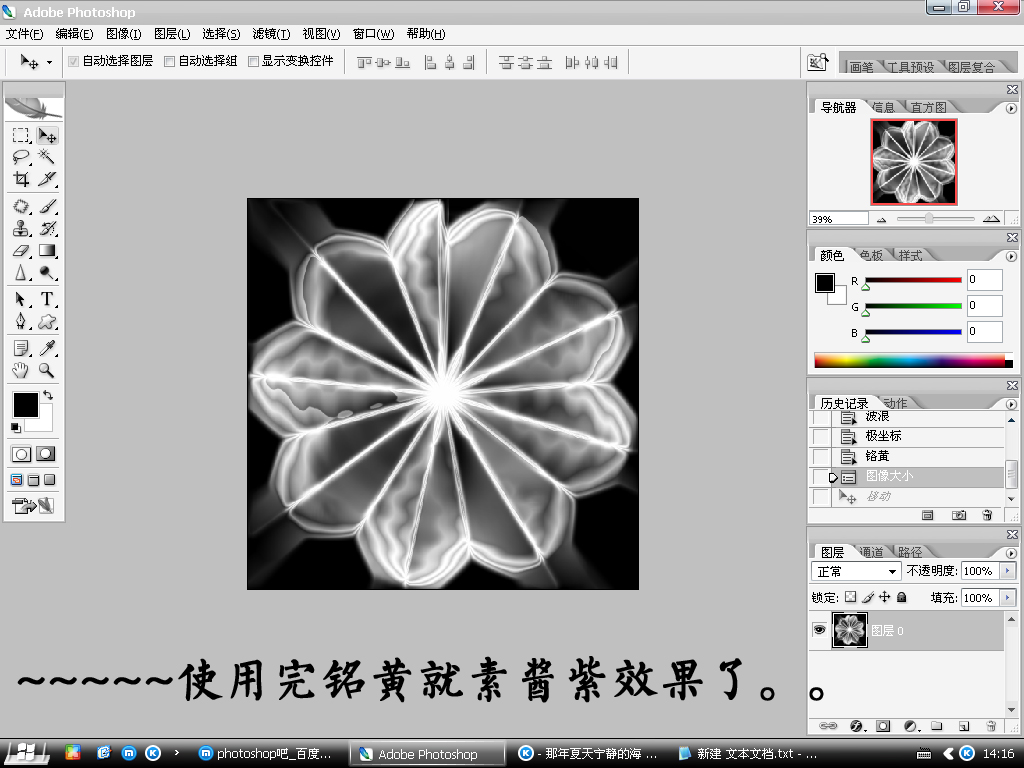
4、在“虑镜”-“素描”-“烙黄”里面设置如下:

5、新建一个图层,在新图层上面用渐变工具拖出一道彩色的画面出来,在图层模式里面选择一下“颜色”哦可,齐活~~~~~~~~~~~
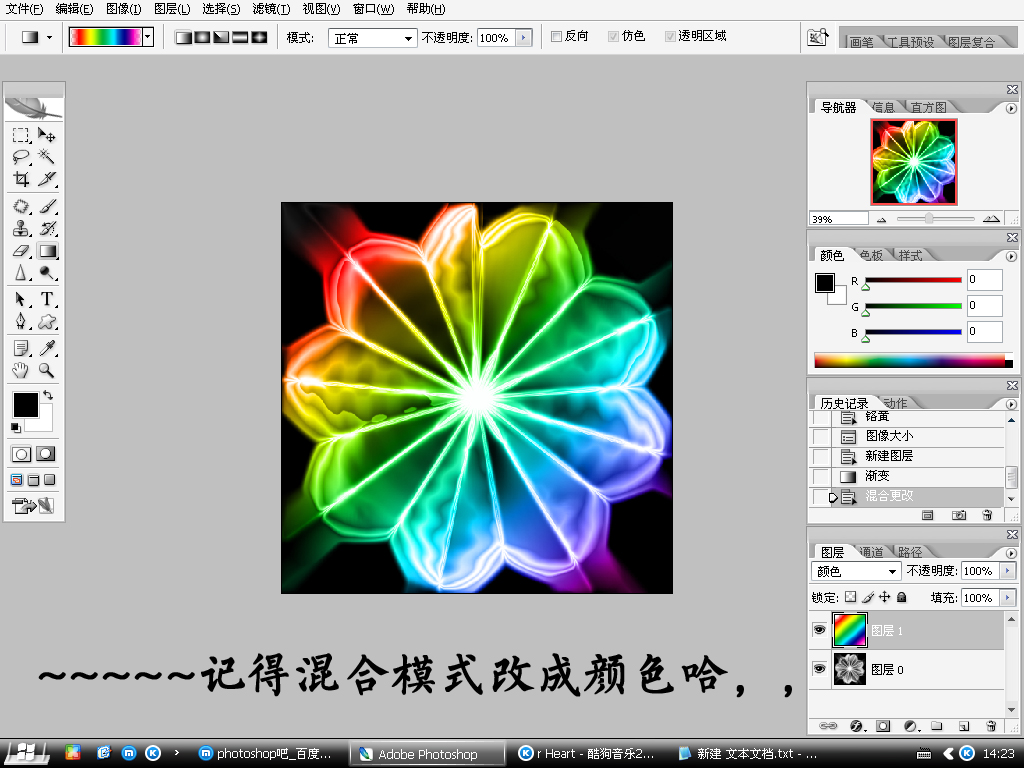
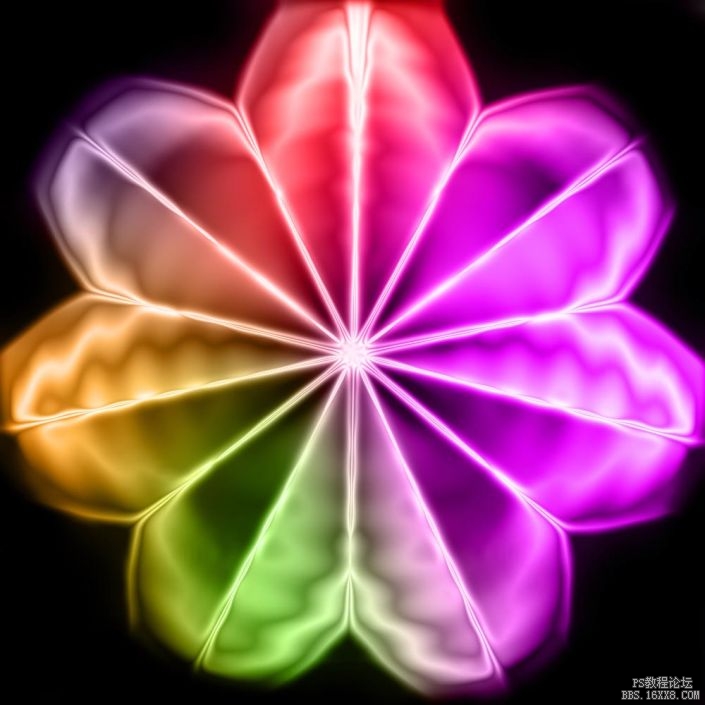
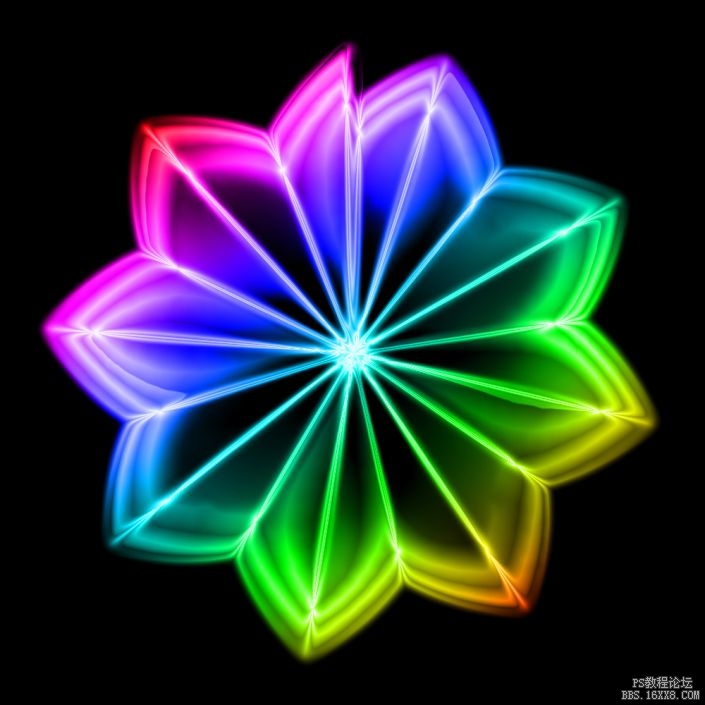
效果图!
学习 · 提示
 我的作业:
我的作业: ..
..
 我的作业:
我的作业: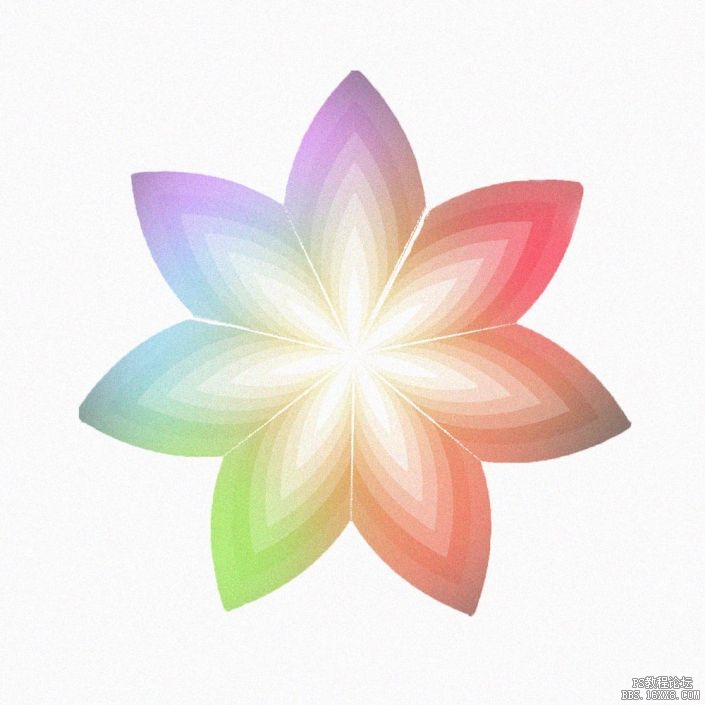

相关教程
关注大神微博加入>>


网友求助,请回答!