ps调出红外线图片唯美色彩(3)
来源:摄影社区
作者:子意
学习:6007人次
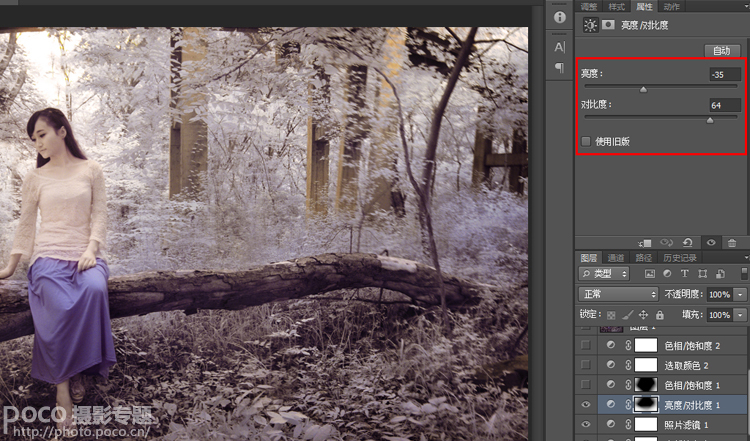
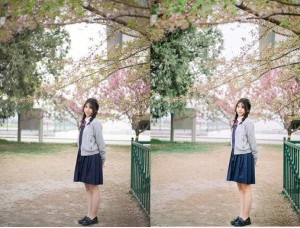
7.增加暗角突出主体
亮度/对比度,降低亮度-35,增强对比度+64,用渐变工具在蒙板上拉出四角,使调整后的效果只出现在画面四个边角。
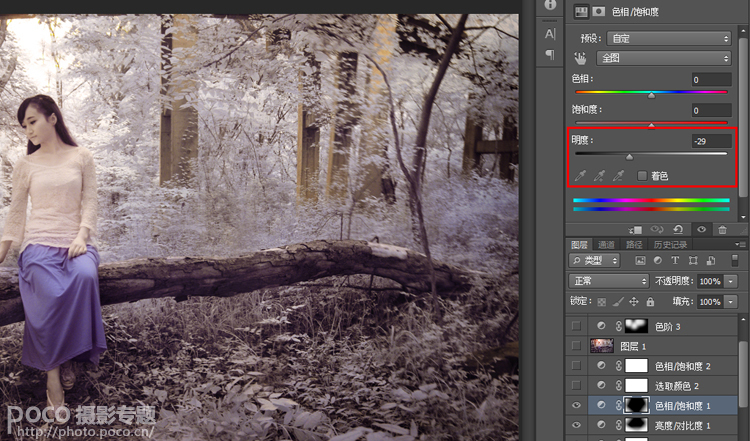
色相/饱和度,降低明度-29
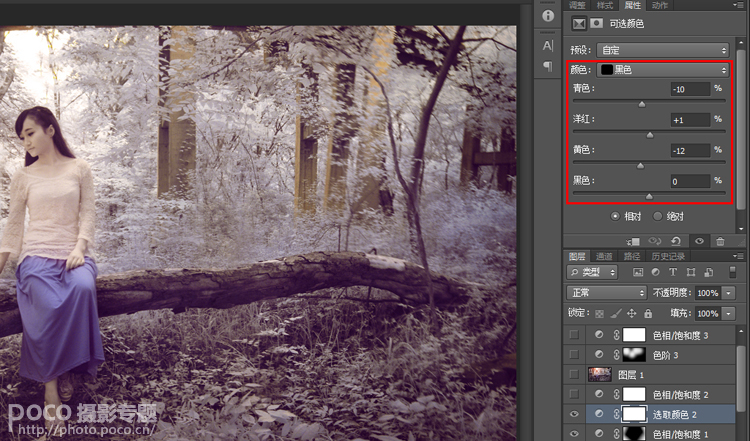
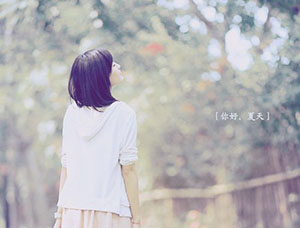
8.整体最终色调调整
可选颜色,黑色:青-10,洋红+1,黄-12,让暗部偏洋红。
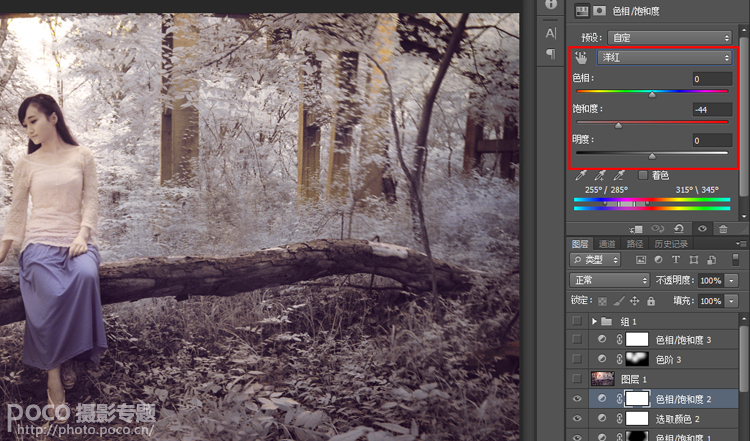
色相/饱和度,减少洋红饱和度-44。
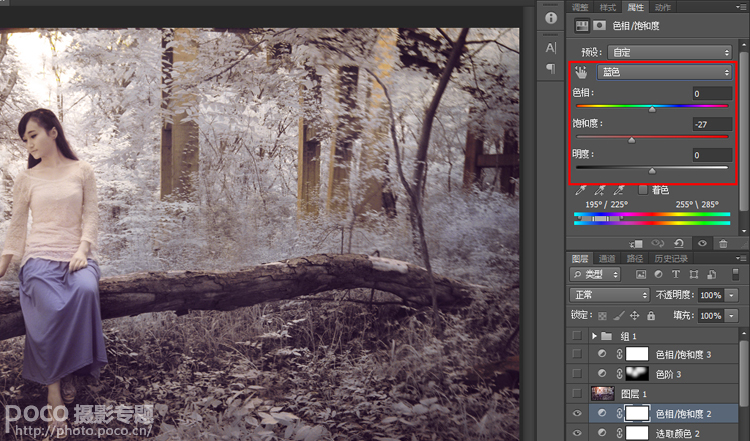
色相/饱和度,减少蓝色饱和度-27。
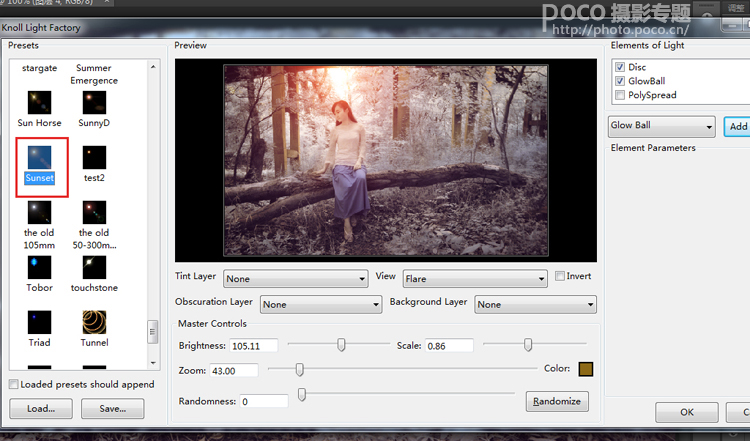
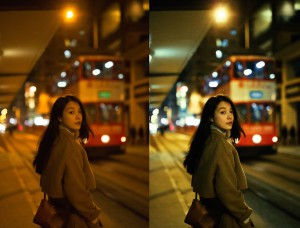
9.逆光滤镜渲染
利用外挂滤镜knoll light factory(光效工厂)选择 Sunset样式,渲染逆光效果。
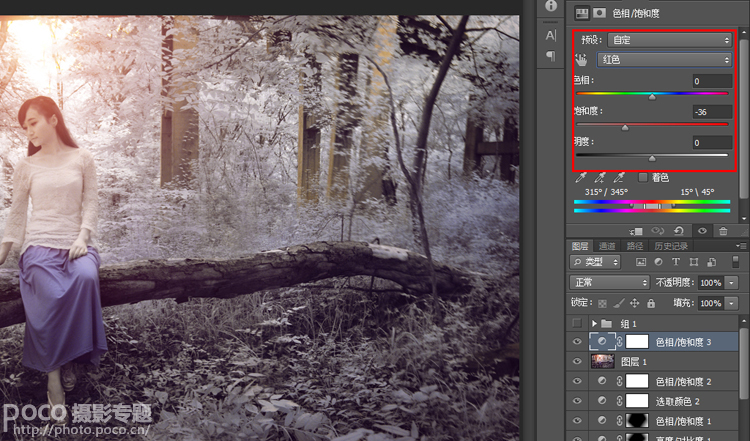
色相/饱和度,减少红色饱和度-36。这样基本就完成了,每个人颜色感觉不同,所以对数值的控制仅供参考。
学习 · 提示
相关教程
关注大神微博加入>>


网友求助,请回答!