ps合成高黑暗城市对比度人像效果(4)
来源:网络
作者:ENET 悍燃
学习:4526人次
教程用PhotoShop合成超现实高对比度黑暗城市人像效果,通过这个黑暗非现实的城市空间制作,可以对光照技巧以及图层调整的技术应用更加娴熟。
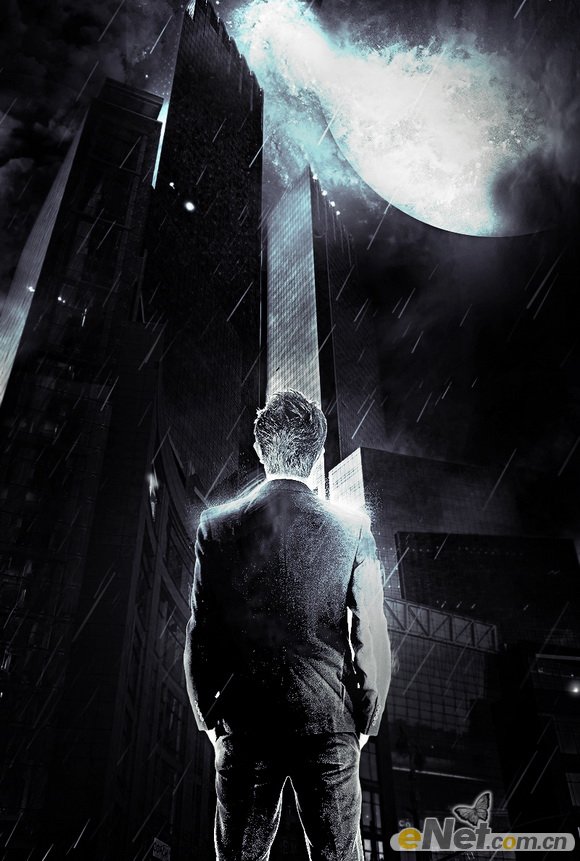
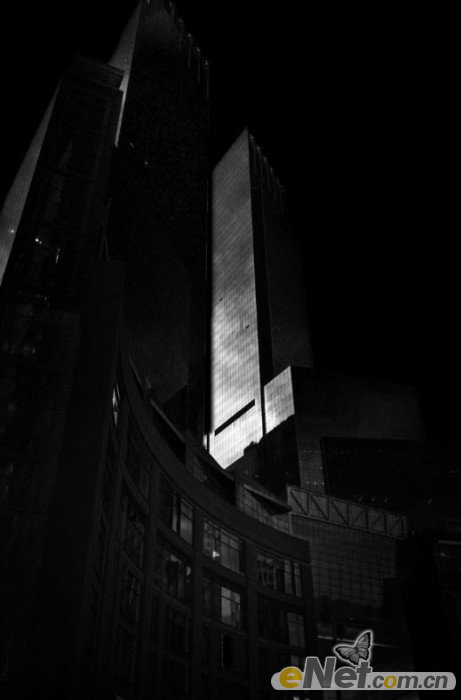
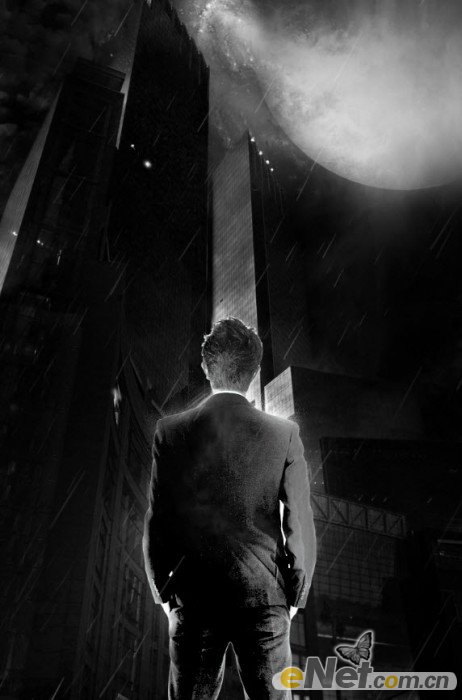
先看一下 教程最终效果:
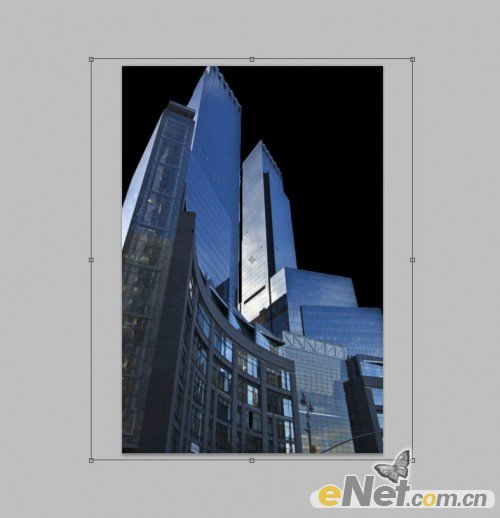
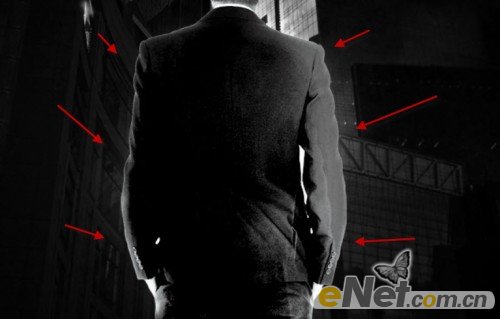
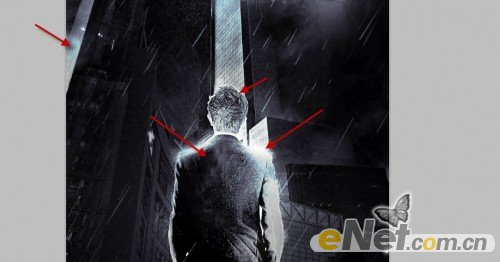
1.创建一个大小为800*1187像素黑色背景的文件。将城市图片打开,选择下面高大的部分粘贴到画布上。
修整边缘
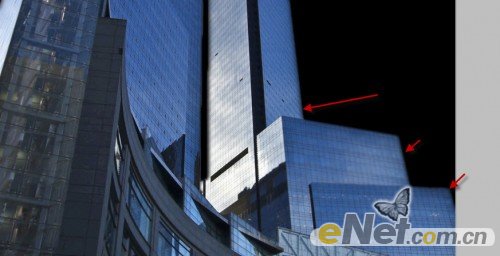
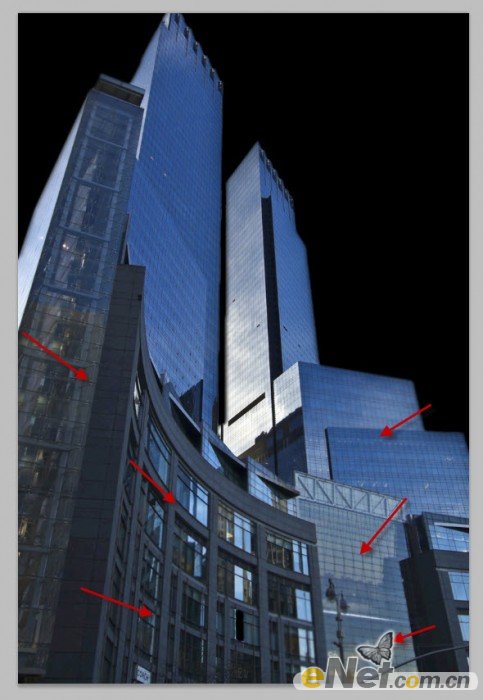
使用“模糊工具”将硬度调整为30%左右,将图中所示的位置模糊
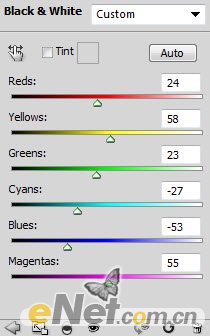
点击图层面板下方的“创建新的填充或调整图层”应用以下几个图层调整选项
黑白
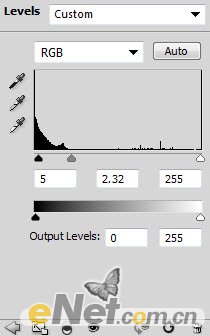
色阶
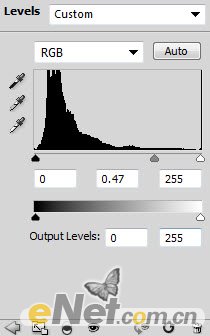
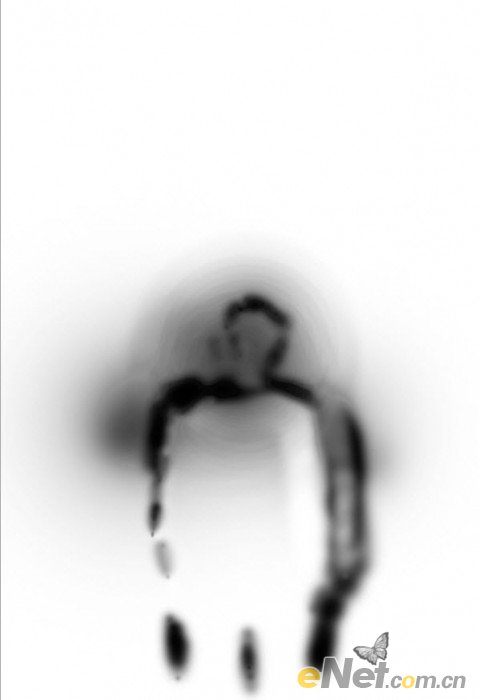
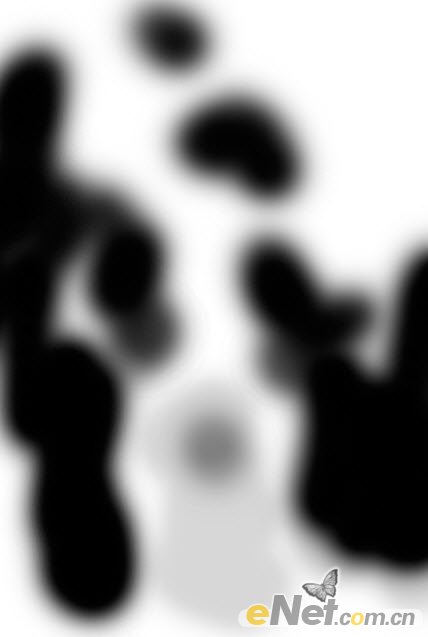
在色阶的图层蒙版中,做如下涂抹
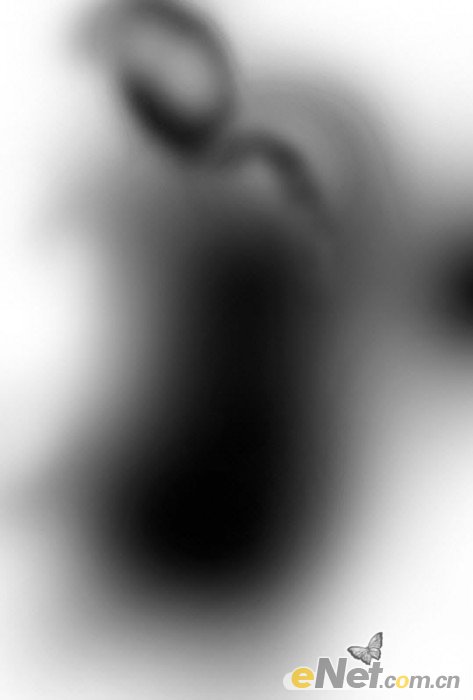
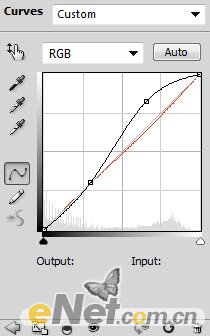
曲线
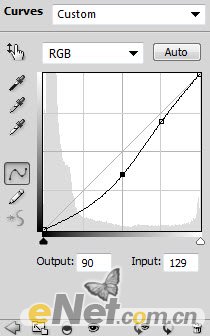
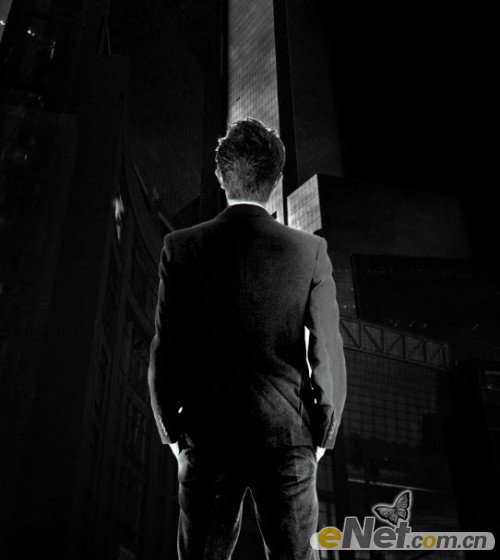
得到如下效果
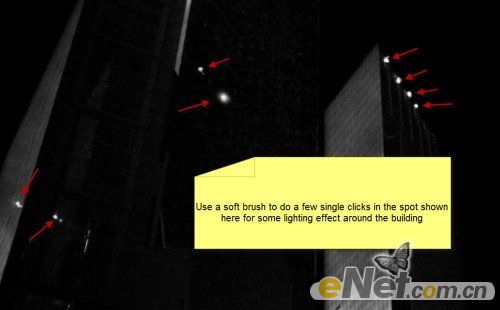
2.用白色笔刷在下图所示的位置添加白色光点,制作聚光灯的效果,适当的调整笔刷达到远近不同,当然这一步也可以不做在你自己的选择。
打开人物图形,并粘贴到画布上,放在下图所示位置
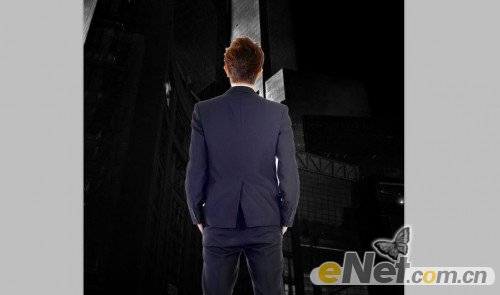
应用下面的图层调整选项
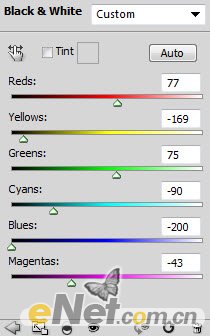
黑白
色阶
在色阶的图层蒙版中再次调整,如下图所示
曲线
得到效果
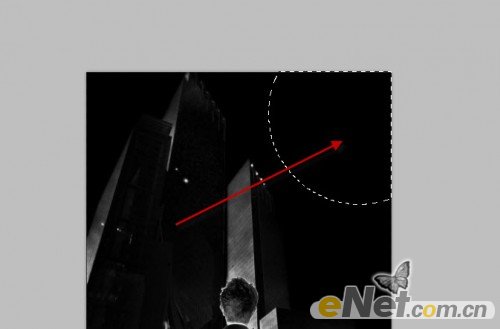
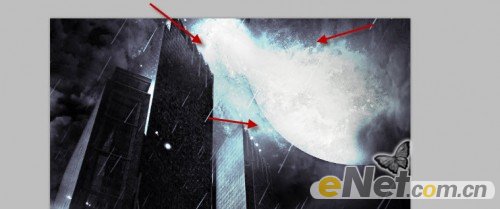
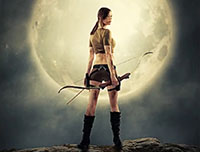
3.下面我们来添加一个星球,如月亮。创建一个新层放在建筑层的下方,使用“椭圆选框工具”在下图所示位置绘制椭圆
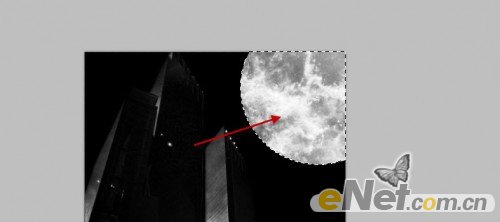
下载一个太空笔刷,在椭圆选区里点涂

看一下
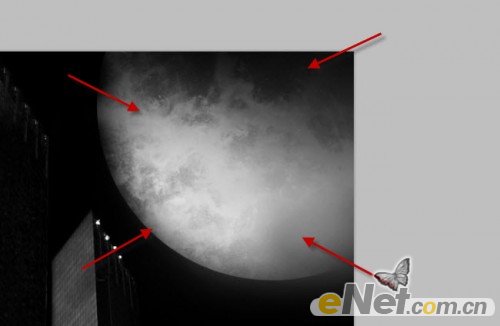
在用一个软角橡皮擦将边缘修一下
4.添加下雨的雨滴。
创建一个新层,用软角白画笔,调整不透明度与流量为20%左右,准备给人物绘制灯光效果
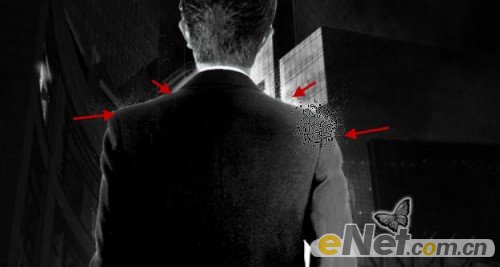
同时我在这里也添加了一些飞溅的效果,如下图选择笔刷
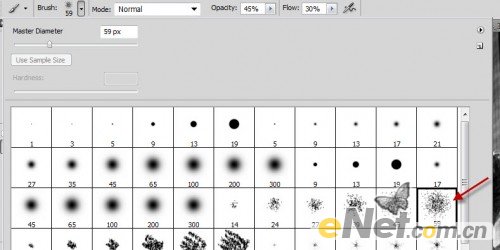
在下图所示位置制作飞溅
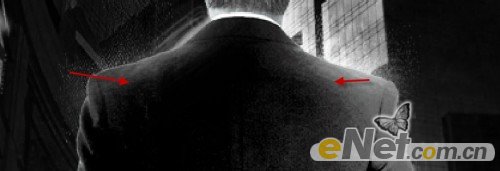
5.使用锐化滤镜,“滤镜>锐化>智能锐化”如下图设置
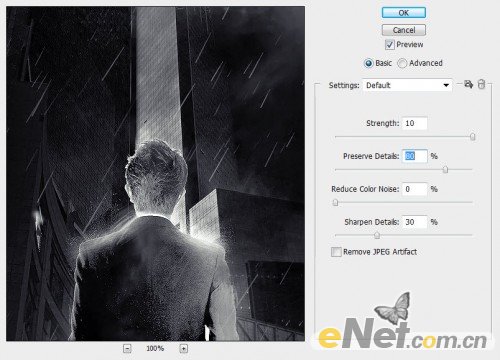
添加“图层蒙版”如下图涂抹,影藏一些没必要的部分
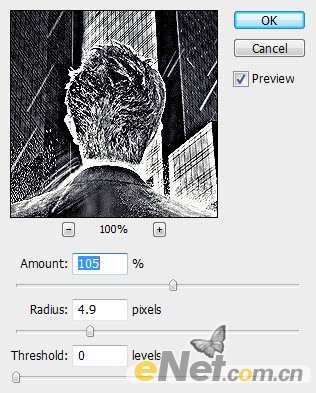
我还喜欢这种效果,所以又加了一个“USM锐化”
也给图层设置了一个调整层“色彩平衡”注意要用暗色调,已青光或者蓝光为主,并调整图层的混合模式为“颜色减淡”
最终效果!
学习 · 提示
相关教程
关注大神微博加入>>


网友求助,请回答!