ps制作电影特效的照片(4)
有时抓拍的照片未必如意,不过有强大的Photoshop,一切皆由可能。这次PS教程为大家带来Photoshop制作电影特效的照片,希望大家喜欢!
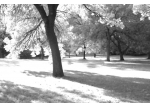
素材原图

原图
最终效果图 1

效果图01
最终效果图 2

效果图02
照片调色
1、打开素材图,按crtl+u打开“色相/饱和度”窗口,饱和度为“-76”,设置如图1,效果如图02。
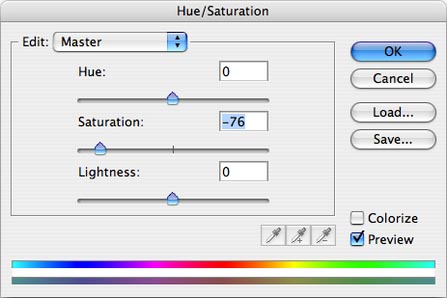
图01
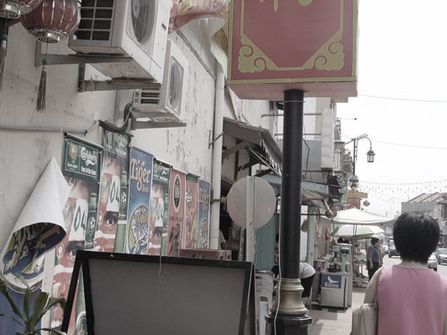
图02
2、打开“亮度/对比度”窗口,调节亮度和对比度分别为“-10”和“50”左右,设置如图03,调节后效果如图04。
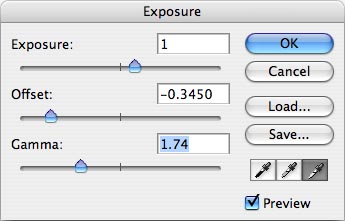
图03

图04
3、在层面板窗口拖动图层至“创建新的图层”复制一个活动层。
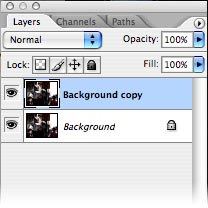
图05
4、点击“菜单滤镜模糊镜头模糊”,打开“镜头模糊”窗口,设置“半径”为9,“叶片弯度”为14,“旋转”为58,“亮度”为7,“阈值”为213,设置如图6,效果如图07。
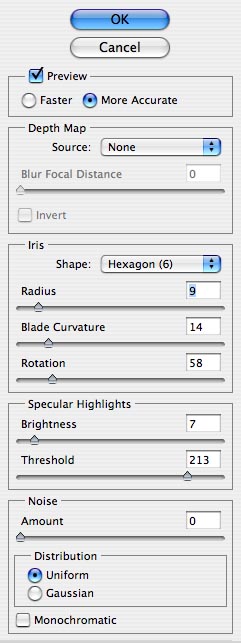
图06
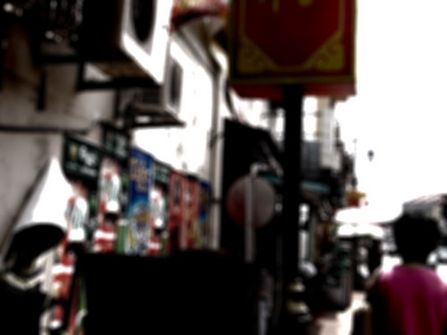
图07
5、点击层面板底部“添加图层蒙板”,点击图层选择“图层蒙板缩略图”如下图08(图层中红色框位置)。
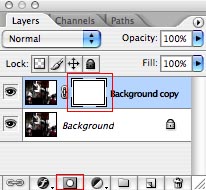
图08
6、选择“笔刷工具”,设置主直径值为“400 px”,然后使用笔刷工具点击照片,设置如图09,效果如图10。
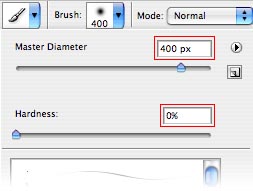
图09

图10
7、在层面板底部点击“创建新的图层”,创建一个新图层。
8、选用黑色填充新图层。
9、设置黑色图层的的“不透明度”为70%。
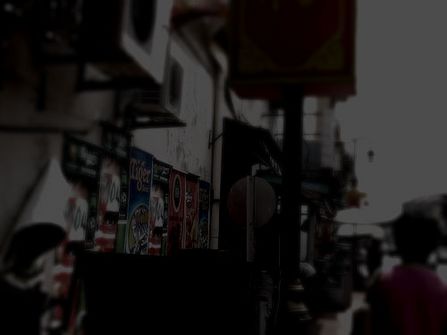
图11
10、使用橡皮擦工具,设置主直径为“400px”,然后开始擦除照片的中心部分。
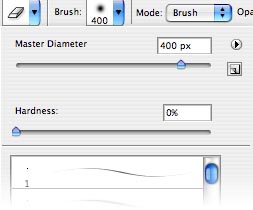
图12

图13
11、先合并图层,点击“菜单图层合并图层”,然后为照片增加杂色,“菜单滤镜杂色添加杂色”。
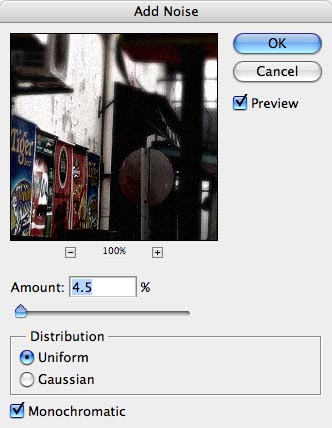
图14
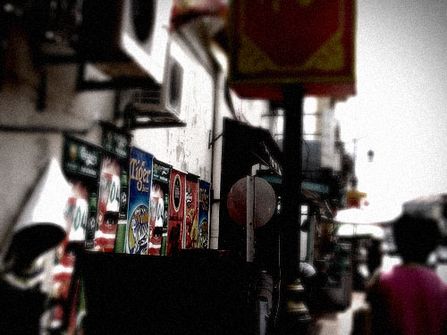
图15
12、使用矩形选框工具,在照片的顶部画矩形,然后按住shift键在底部也画同样的矩形,最后把选区填充为黑色,如下图。 当然你也可以使用“色彩平衡”工具,通过调节色彩平衡或者色调平衡,调出自己心仪的效果图片。
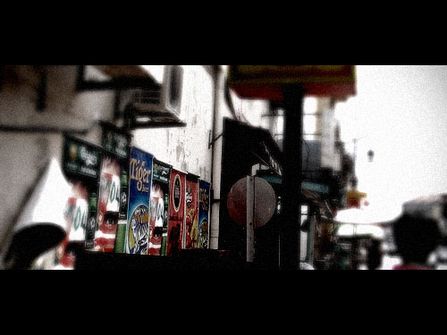
图16
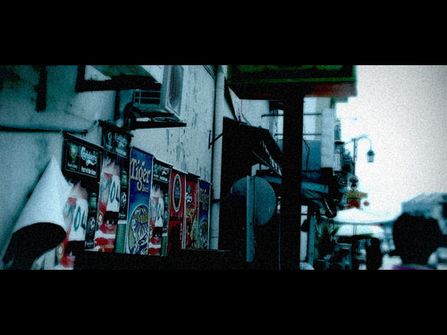
图17
学习 · 提示
相关教程