ps打造斑驳残破的美女脸庞海报效果教程(3)
来源:网络
作者:ENET 草原夜色
学习:8570人次
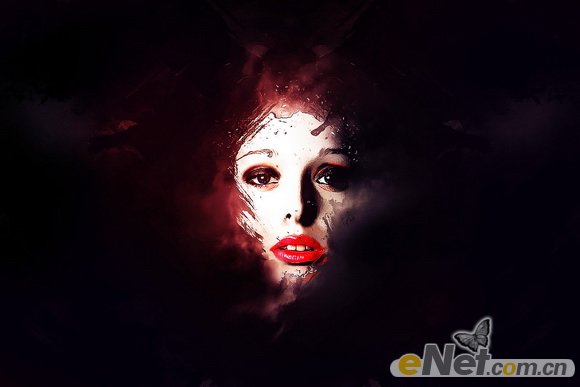
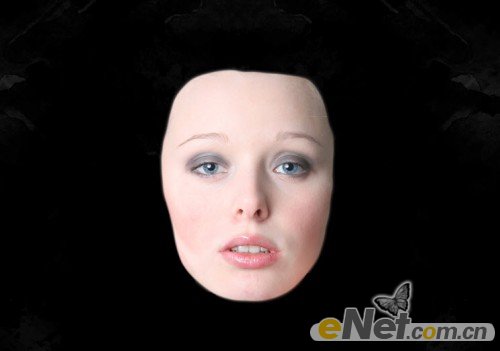
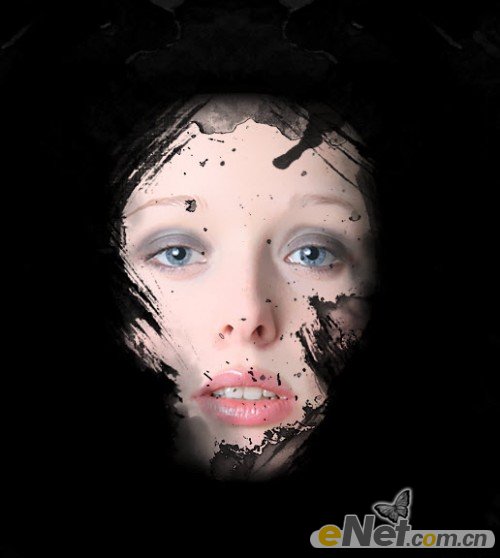
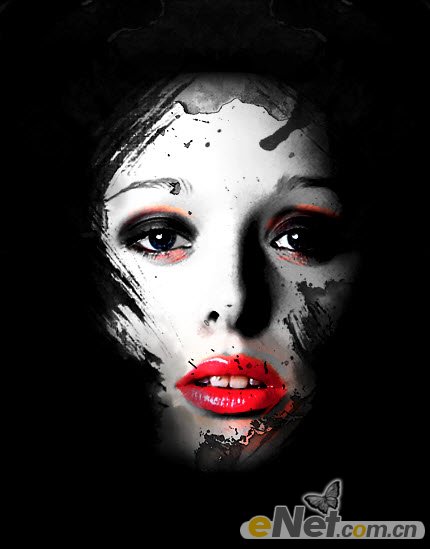
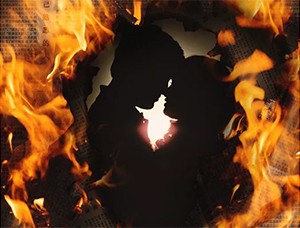
先看一下最终效果:
1.创建一个新文件大小为1200*800像素,背景为黑色。新建层使用画笔工具设置不透明度为30%,在画布上绘制一些锈迹的纹理。

制作这个层并翻转得到如下效果

2.打开人物照片,使用钢笔工具沿着脸部做一个路径,点击右键选择建立路径
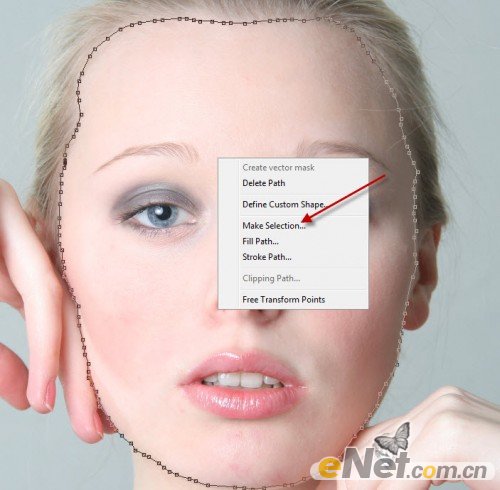
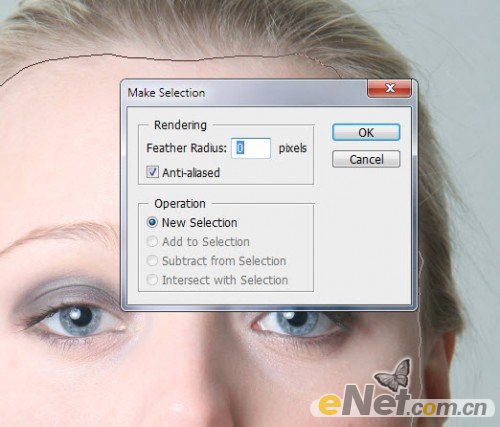
设置羽化为0px按确定键
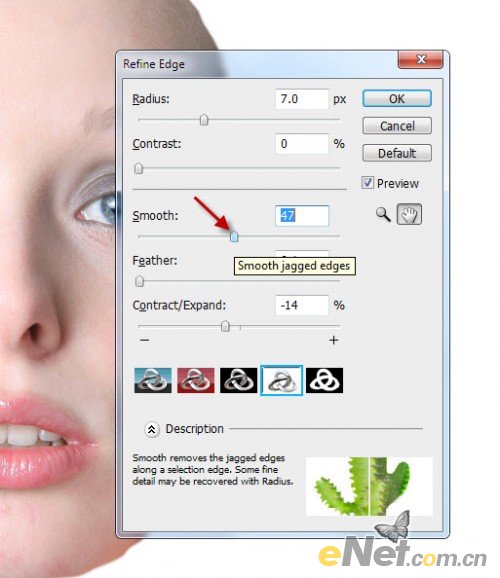
按CTRL+ALT+R调出调整边缘,如下设置使边缘平滑一点
复制并粘贴到画布,调整适当的大小,如下图所示
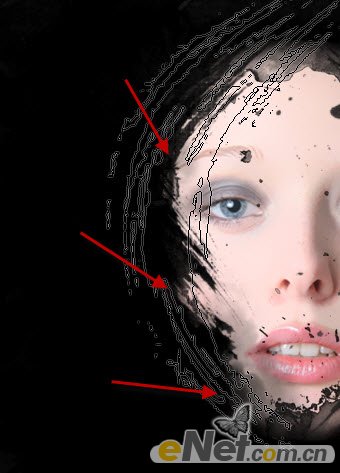
3.下载一些笔刷,选择一个如下图所示的笔刷,使用“橡皮擦”工具在脸上擦除痕迹

这是右边脸的痕迹
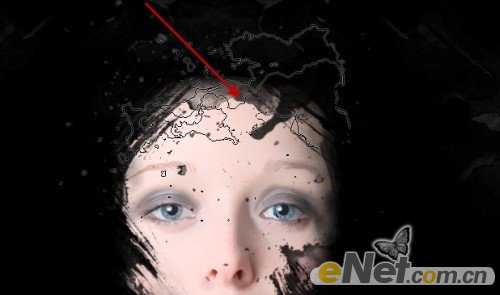
脸部上方擦除这样的痕迹
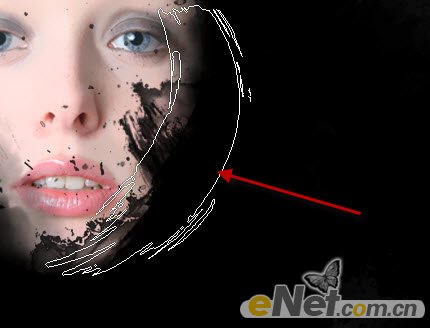
右边的脸擦出如下痕迹
上面的只是做一个列子,其实你可以使用不同的画笔制作出不同的擦伤效果
4.选择图层面板下方的“创建新的填充或调整图层”对脸层执行以下图层调整选项
黑白
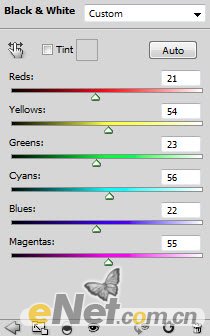
这里要注意,在黑背的“图层蒙版”中将下面的位置涂抹出来,这些位置不用调整
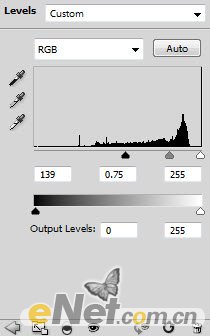
色阶
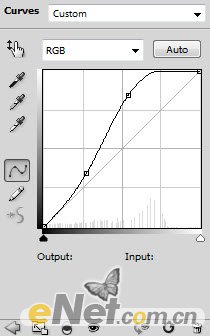
曲线
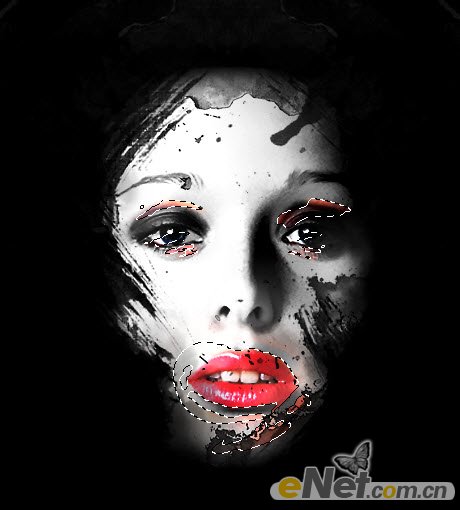
得到如下效果
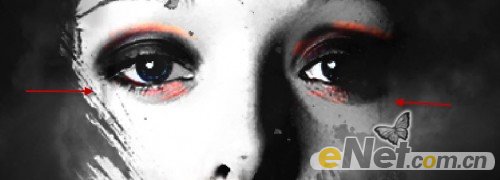
5.使用一个软角黑色笔刷,在脸部加上一些黑色滴点
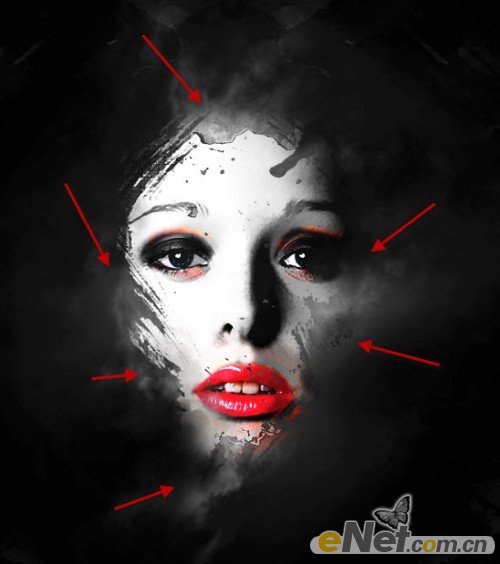
使用“滤镜>渲染>云彩”在脸部加上一些雾化效果,如下图所示的部位
下载一个碎片刷,在图中所示的位置绘制一些碎粒,调整适当的不透明度。

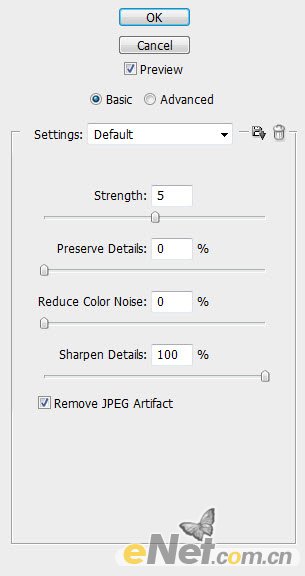
6.点击菜单中的“滤镜>杂色>降低杂色”并如下设置,来提高画面的层次
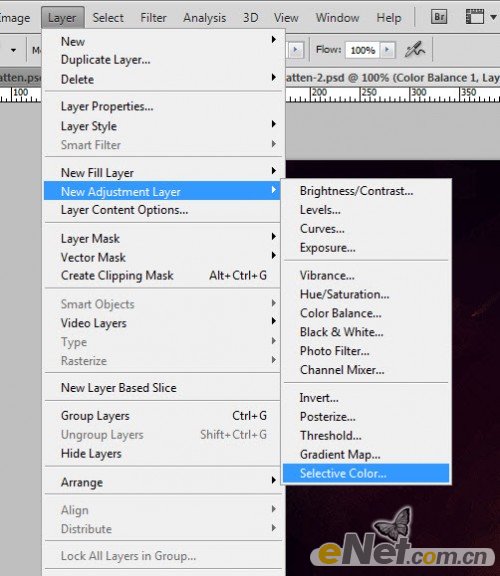
来调整图像的颜色,点击菜单中的“图层>新建调整图层>可选颜色”
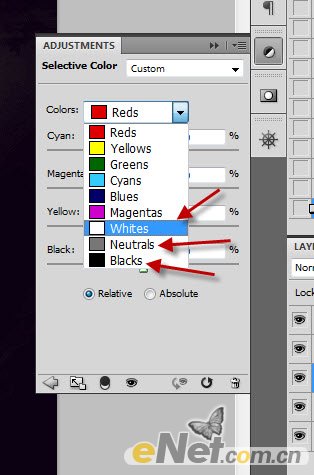
这里我使用一些中性的颜色,如白、红、黄等颜色
你会得到如下效果!
学习 · 提示
相关教程
关注大神微博加入>>


网友求助,请回答!