淘宝店铺宝贝装修教程:钢笔抠图(2)
来源:网络
作者:admin
学习:23742人次
再次单击下一点(如果画面不够位,可按下空格键移动画面后现绘制下一点)
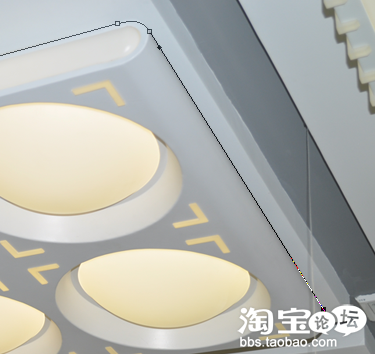
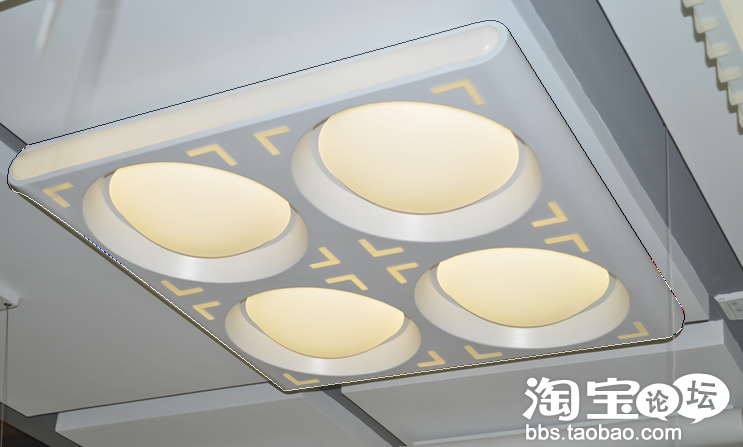
按照这种方法,在要抠取的对象关键边缘取点,完成后如图所示
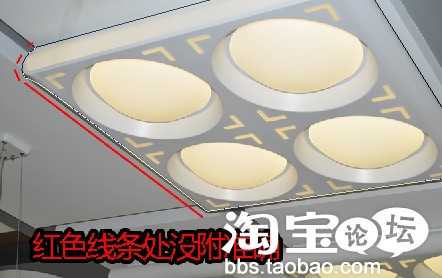
但是我们看到曲线没有完全附着灯具。怎么办呢
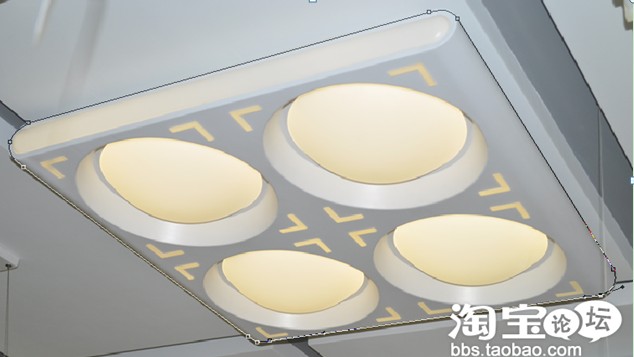
按照第七点讲到的方法,配合使用ctrl和alt来调整路径节点,调整后如图
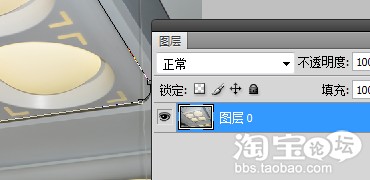
进入图层面板,双击,使背景图层转化为普通图层。
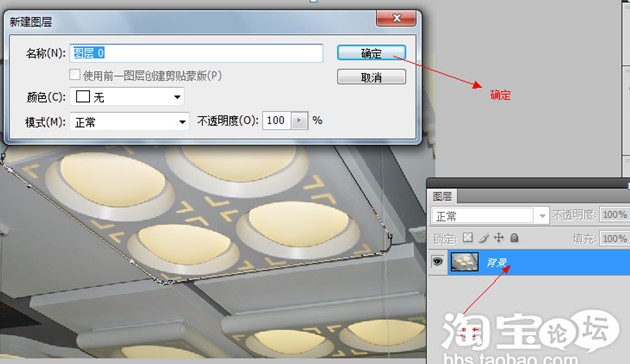
转化后显示为图层0
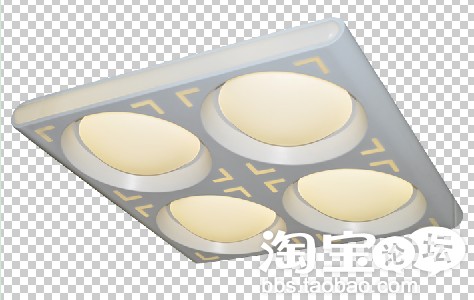
按ctrl+回车键使路径变为虚线选区并按ctrl+shift+i反向选择图形,按del键删除边缘部分,便得如下图示
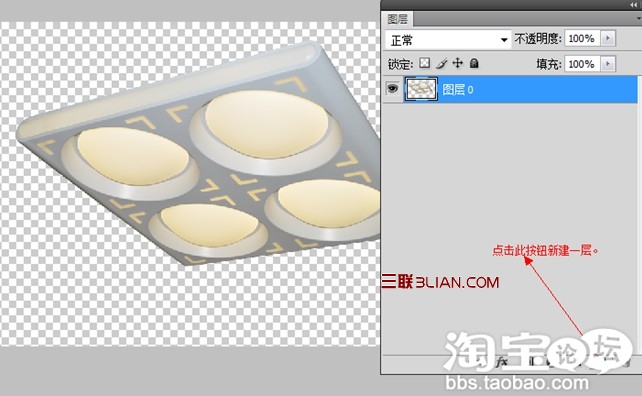
去除了背景后的图像底为透明的格子,我们为他加上纯色的背景,按下图所示增加一层。
学习 · 提示
相关教程
关注大神微博加入>>


网友求助,请回答!