ps制作逼真的冬天下雪动画教程(3)
来源:网络
作者:admin
学习:16295人次
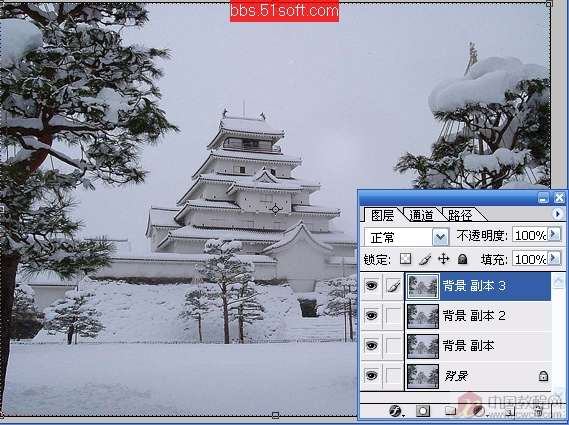
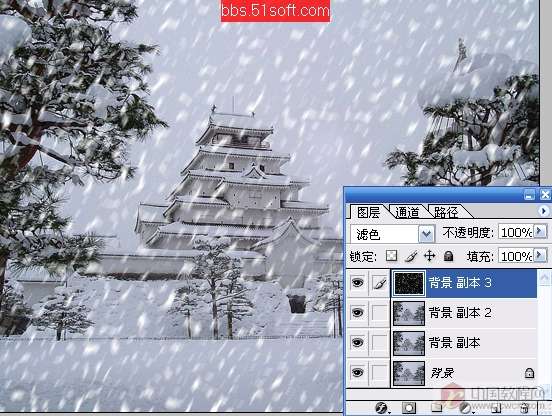
对背景副本3进行操作
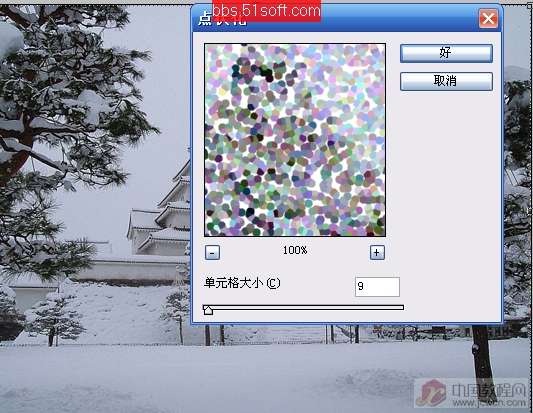
滤镜——像素化——点状化
(参数见图,其大小决定了雪花的大小)
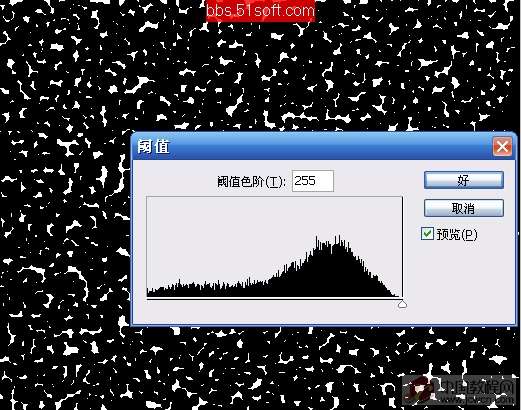
图像——调整——阈值(数量255)
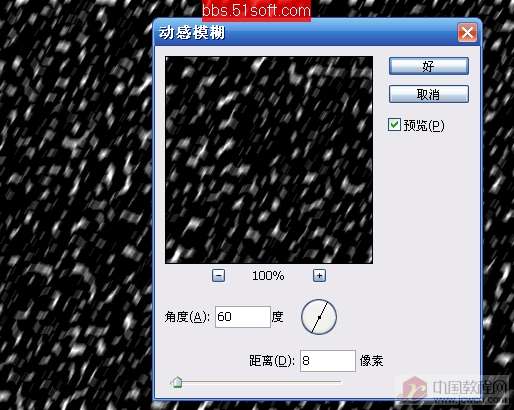
滤模——模糊——动感模糊
参数见图
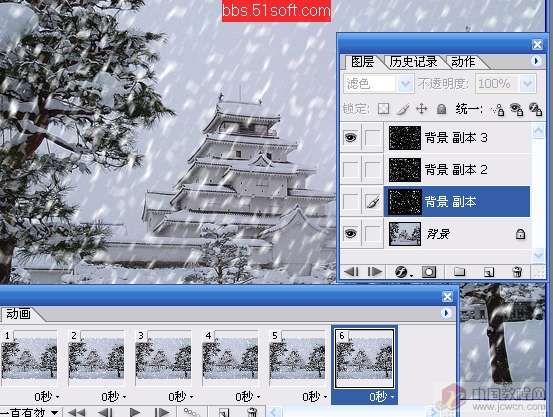
将图层混合模式调整为“滤色”(屏幕)
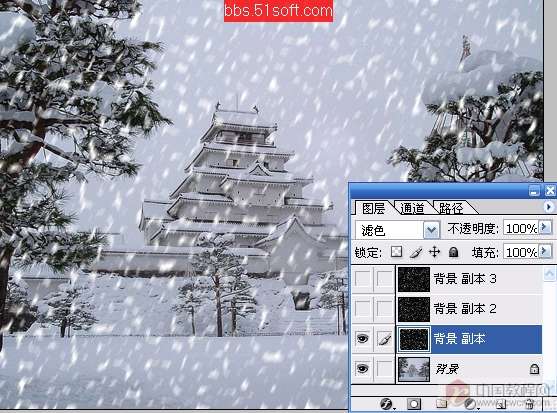
如法炮制背景副本2、背景副本1
制作雪花
(注:在做动感模糊时
将角度及数量稍微修改一下
目的是造成人眼视觉差)
点工具栏最下方快速进入IR
隐藏背景副本3、背景副本2
只显示背景副本1
连续按2次添加帧
出现3个帧
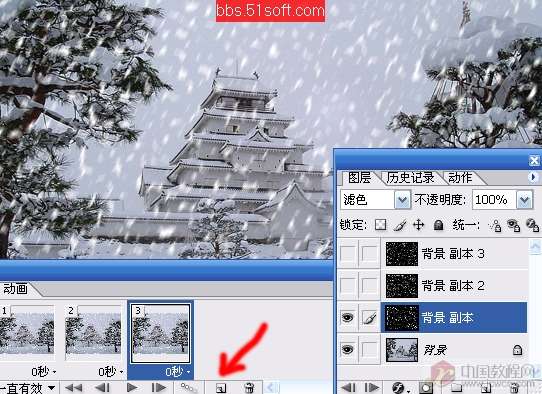
隐藏背景副本
显示背景副本2图层
连续按2下新建帧
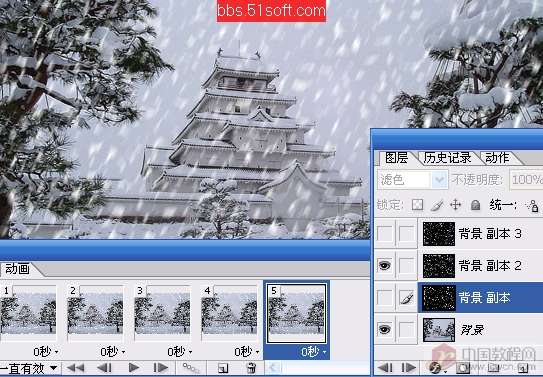
隐藏背景副本2
显示背景副本3
这次只要按下1次添加帧就可以了
最后“文件——将优化结果输出——保存为gif“格式就可以了
学习 · 提示
相关教程
关注大神微博加入>>


网友求助,请回答!