ps制作厚实饱满的金色锡纸文字效果教程(4)
来源:PS学堂
作者:有烟飘过
学习:11322人次
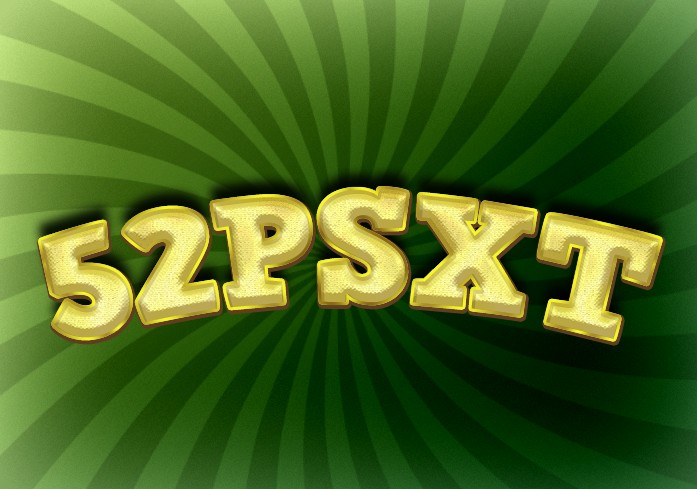
PS教程教大家制作一款厚实饱满的金色锡纸文字效果,主要利用图层样式即可完成,非常棒的金属质感纹理黄金字效,颜色金光灿烂,厚实饱满,看起来很舒服的金属纹理,加上艺术效的背景,和放飞的圆点,组成一张非常棒的艺术字作品,感谢作者为我们带来又一好教程。
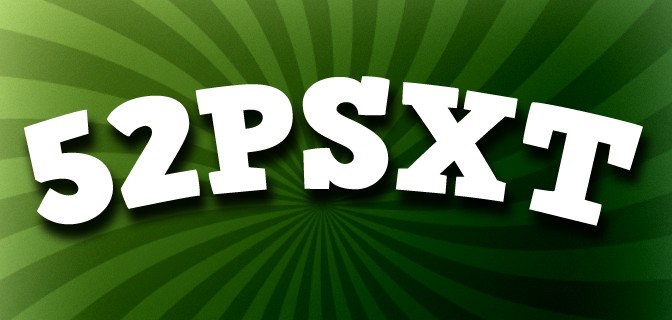
教程具体效果:
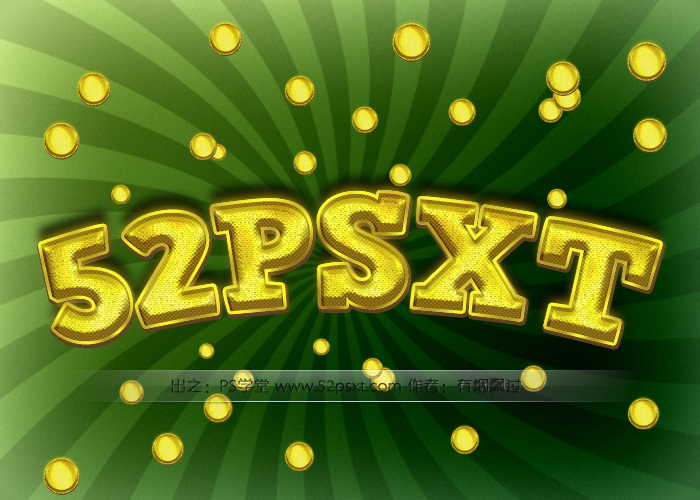
教程:
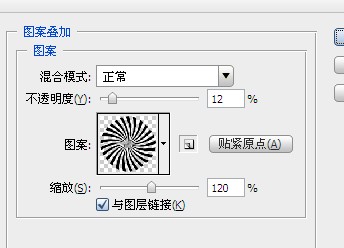
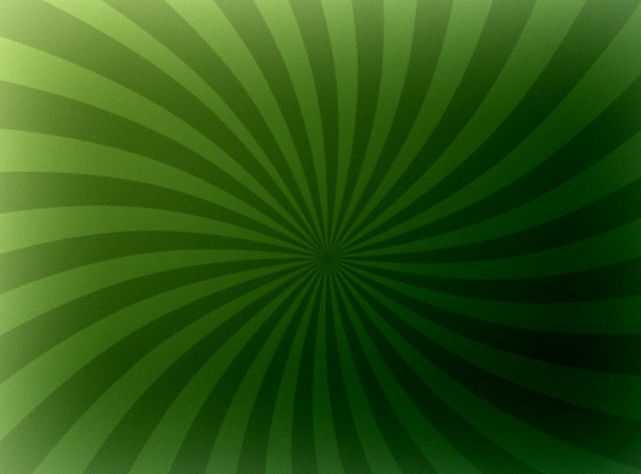
1.新建700*500大小文档,双击解锁。给图层添加图层样式(图案叠加的素材请看隐藏部分)。螺旋图案可以用移动工具进行位置的调整:
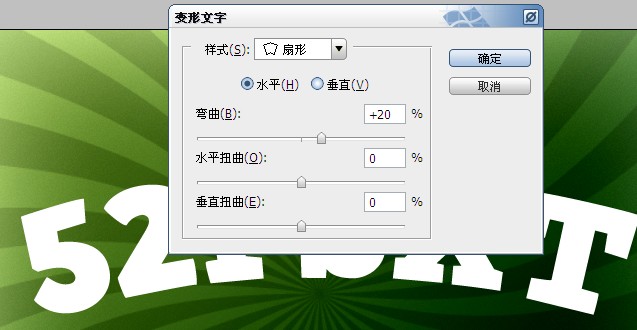
2.用HVD字体在画布上打出文字,给字体进行变形,选择字体上面的变形文字,设置如下:
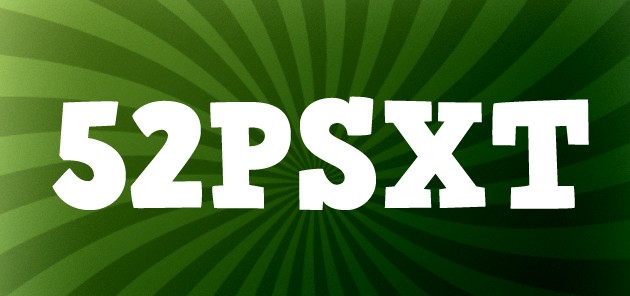
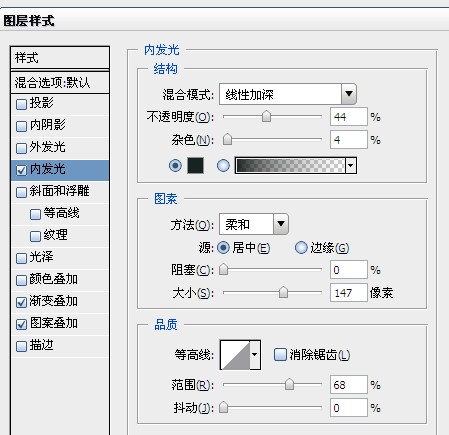
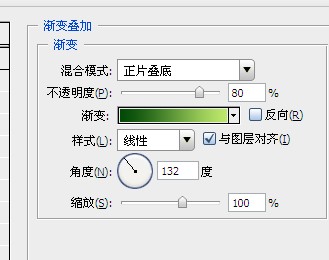
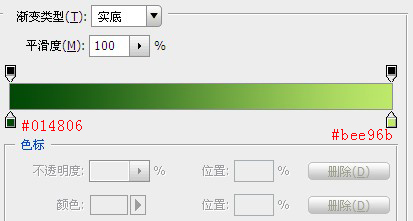
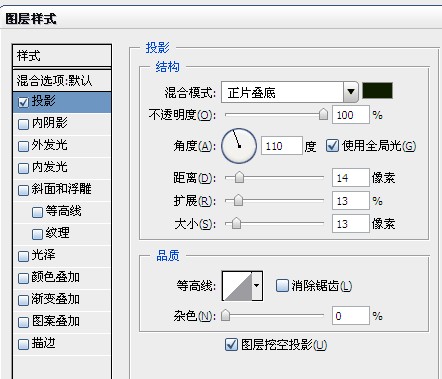
3.给字体图层添加图层模式:
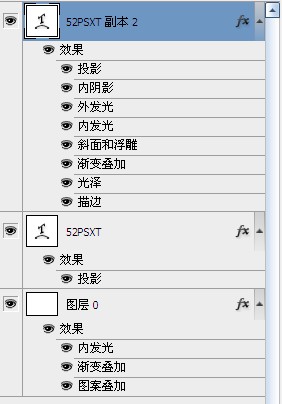
4.复制一层字体得到“文字副本”,右击字体图层,清除图层样式,重新给复制的字体图层添加图层模式,设置如下:
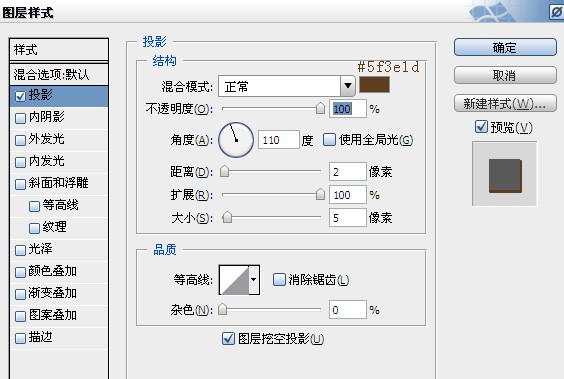

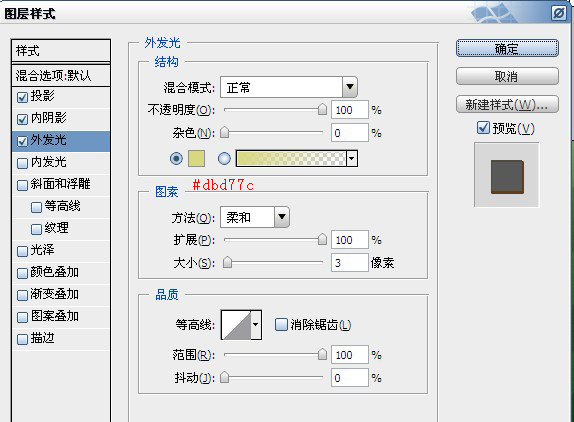
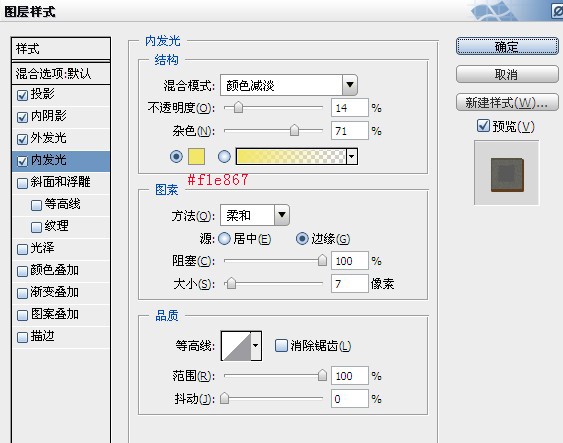
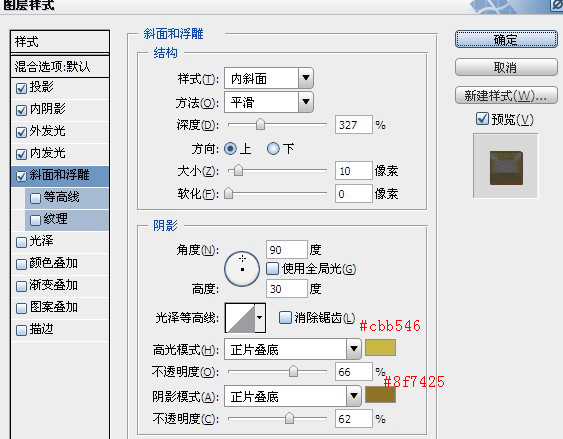
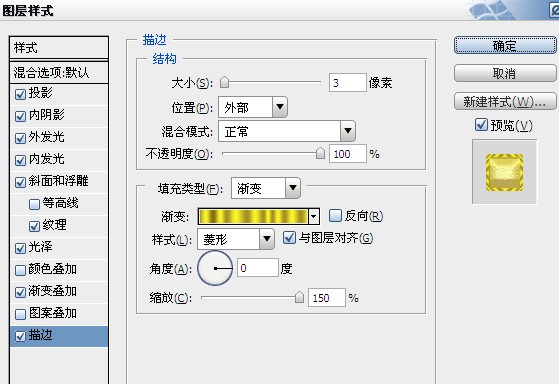
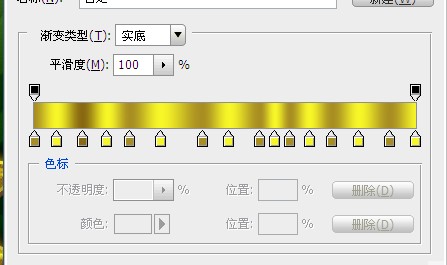
描边渐变:颜色#a88e22,位置:0;13;25;44;59;78;93颜色#f7f627,位置:6;19;33;51;63;72;85;100
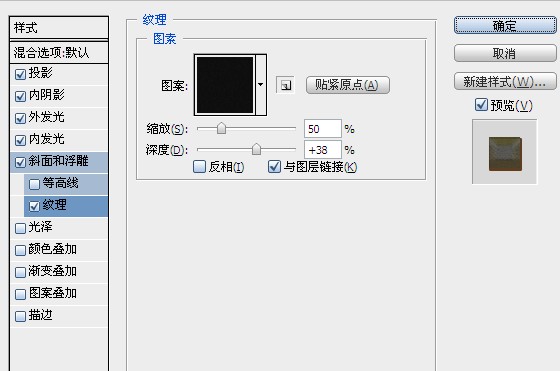
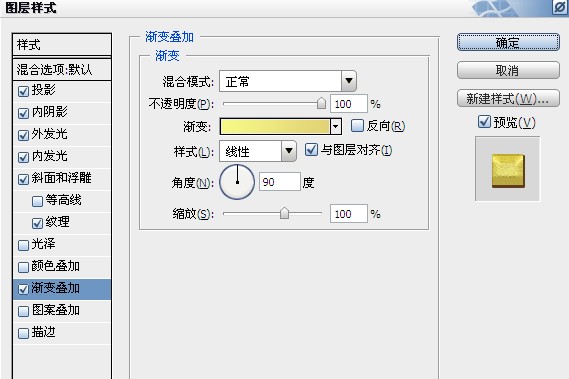
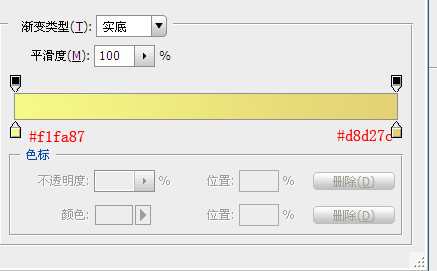
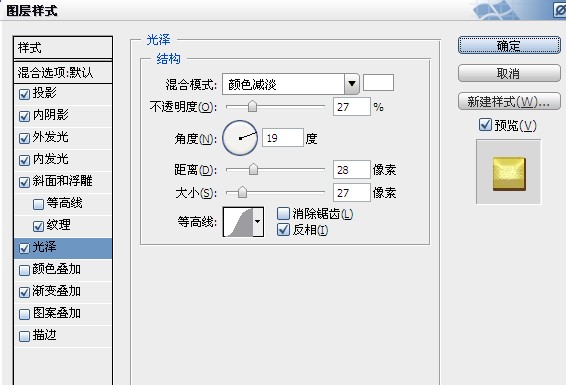
5.我们再复制“文字副本”,同样清除图层样式,重新设置图层样式,如下:


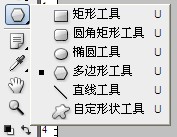
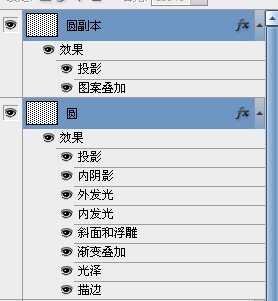
6.我们再给字体增加一点泡泡效果。用椭圆工具,按住shift键画出正圆(圆大点,方便后面变形),粘贴“文字副本”的图层模式。


7.再复制一层圆形图层,清除图层模式,复制一层“文字副本2”的图层模式,合并两个图层。

8.现在你就可以不停的复制图层,变形,摆放出你喜欢的效果。
学习 · 提示
相关教程
关注大神微博加入>>


网友求助,请回答!