ps星空烟雾文字(4)
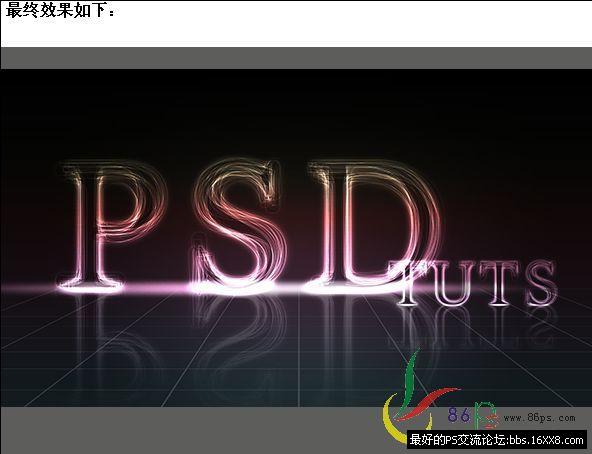
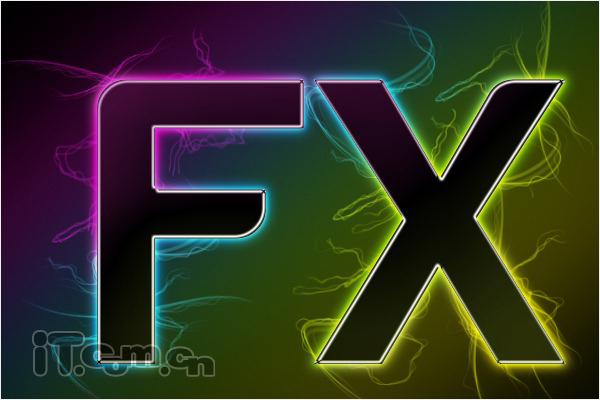
效果图:

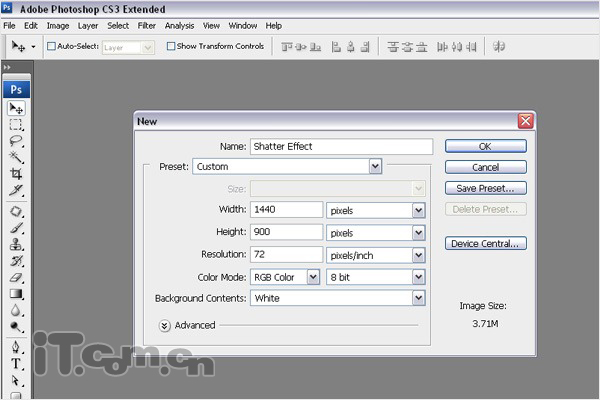
1、首先创建一个新文档,尺寸为1440*900px,然后填充背景色为黑色,如图所示。
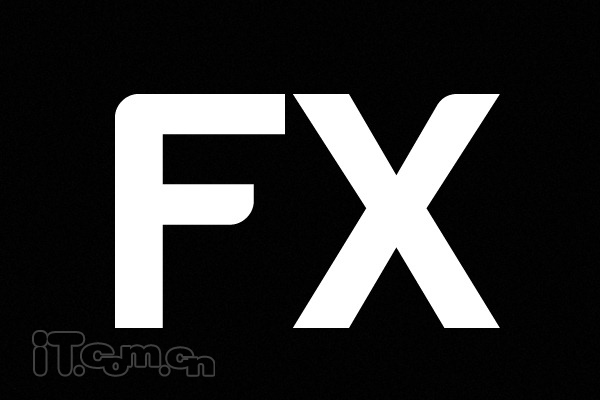
2、使用文字工具要图片中输入白色的文字,在本教程中我使用的是一款名为Harabara的字体。
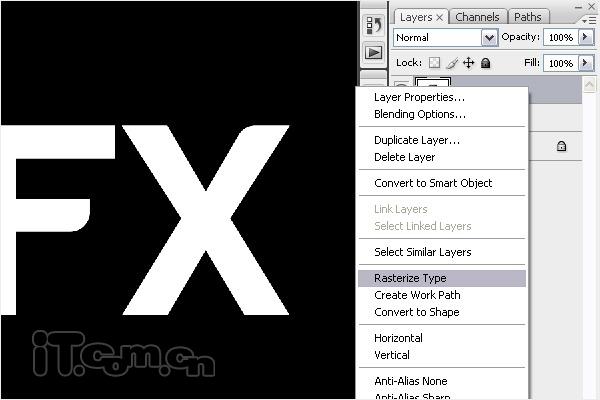
3、在图层面板中右键单击文字图层,选择栅格化文字,把文字图层变为普通图层,如图所示。
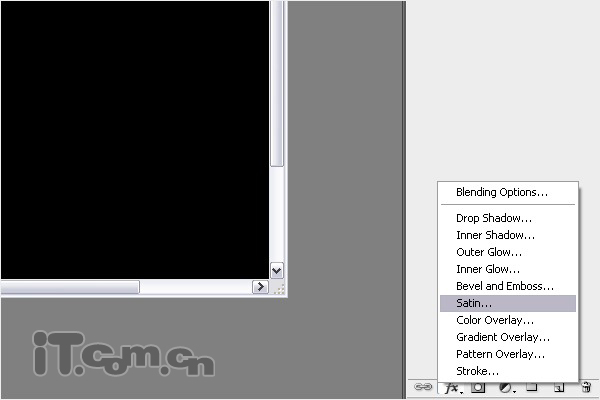
4、给文字图层添加图层样式:光泽。在图层面板中单击“添加图层样式”按钮,选择“光泽”,如图所示。
混合模式:正片叠底
不透明度:100%
角度:143 °
距离:3px
大小:3px
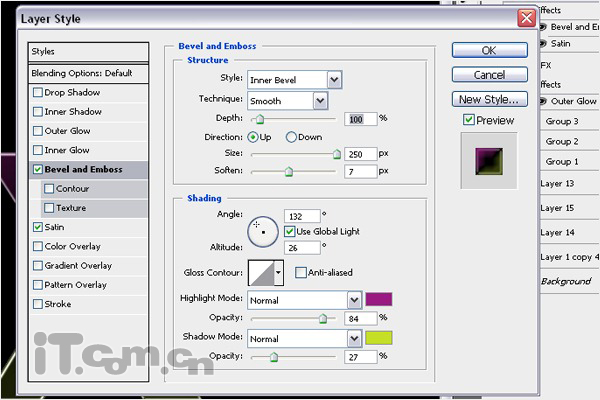
5、设置斜面和浮雕图层样式:
样式:内斜面
方法:光滑
深度:100%
方向:上
大小:250像素
软化:7px
角度:132 °
高度:26 °
高光模式:正常,颜色:#9a1a82,不透明度:84%
阴影模式:正常,颜色:#c5df27,不透明度:27%
效果图:

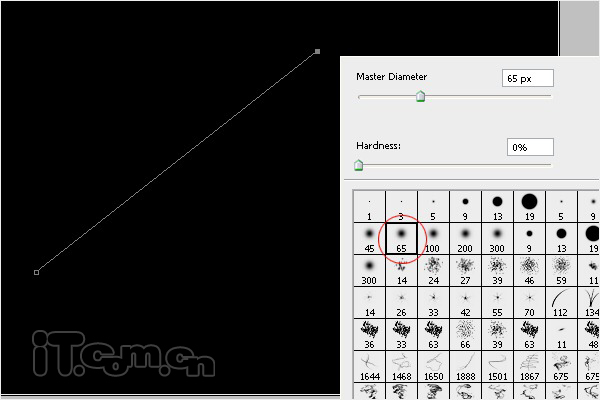
6、在文字图层下面创建一个新图层,然后使用钢笔工具在图片的左上方创建一条直线路径。然后设置画笔工具,选择65号柔角画笔。设置前景色为#FF00FC,再选择钢笔工具,鼠标在图中单击右键,选择“描边路径”,勾选“模拟压力”。
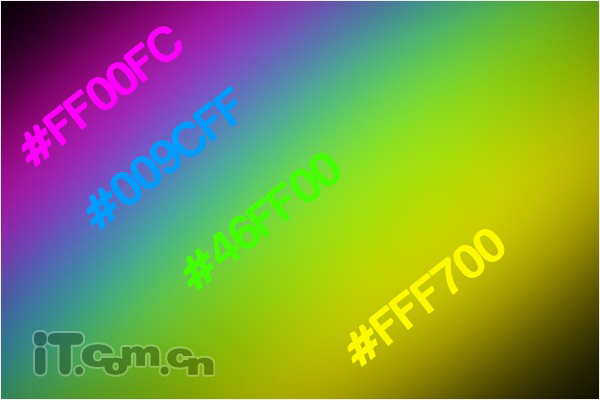
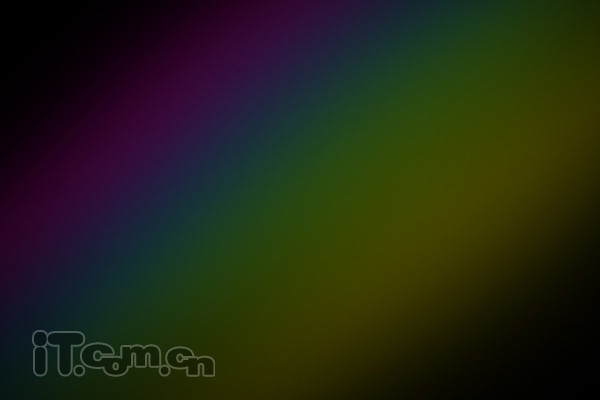
7、重复上面的步骤3次,制作出4道彩色的面背,然后把这些彩色背景图层合并起来(Ctrl+E),如图所示。
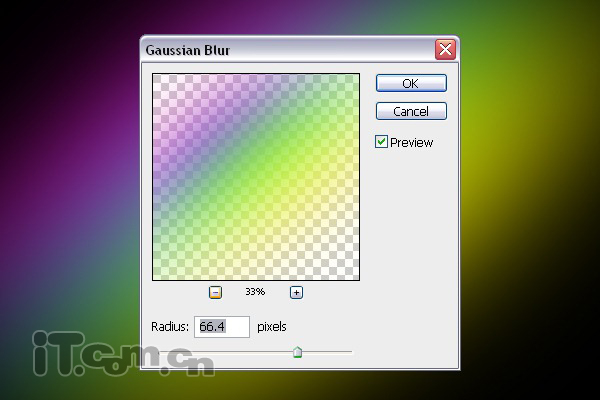
8、选择“滤镜—模糊—高斯模糊”,设置半径为66.4px,然后降低不透明度到33%,效果如图所示。
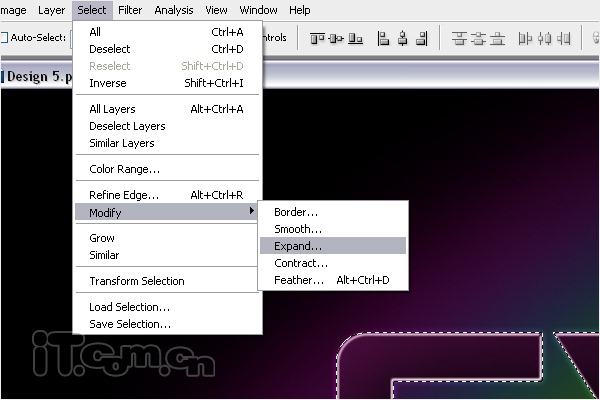
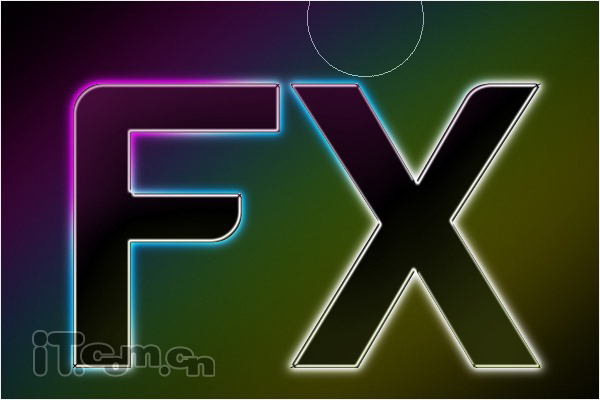
9、按着Ctrl键单击图层面板中文字图层的缩略图载入其选区,然后选择“选择—修改—扩展”,设置2px,接着在文字图层下面创建一个新图层,填充白色。
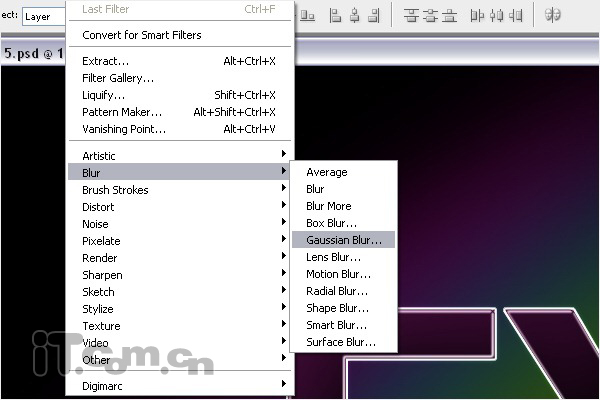
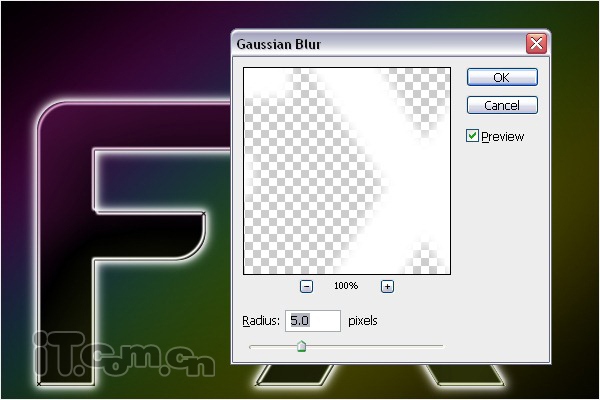
10、选择“滤镜—模糊—高期模糊”,设置半径为5px,如图所示。
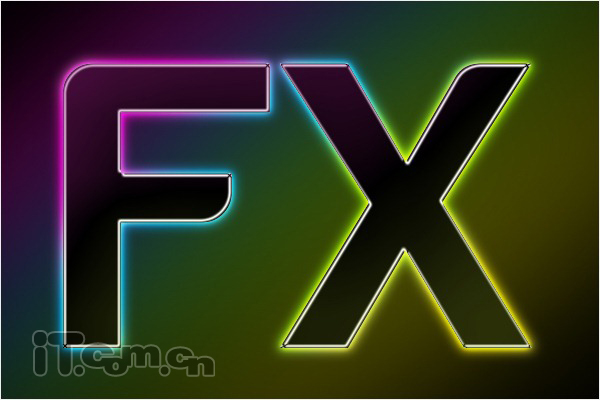
11、选择画笔工具,参考步骤6的颜色设置,涂抹出文字周围的彩色光效,如图所示。
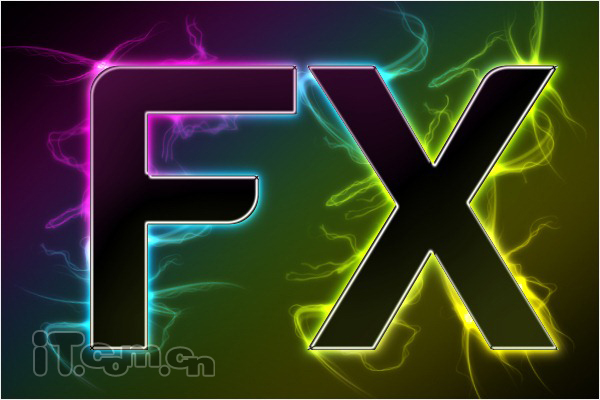
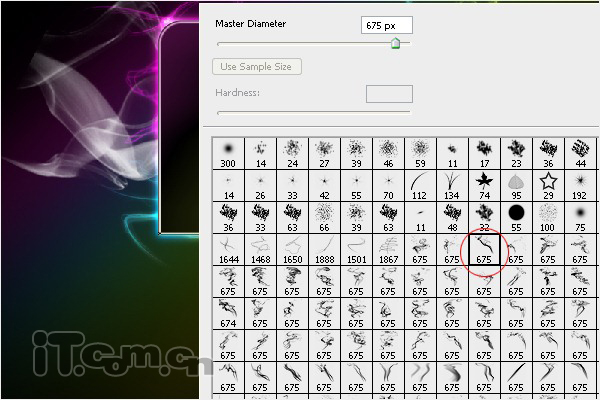
12、下载一款细丝线的笔刷并载入到photoshop的画笔工具中,然后在文字周围的背后添加这些细小的丝线效果,如图所示。
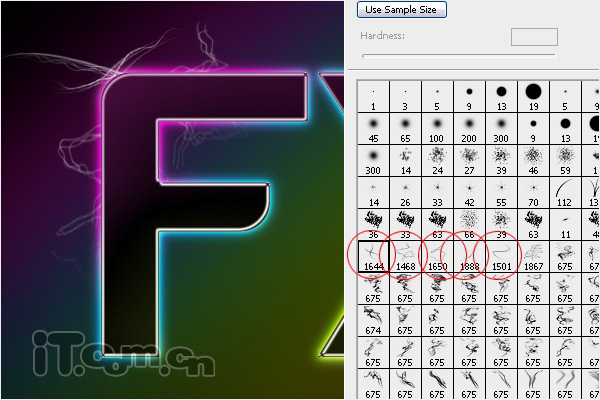

13、载入细丝线图层的选区,然后使用步骤11相同的方法,给这些细丝线添加与文字发光相同的效果,然后设置图层混合模式为“线性减淡(添加)”,如图所示。
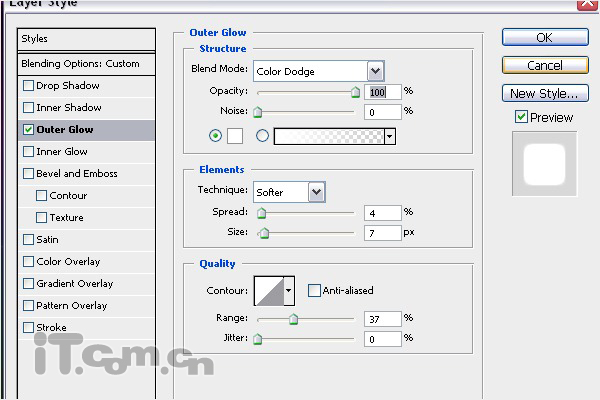
14、给这些细丝线添加外发光图层样式,设置参考下图所示。
15、接下来的操作去前面的大同小异。下载一款烟雾笔刷,然后在文字的背后添加烟雾,如图所示。

16、给烟雾添加颜色。
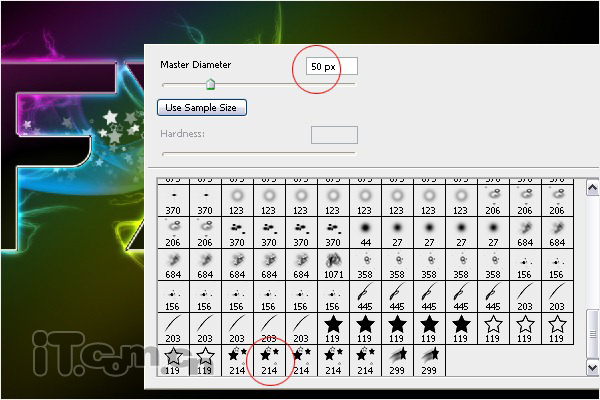
17、下载一款星星笔刷,在文字图层下面创建一个新图层,使用钢笔工具画出一个波浪的路径,然后使用星星笔刷描边路径,如图所示。

最终效果如图所示。

学习 · 提示
相关教程