ps制作印章(4)
来源:网络
作者:古欲香萧
学习:15299人次
效果图:

应用效果:

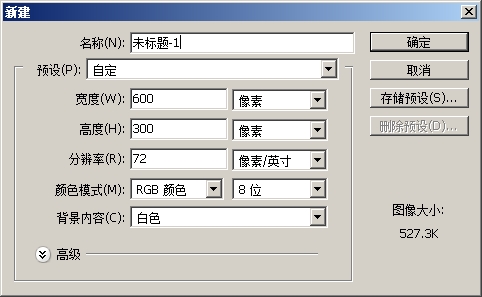
1.新建文件
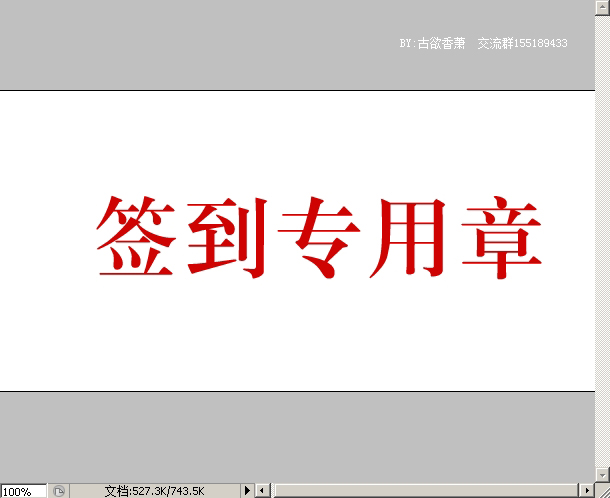
2.打字 颜色用红色
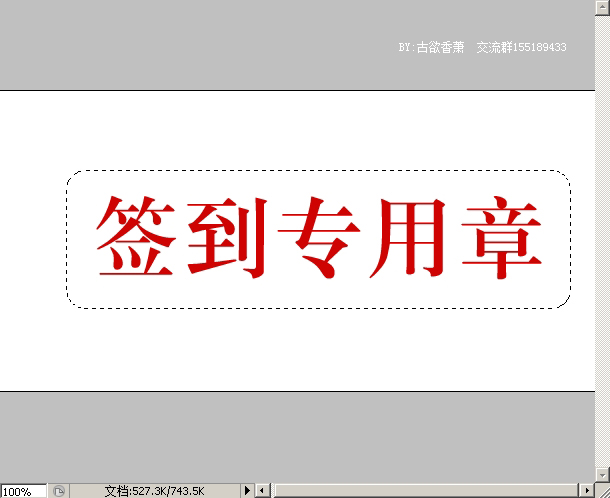
3.用圆角距形工具画一个圆角框,框住文字

4.CTRL+回车,把圆角距形转换成选区
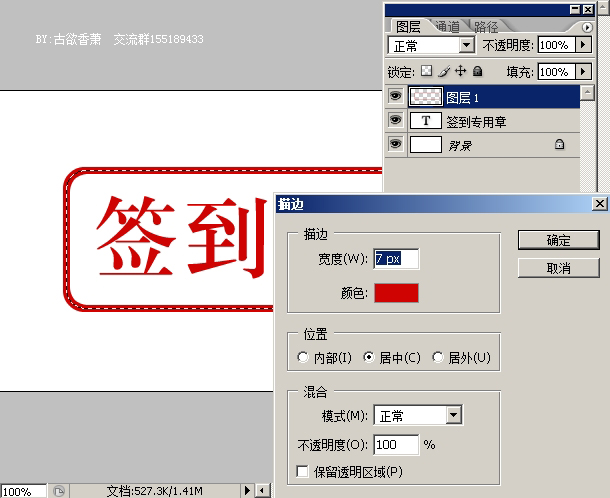
5.新建一层,编辑--描边
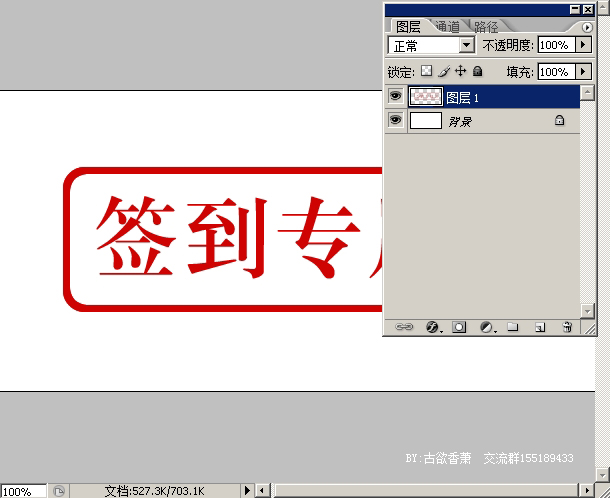
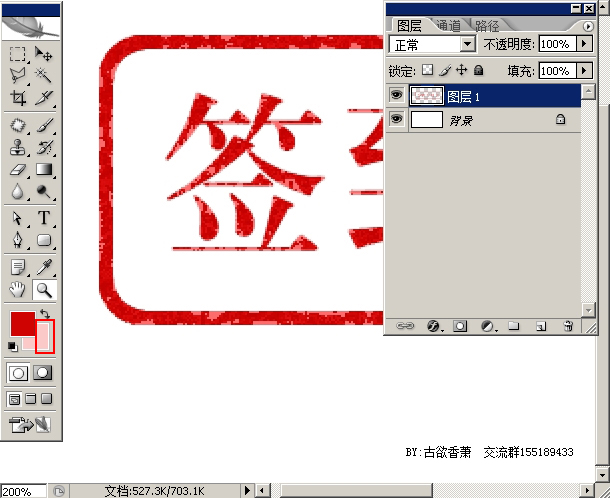
6.把图层1和文字图层合并
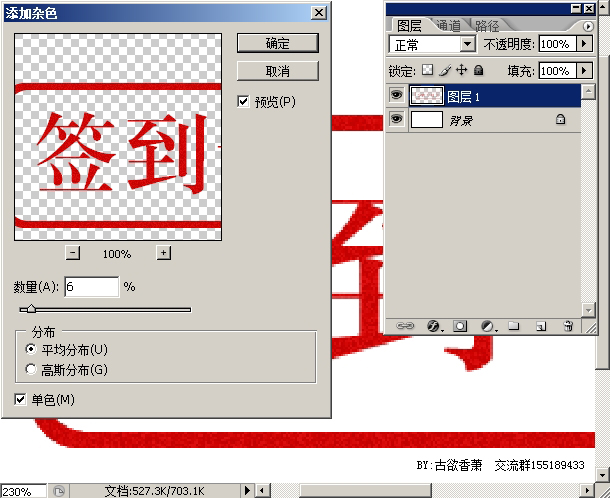
7. 执行滤镜--杂色--添加杂色
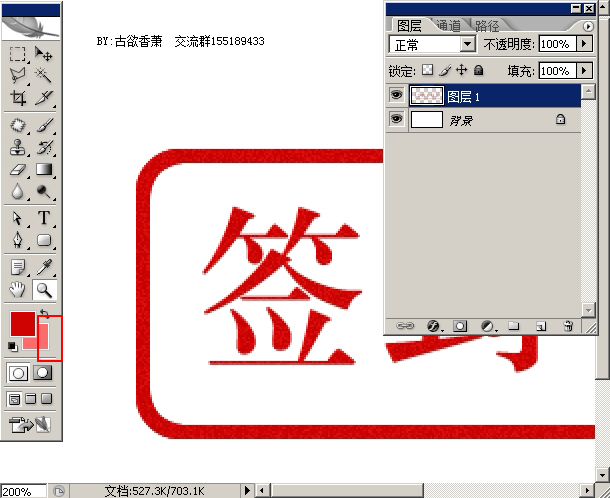
8.背景色设为浅红色
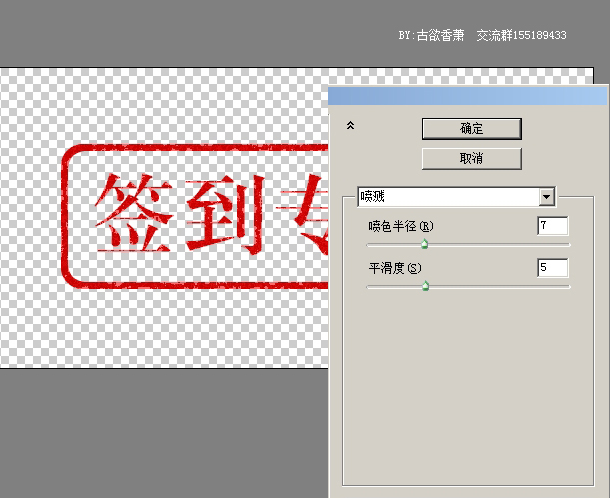
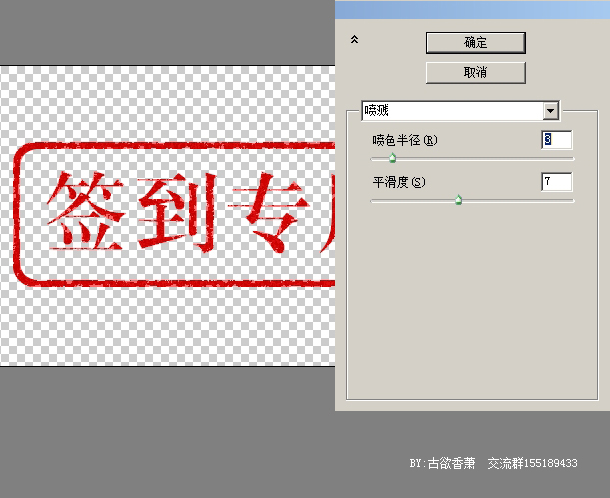
9.执行滤镜--画笔描边--喷溅
10.再把背景色改为更浅一点的红色
11.再次执行滤镜--画笔描边--喷溅
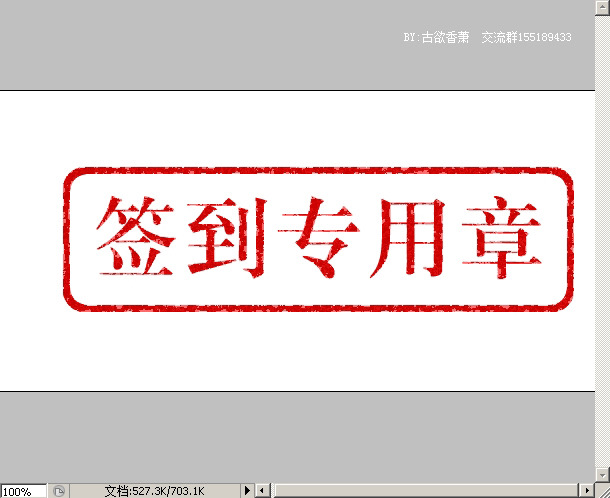
12. 效果
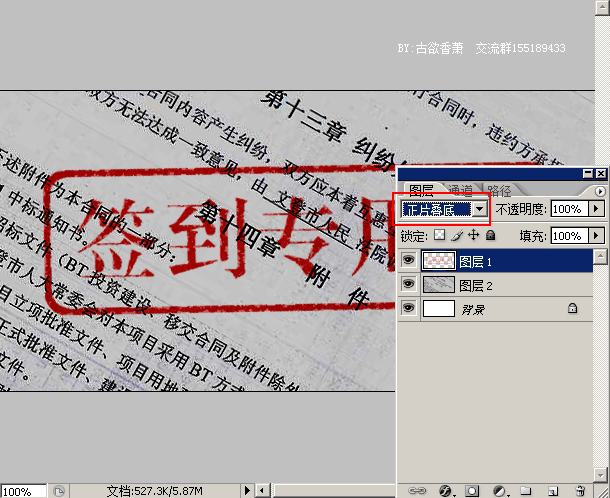
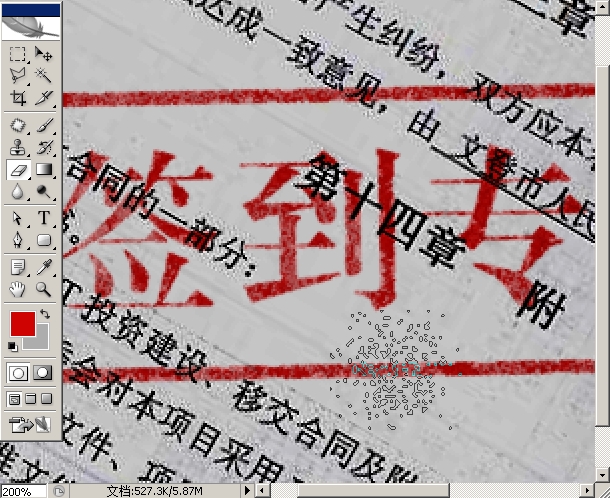
13.找一张背景图进来,把签到章图层模式改为正面叠底。
14.点橡皮擦工具,在画笔里选“干画笔尖浅描”,透明度45。
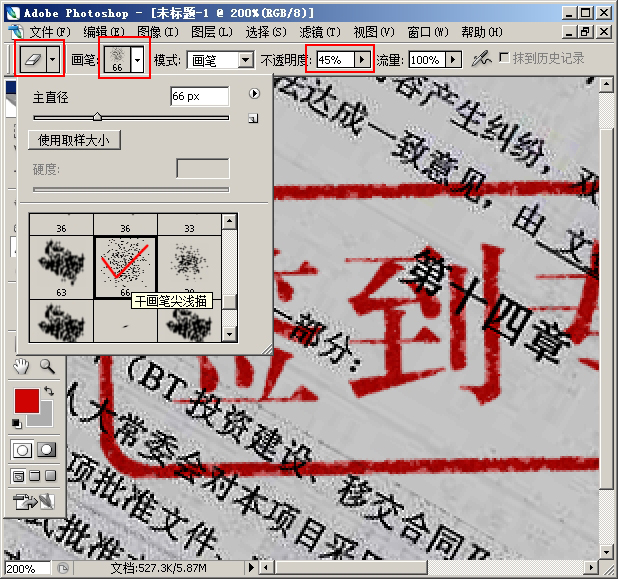
15.然后在章上轻轻扫几下,效果就出来了。
最终效果!

学习 · 提示
相关教程
关注大神微博加入>>


网友求助,请回答!