ps象征派画效果(2)
来源:网络
作者:PConline
学习:3621人次
反相后的效果:
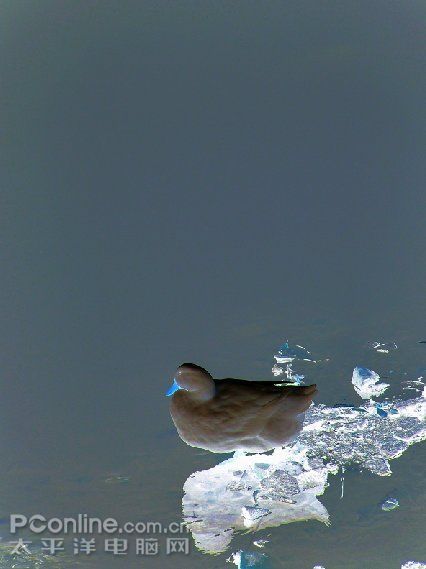
图3
4、接着将背景副本3的图层模式改为颜色减淡,如图4
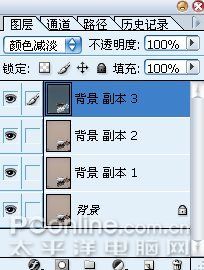
图4
5、继续对背景副本3,——滤镜——其他——最小值,参数设置如下,如图5
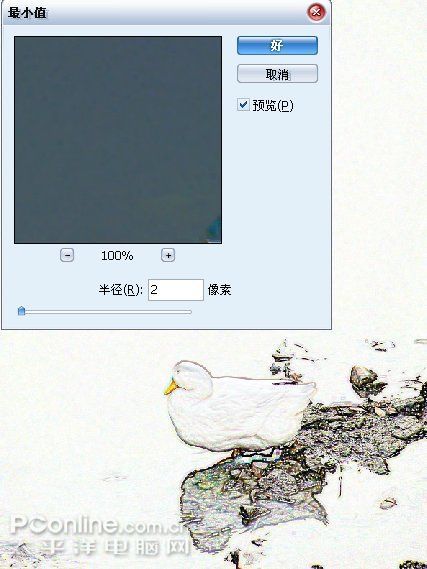
图5
6、接着将背景副本3和背景副本2合并,合并之后对背景副本2——滤镜——艺术效果——木刻
木刻的参数设置,如图6
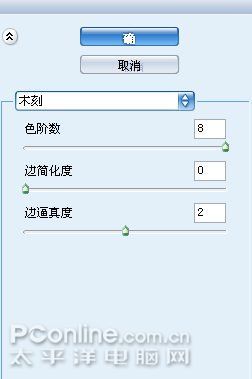
图6
最终效果,自己加些文字,或者用同样方法做些装饰使得画中构图更加饱满,
一幅水墨画就出来了。

效果图
学习 · 提示
相关教程
关注大神微博加入>>


网友求助,请回答!