PS合成全景旋转创意照片教程(4)
来源:网络
作者:ps爱好者
学习:6294人次
素材
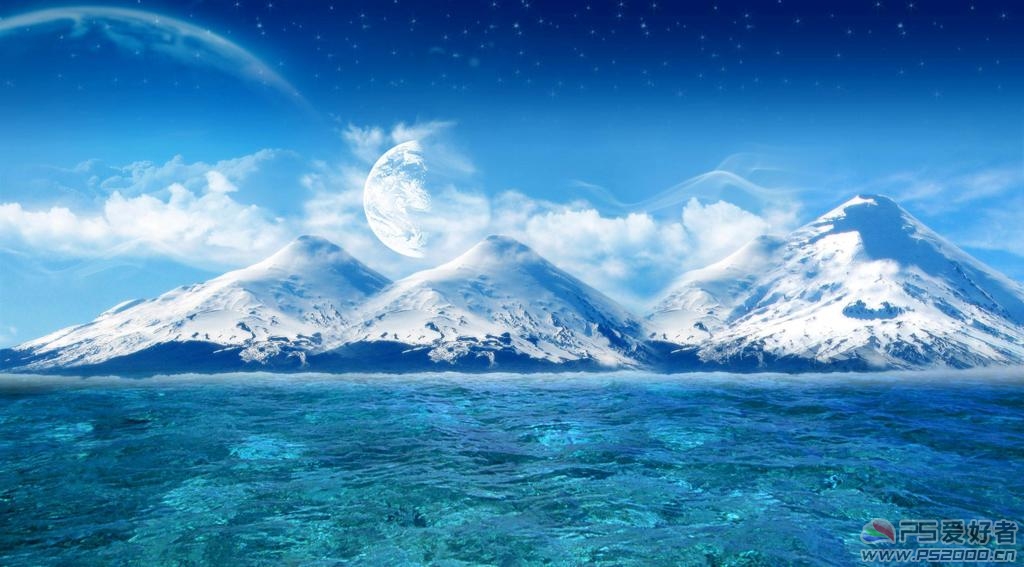
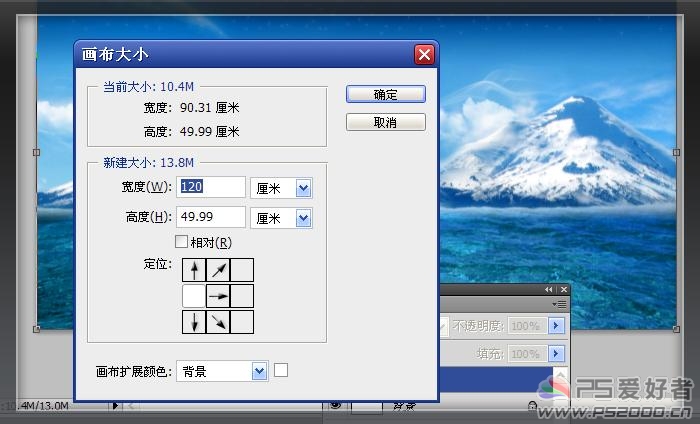
打开素材图,ctrl+J复制,将背景色设为白色。调整画布大小
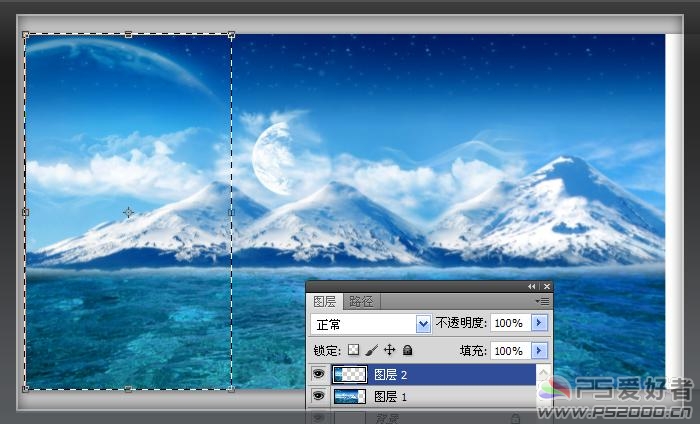
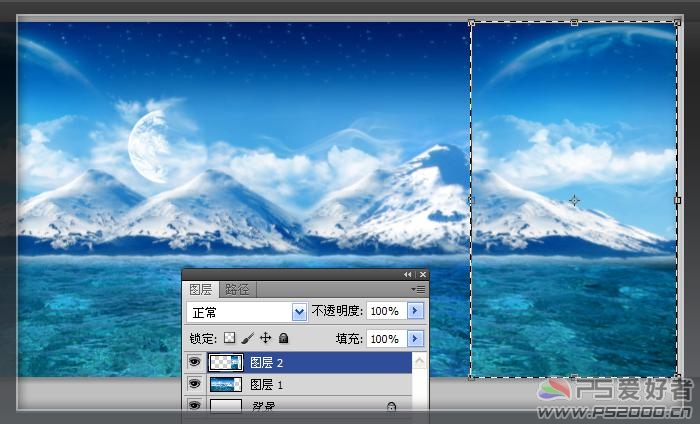
用矩形选框工具在图片左侧框出选区,ctrl+J复制
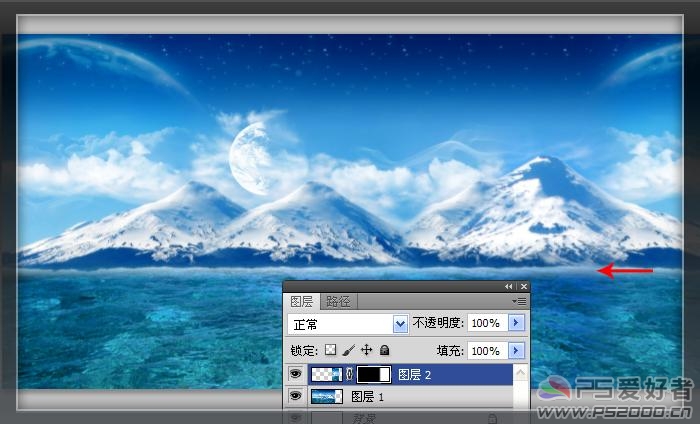
添加图层蒙版,用渐变拖出,使两图完美融合
ctrl+E复制这两个图层,将多余的白边删去。最终结果见下图。
以上这些步骤的目的是为了下面做极坐标时效果时重叠处没有接缝

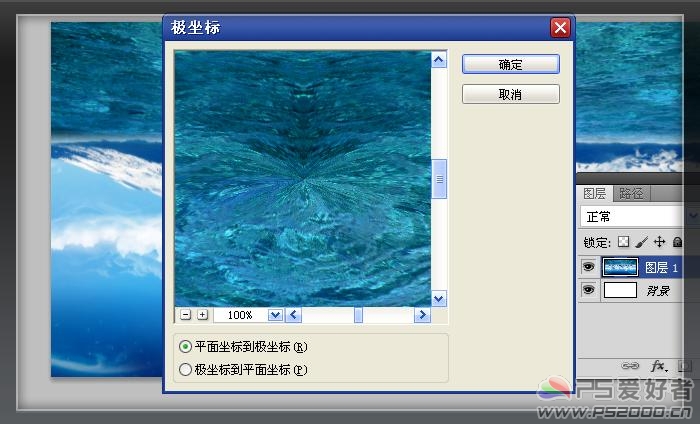
将图像旋转180度。滤镜——扭曲——极坐标——平面坐标到极坐标
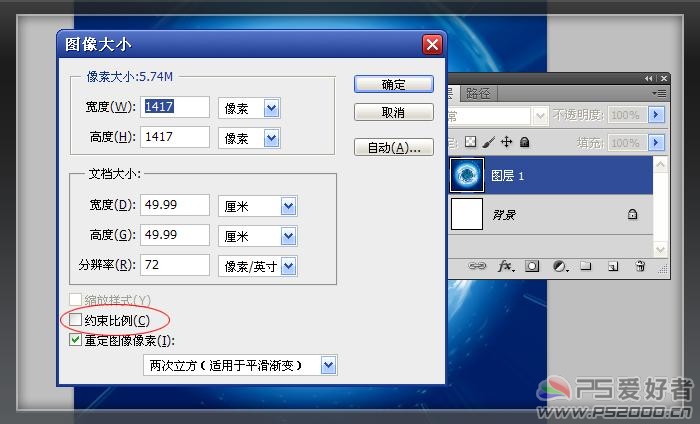
调整图像大小,注意将“约束比例”勾选去掉。使图片变成正方形效果
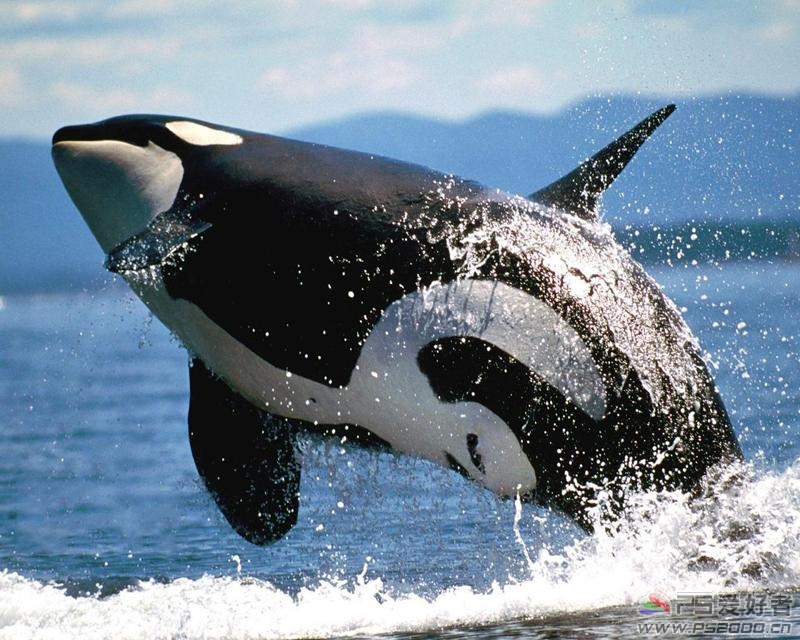
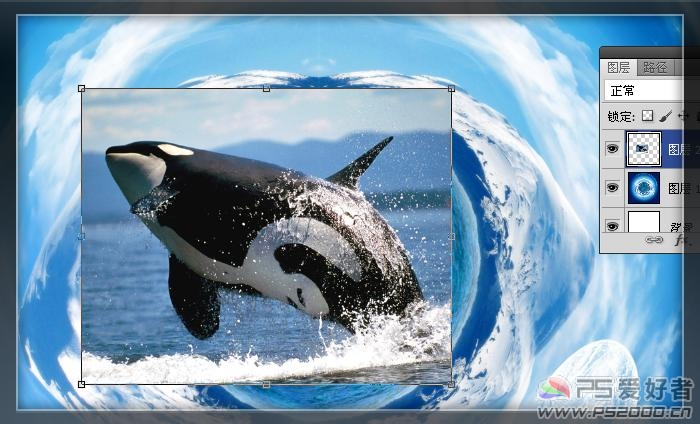
拖入鲸鱼素材。放至合适的位置并调整好大小
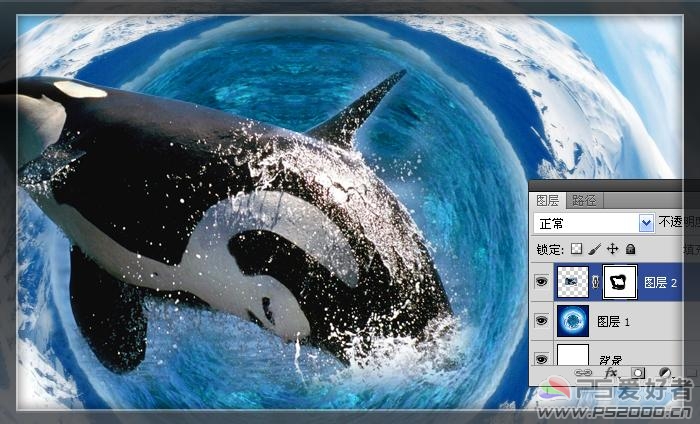
添加图层蒙版。前景色设为黑色,用柔性画笔在图层蒙版抹去多余的部分
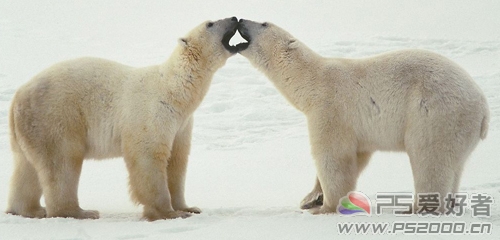
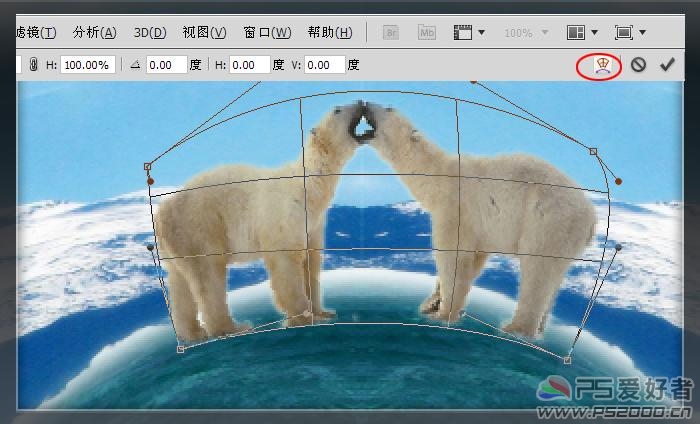
拖入北极熊素材。调整好大小和位置
用魔术棒抠出

ctrl+T变换,选中变形模式。拖出下图的变换效果
新建图层,前景色设为白色,用柔性画笔绘制出白雪的效果
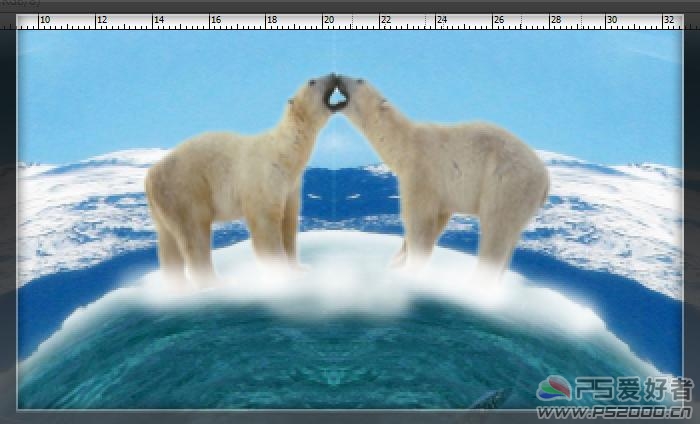
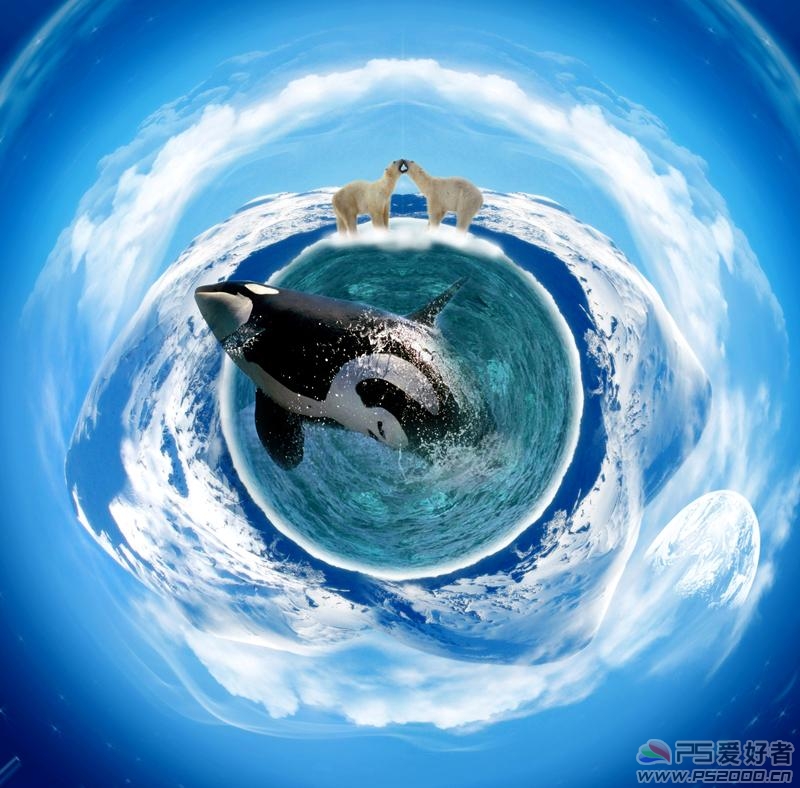
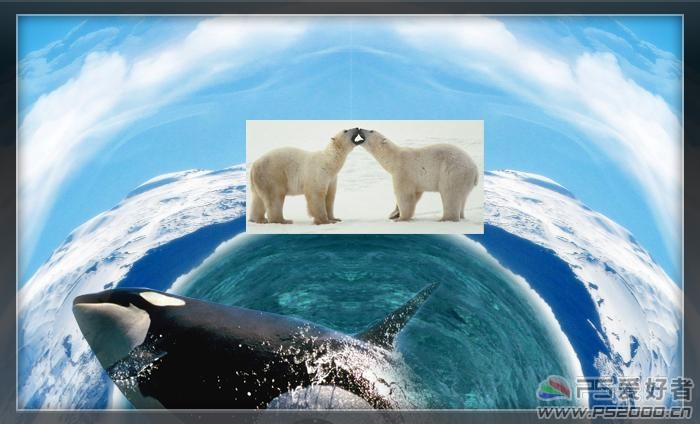
最终效果

学习 · 提示
相关教程
关注大神微博加入>>


网友求助,请回答!