ps抠图换背景技巧做溶化效果(4)
来源:网络
作者:ENET clivn
学习:2631人次
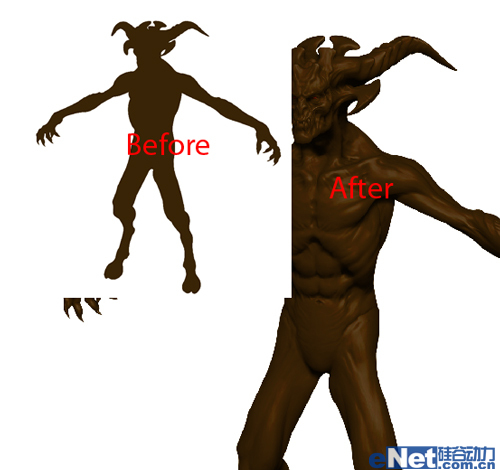
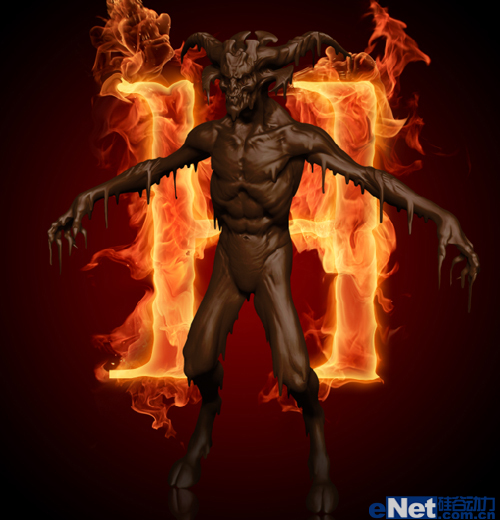
经常在电影、宣传海报等地方看到有巧克力效果的图像。本教程创建的是一幅巧克力效果的怪物图像,
比较简单,希望大家看过之后能举一反三,利用自己喜欢的素材做出更棒的图像效果。
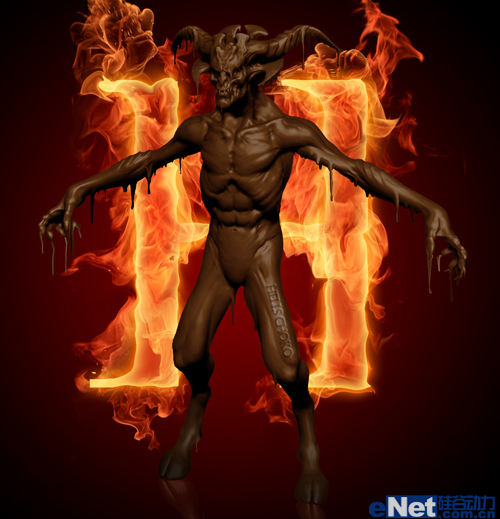
先看photoshop教程最终完成效果
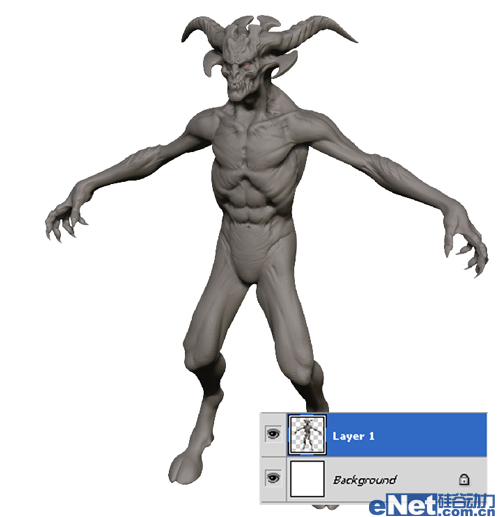
1、抠出素材中怪物图像,并至于白色背景层上方。

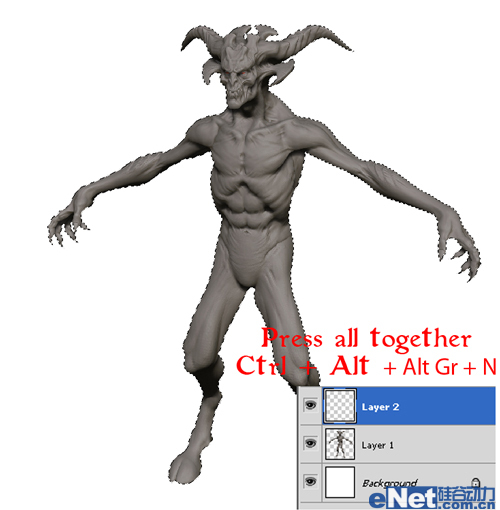
2、新建一层,并选中怪物图像。
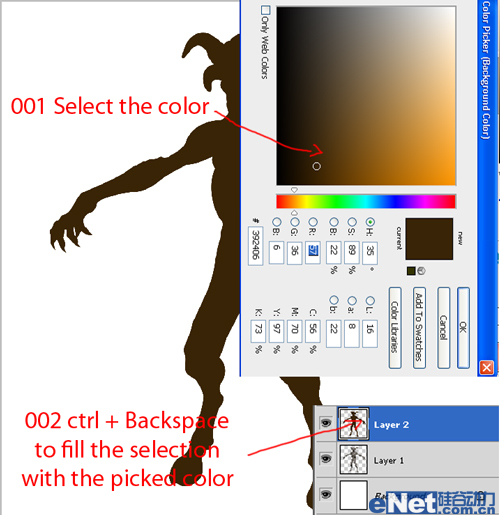
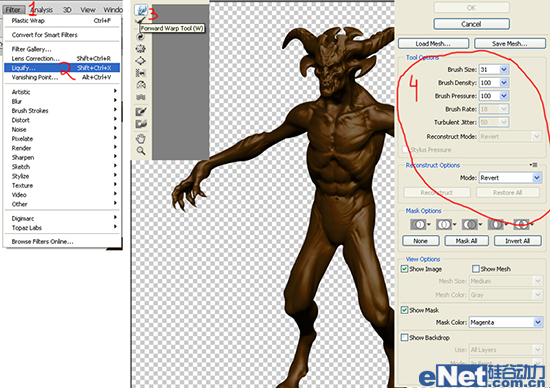
3、为选中怪物图像添加巧克力颜色。
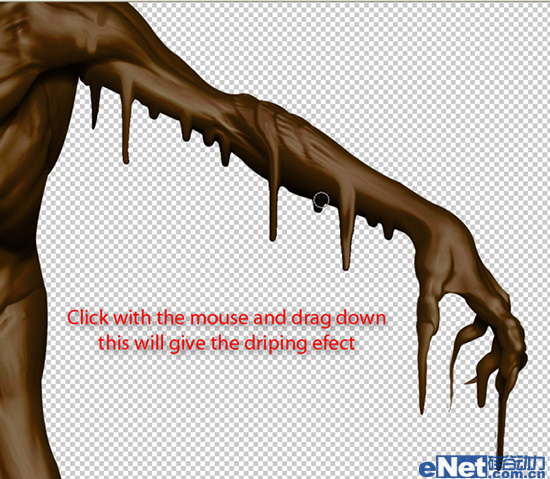
4、完成为怪物添加巧克力色后,执行滤镜——液化操作,做出触摸融化的感觉。

5、打开准备好的背景图片,调整图层顺序,做出怪物漂浮状态的感觉。
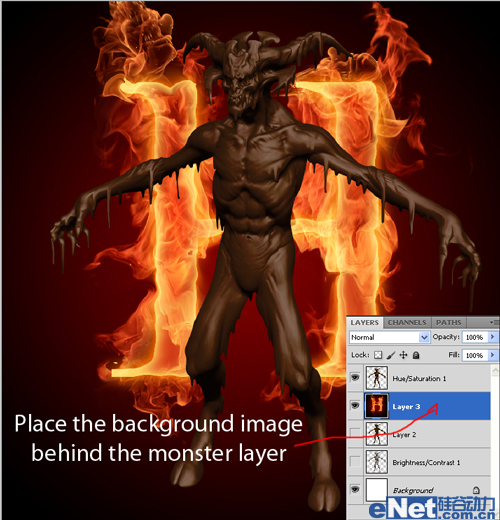
6、进行最后的细节调整,在怪物腿上刻字增加恐怖效果,完成组后图层合并。
完成最终效果!
学习 · 提示
相关教程
关注大神微博加入>>


网友求助,请回答!