ps合成被砍头的决斗武士图片(4)
来源:网络
作者:ENET clivn
学习:7626人次
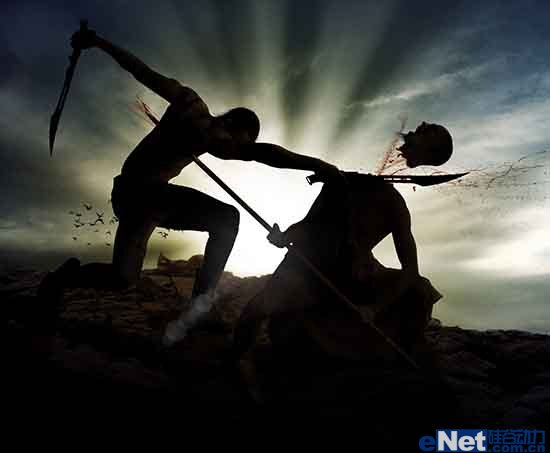
教程教大家合成逼真的电影人物战争场面。整体思路很简单,关键在于对图层的灵活运用,以及对图片的细节处理。
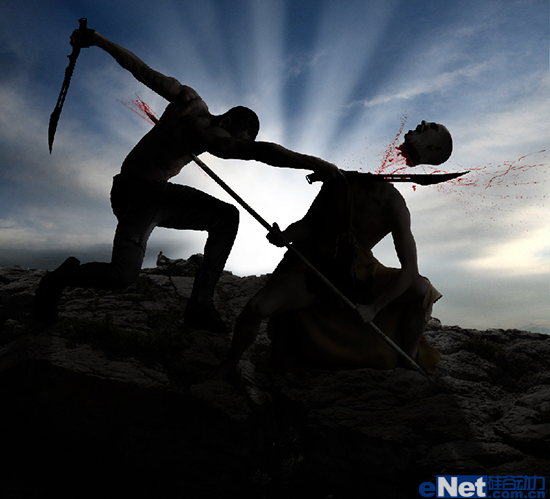
看最终效果:
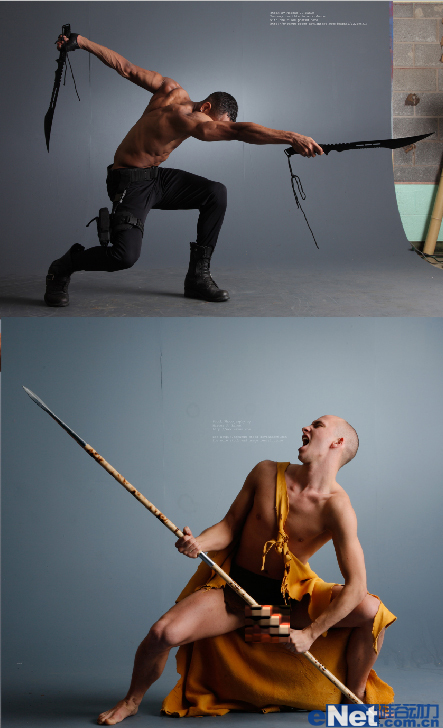
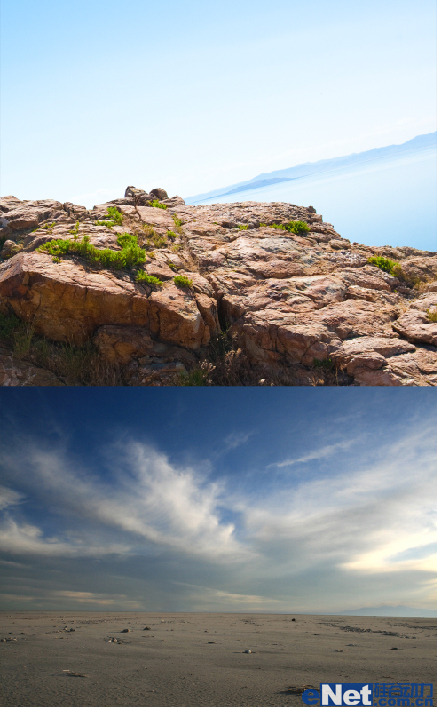
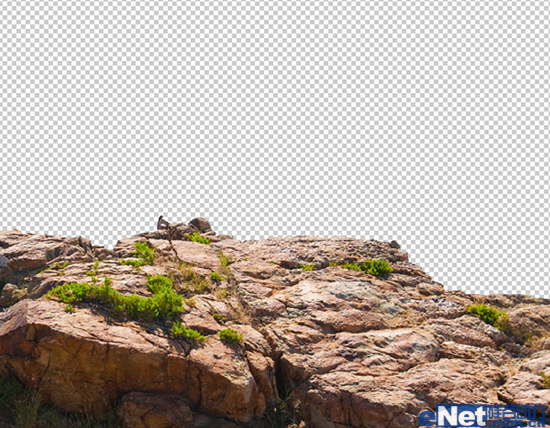
1、打开准备好的素材图片
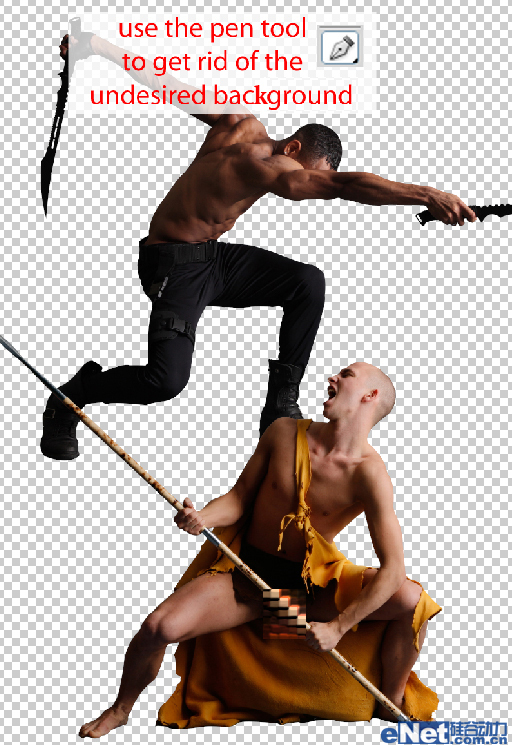
2、用钢笔工具或者套索工具抠出人物图像和需要背景。
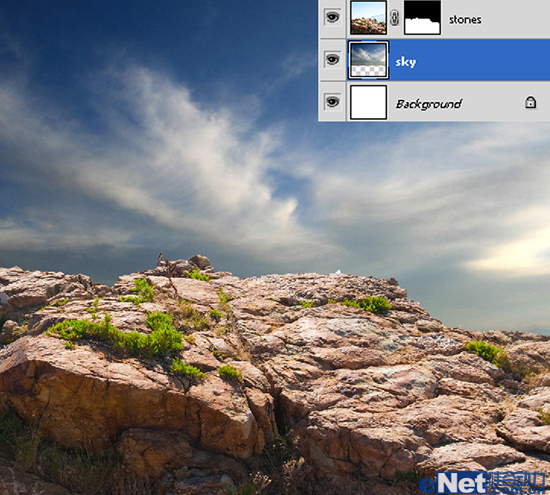
3、对“石头”背景图层执行滤镜>模糊>高斯模糊,对人物图层进行相应操作。
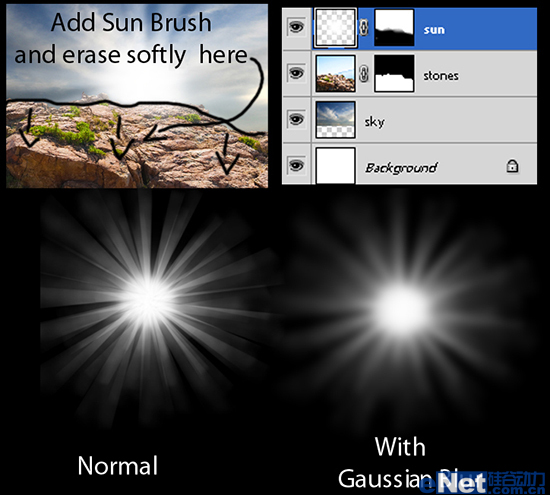
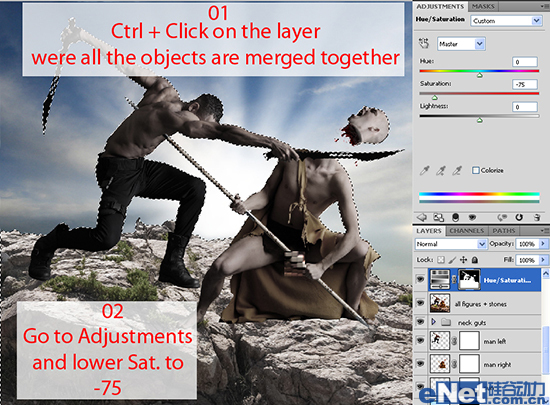
4、调整相应图层饱和度,对细节处进行调整。
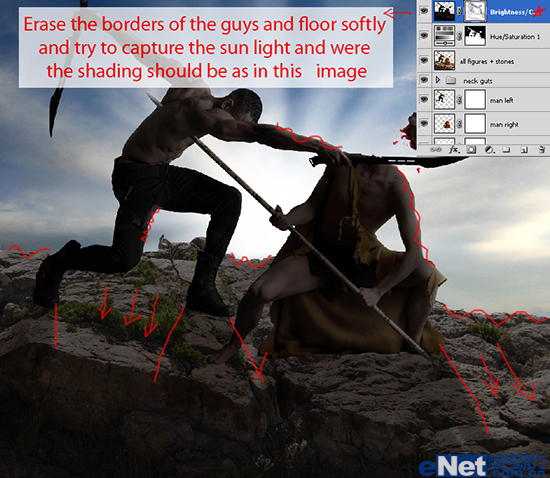
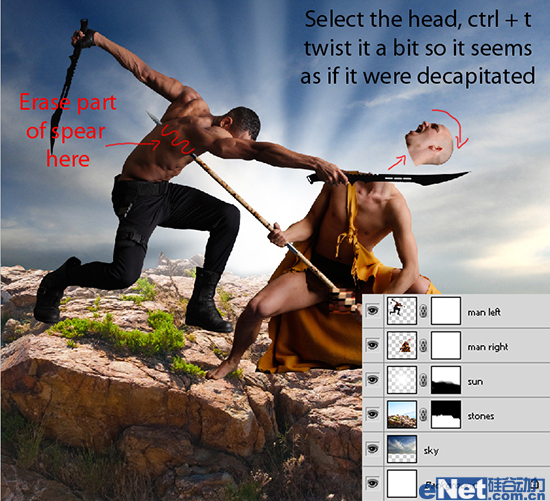
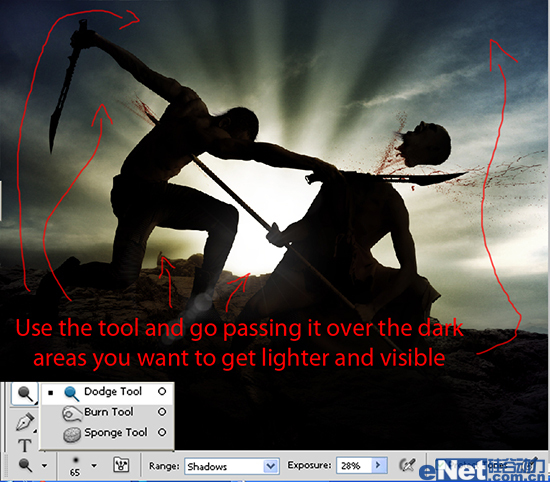
5、对人物层进行更细分调整,得到更逼真效果。

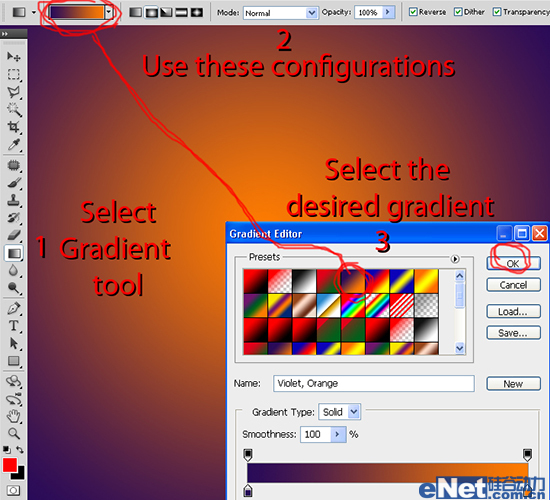
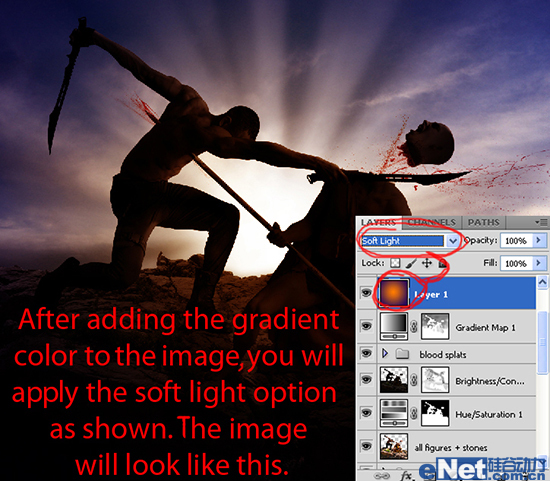
6、新建图层,并填充由紫色到橙色的渐变,得到如下效果。
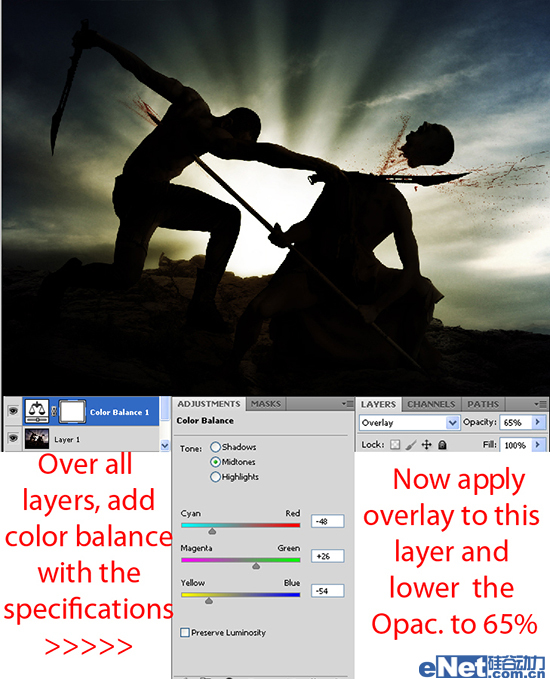
7、调整人物层图像饱和度、色彩平衡,得到下面效果。
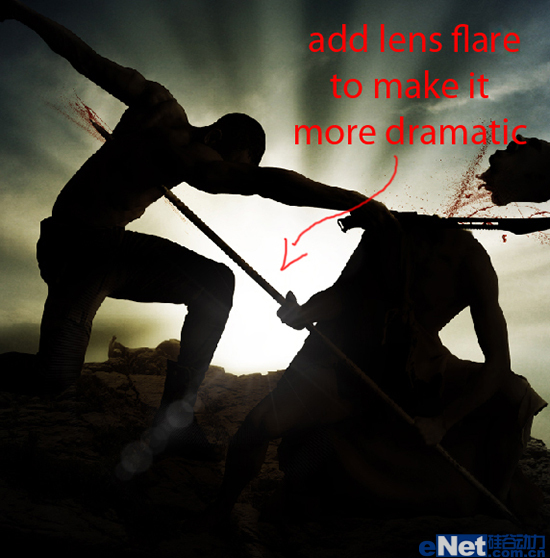
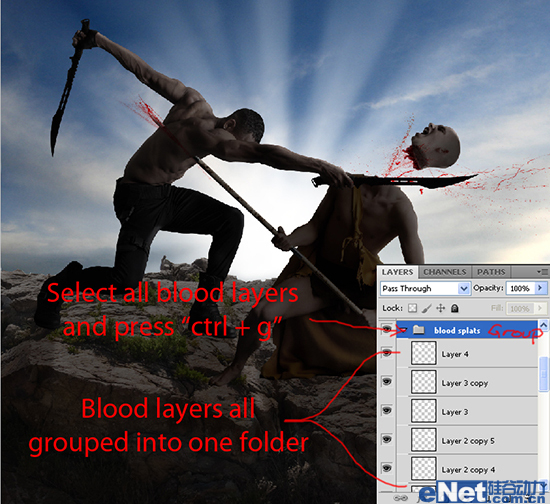
8、对细节部分进行最后调整,添加鸟刷背景,完成最终合成。
最终效果!
学习 · 提示
相关教程
关注大神微博加入>>


网友求助,请回答!