Photoshop CS5百变画笔系列3:丝绸般的漂浮轻纱(3)
来源:未知
作者:bbs.16xx8.com
学习:832人次
作者:腾龙视觉 出处:腾龙视觉
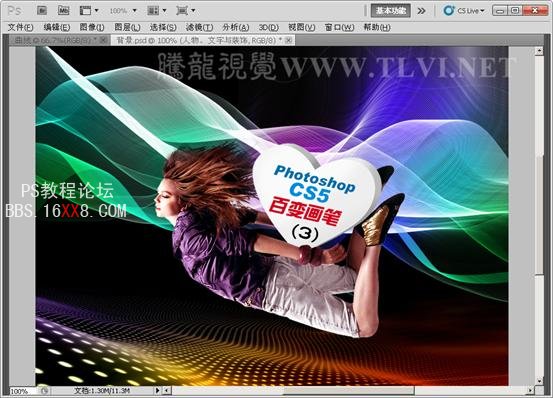
本期教程中将画笔的笔刷形状更改为曲线形态后,进行绘制,将会产生轻纱薄雾般的效果,制作过程非常简单,但效果是非常不错的。大家在制作的过程中也可以发挥自己的想象力,使用更加复杂多样的线条,制作出更加独特的光晕效果。
另外,下期教程中我们将继续使用曲线笔刷,更改画笔的一些动态设置,配合滤镜命令制作出独特的质感特效。希望大家能够关注下期教程《CS5百变画笔系列4——照片级皮革质感制作》!
如果教程中有不明白的地方,希望大家认真留言以便我们提高业务水平,谢谢各位。

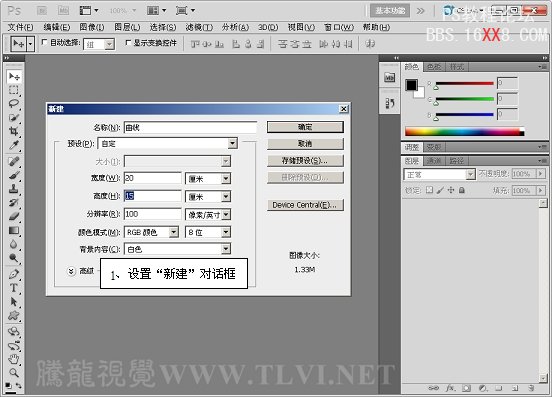
(1)运行Photoshop CS5,执行“文件”→“新建”命令,新建一个空白文档。
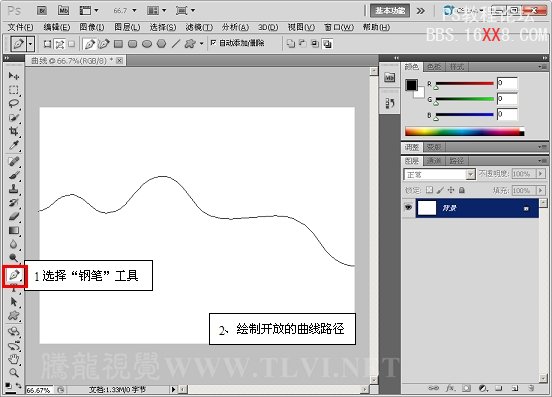
(2)使用“钢笔”工具,在视图中绘制开放路径。
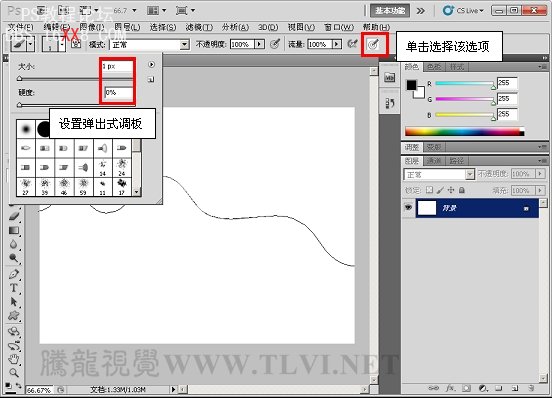
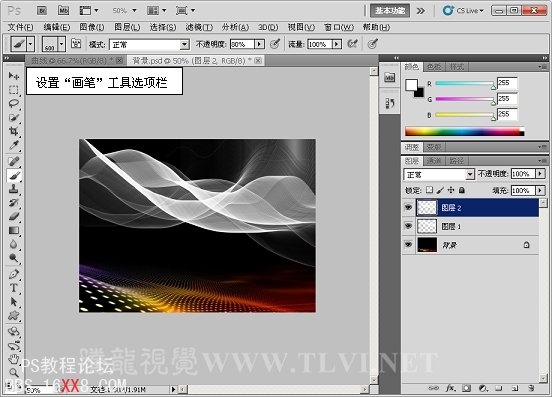
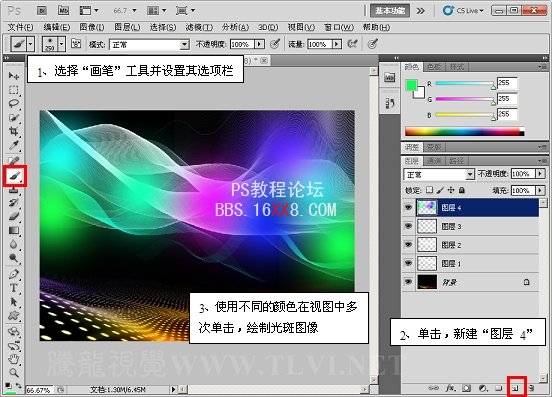
(3)选择“画笔”工具,并对其选项栏进行设置。
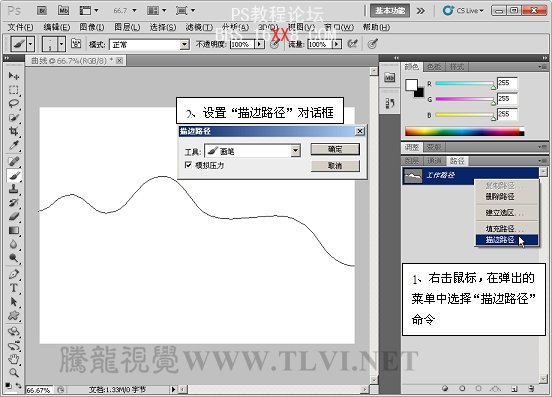
(4)在“路径”调板中为绘制的路径描边。
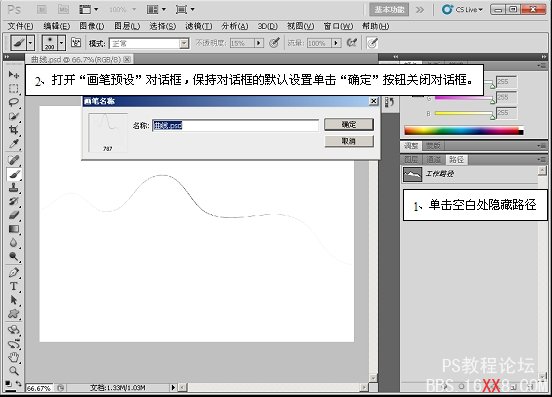
(5)隐藏路径,执行“编辑”→“定义画笔预设”命令,将绘制的图像定义为画笔。
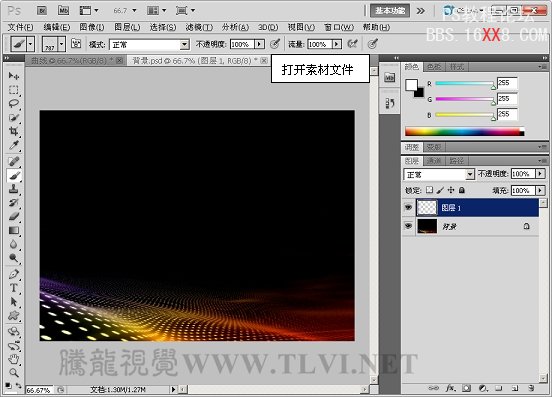
(6)执行“文件”→“打开”命令,将素材“背景.psd”文件打开。
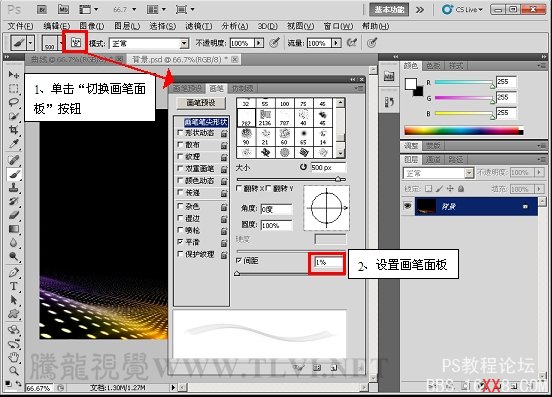
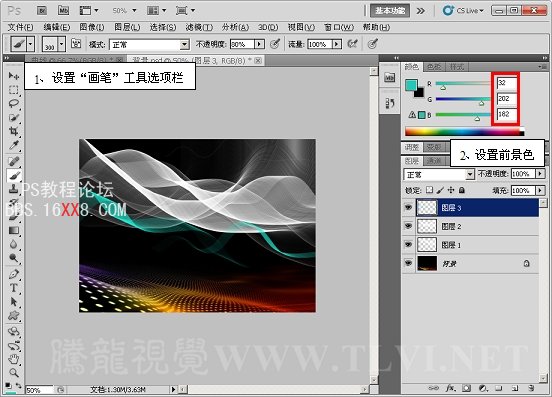
(7)确定“画笔”工具为选择状态,在画笔调板中对画笔进行设置。
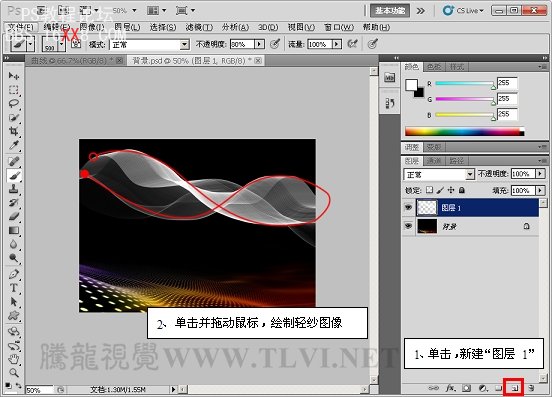
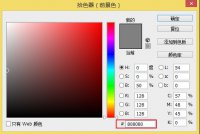
(8)新建“图层 1”,使用画笔工具,在视图中绘制白色的轻纱图像。
(9)参照以上方法绘制其它的轻纱图像。
(10)新建“图层4”,使用画笔工具,在视图中绘制彩色光斑图像。
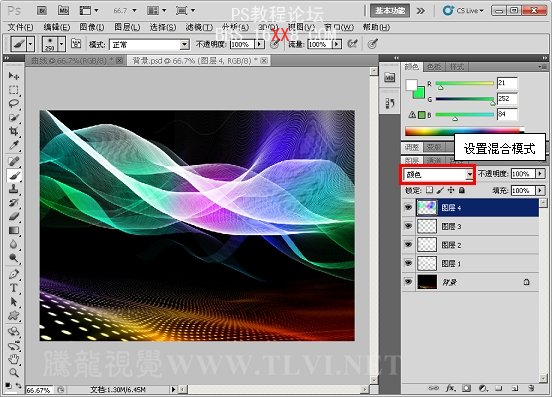
(11)在图层调板中更改图层混合模式。
(12)最后在视图中添加人物装饰图像,完成实例的制作。
学习 · 提示
关注大神微博加入>>


网友求助,请回答!