教大家用3DSMAX制作出一个角色塑造过程(2)
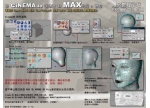
I used a tablet - Wacom to paint textures. In Photoshop I blended several different materials, which gave me the final appearance of the skin. Bump map is the same texture as Diffuse Color plus hand painted texture.
绘制贴图纹理时我使用的是Wacom手绘板(呵呵,你不会说你没有吧,要知道靠那只硬绑绑的“老鼠”可是画不出什么像样的贴图的,没有的话就赶紧去买一块Wacom手绘板吧很不错的,Wacom我替你做广告,送我一块板呀!)
在Photoshop绘制时我混合了许多层的材质纹理来达到最终真实的皮肤效果。凹凸贴图及高光贴图是在全部的过度色贴图都完成后处理得到的,不必另外制作。

点击放大
小渲一下
点击放大
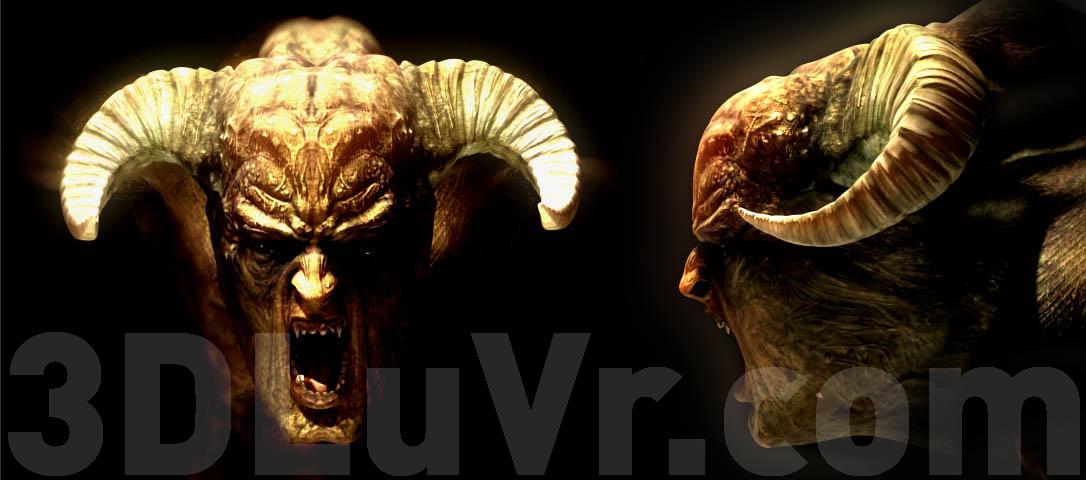
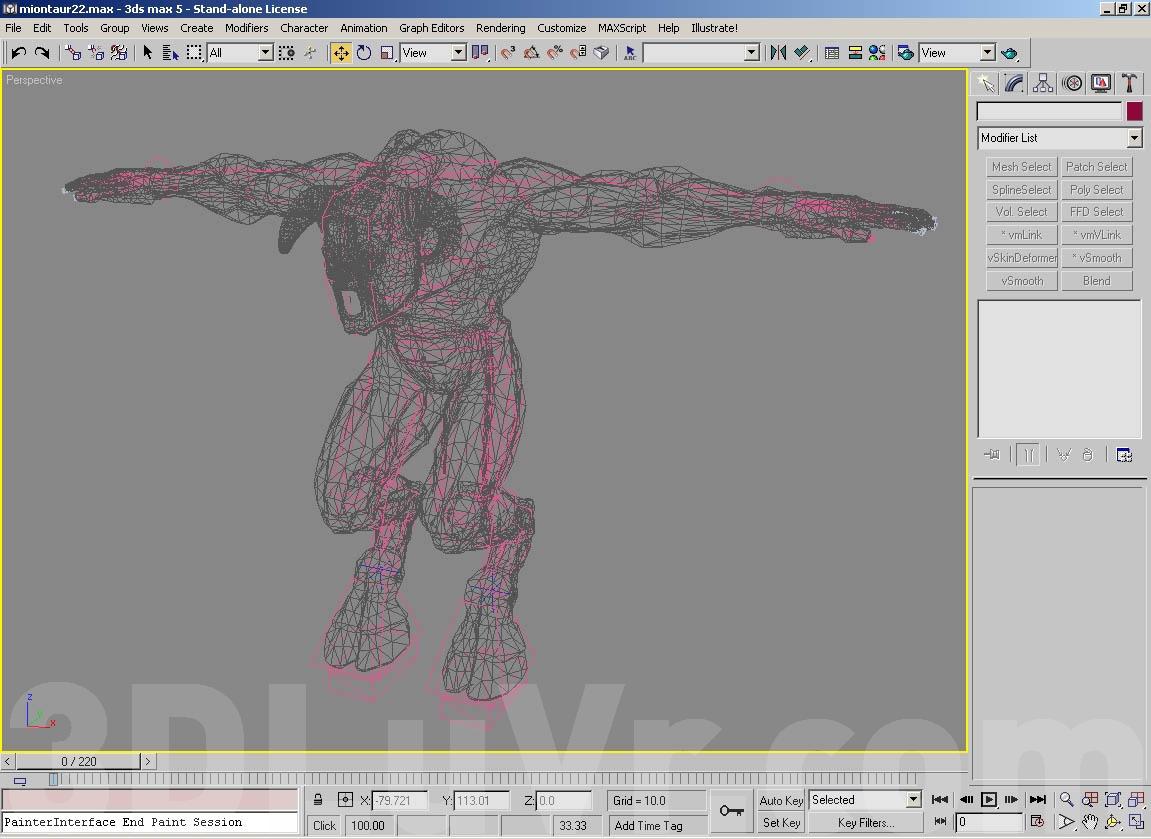
I added bones and necessary HI solver on elbows and knees.
最后再在模型中把骨胳添加到身体中的肘关节,膝关节等各个部分去,并加上HI链就差不多了。
点击放大
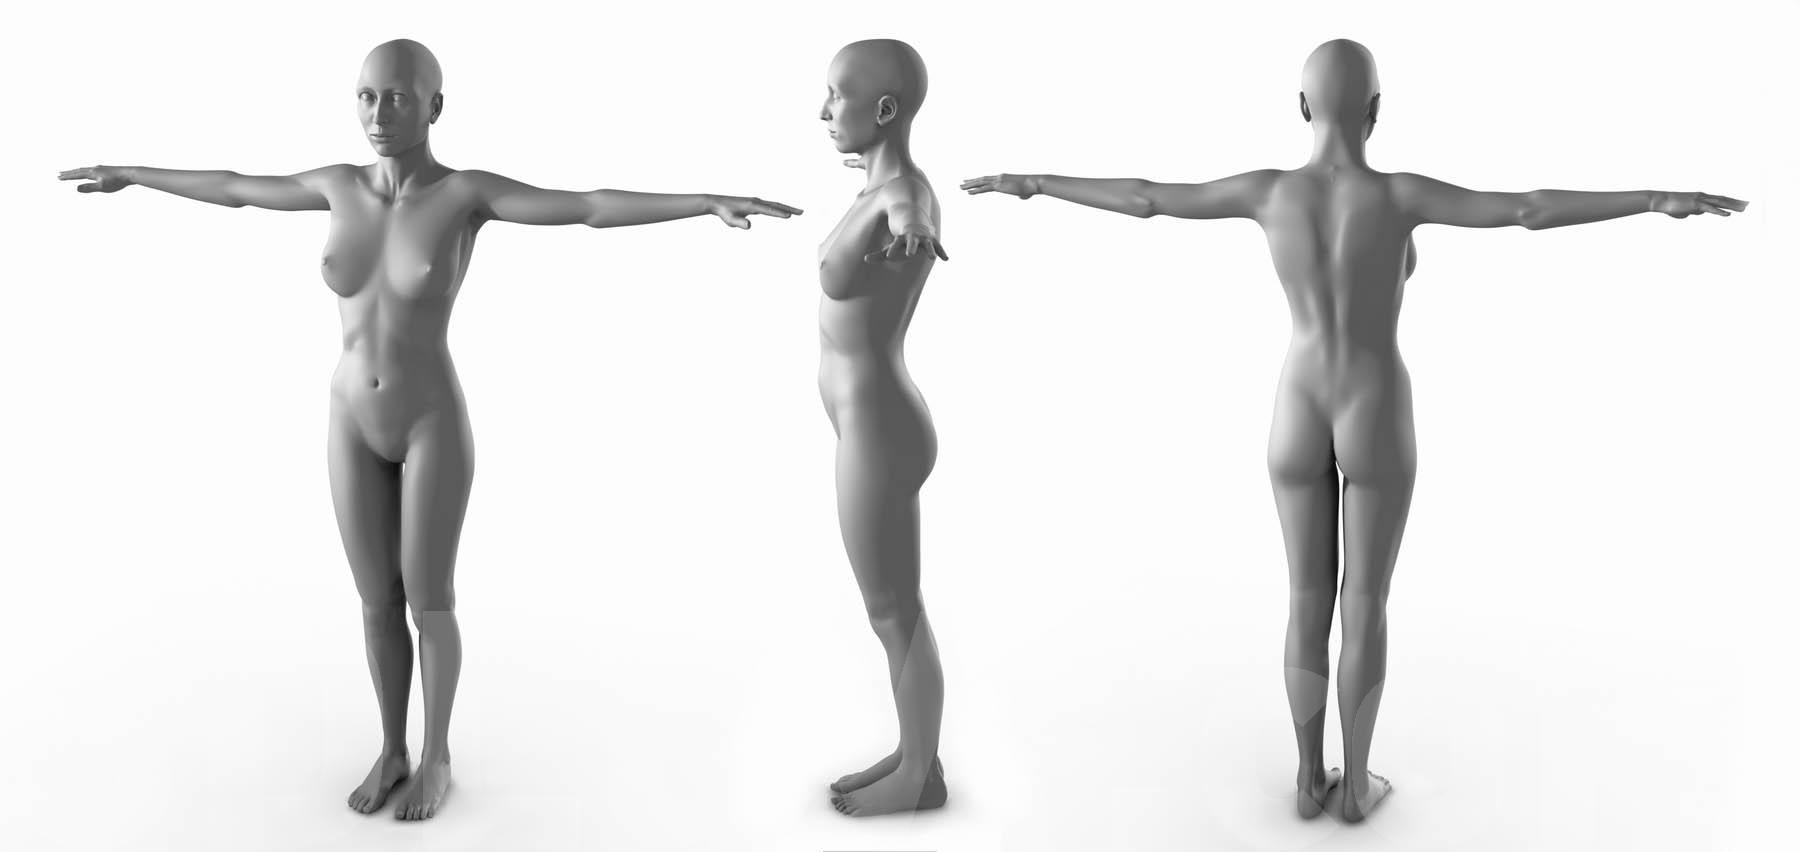
I took some pictures of my girlfriend as reference material.
我拍了几张自己的女朋友的三视图作为场景中的那个美女的参考图。(呵呵,老外真是大胆,连自己马子的裸照都摆了出来,佩服)

First I took upon modelling the woman's head. Using the same technique as I used in the Minotaur。先从制作头部开始吧,使用的方法和刚才建那只牛头怪的方法是一样的。


I then divided the body in two parts, front and back. Front side I sculptured from a box and added symmetry.
然后我把身体拆开成两部分来制作,前半身和后半身。在制作前半身的时候我是用BOX来建的模并加入symmetry命令。

The did the same with the back part of the body. I connected these two parts, creating new polygons between them.
后半身的建模方法也是一样的,没什么特别。等都做完以后,再把两部分用焊点缝和起来并做一些细微的调整。

The same way I made the hand and the foot and then connected it with the rest of the body. I added the head and my woman model was already finished.
在用相同的方法把身体的其它部分如手臂,腿部都做好后连接到身体上。当然,别忘了把刚才做好的女性头部也一起加入到模型里去。

点击放大
点击放大
Then I took care of texturing. To map head I applied cylindrical UVW Mapping
然后我开始来处理纹理贴图的展开工作,在赋坐标的时候我选择的是圆柱体方式。

Next I added Unwrap UVW. The same method as in the Minotaur model - Select Face - Planar Map.
下一步在再修改器中加入一个Unwrap UVW展开命令。嘻嘻,我们刚刚展开怪物贴图坐标的方法还没忘吧,选择面,加入make a Planar Map命令,调点摊平即可(补充!虽然作者在这里又说的很简单,但我的意见是在这步中多花点时间来摊平,这样的话可以使我们在绘制贴图的时候省去不少的麻烦。)

点击放大
学习 · 提示
相关教程