photoshop教程:如何合成夜景效果(9)
来源:未知
作者:学photoshop
学习:4067人次
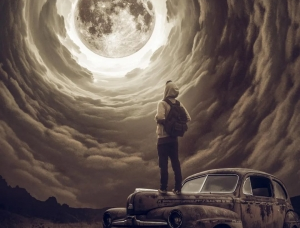
步骤 17、复制月亮层,垂直翻转,移动到如下位置。
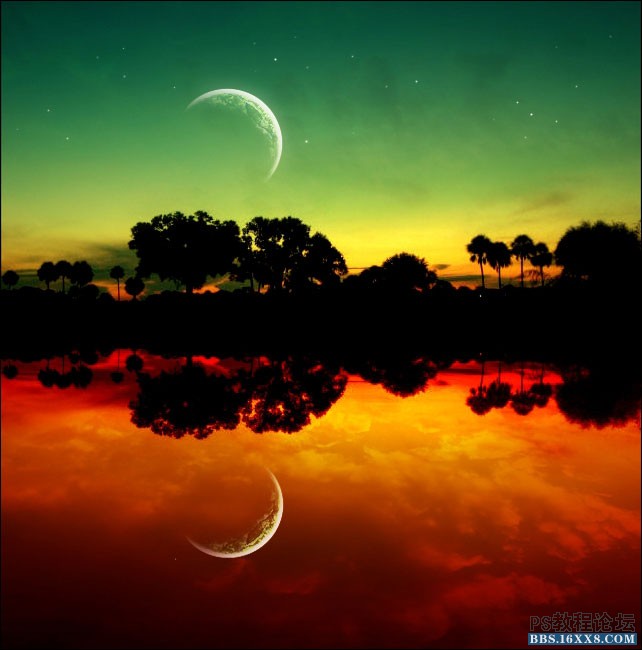
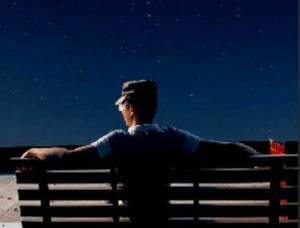
步骤 18、使用涂抹工具涂抹月亮倒影得到如下效果。
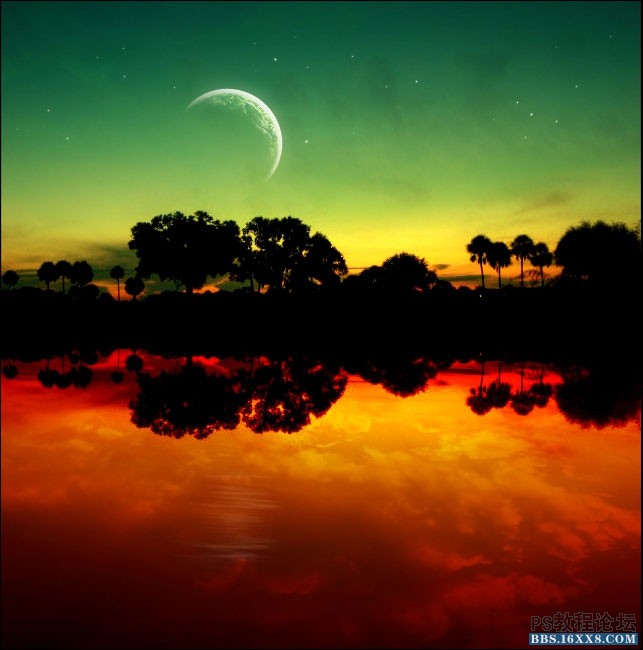
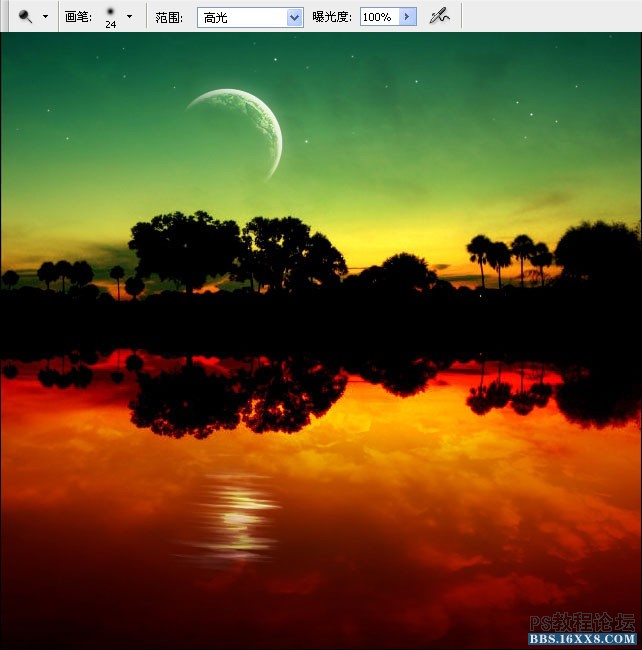
步骤 19、选择减淡工具提亮倒影效果。
步骤 18、使用涂抹工具涂抹月亮倒影得到如下效果。
步骤 19、选择减淡工具提亮倒影效果。
学习 · 提示
相关教程
关注大神微博加入>>


网友求助,请回答!