PS创意教程:皮鞋的创意(3)
来源:未知
作者:福特少普ps
学习:6698人次
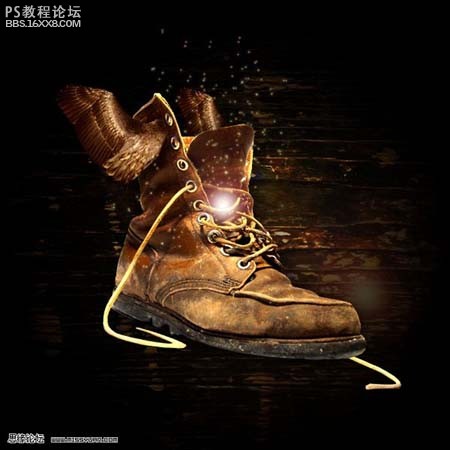
24、回到皮靴图层,用强度为100%的涂抹工具,延伸曲线形的鞋带。
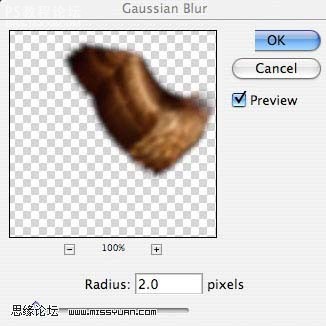
, 25、选择大羽翼图层,复制一次,命名为“模糊羽翼图层”。选择滤镜-模糊-高斯模糊,半径为2.0像素。
将复制羽翼图层移至原羽翼图层下面,在原羽翼图层上,选择图层-图层蒙板-显示全部;用大号柔角笔刷刷饰羽翼的边缘。

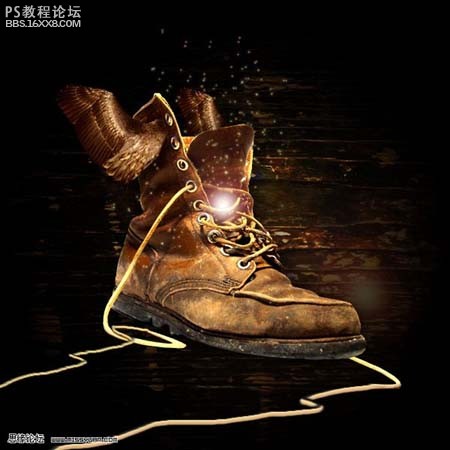
26、选择皮靴图层,用低流量的大号柔角笔刷刷饰鞋带,使鞋带渐隐在背景里。
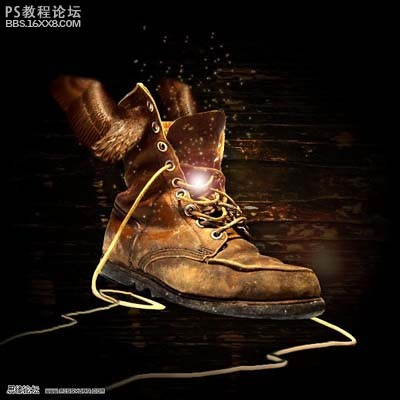
27、新建一个层,选择图层-新建调整图层-渐变映射,选择下图所示的渐变。
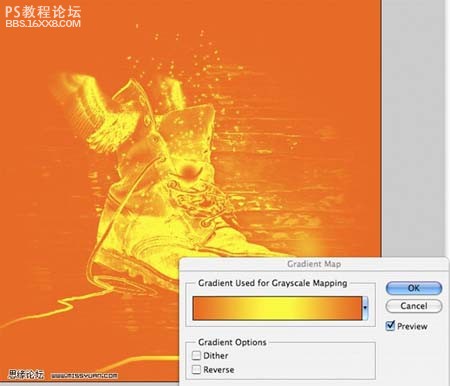
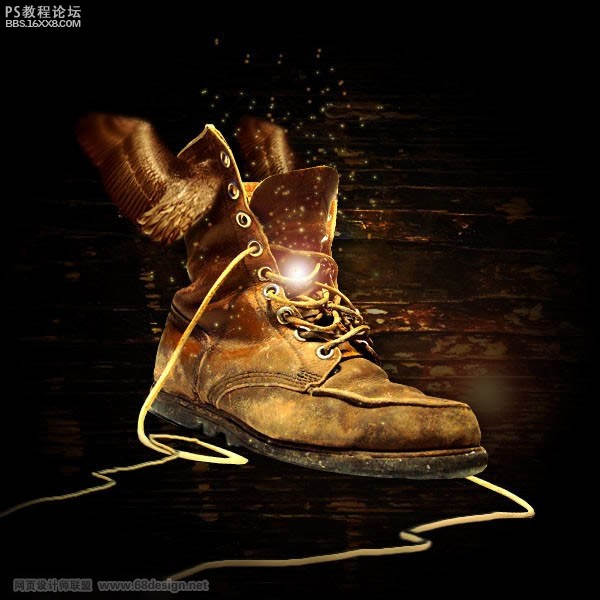
28、调整不透明度为10%,图层模式为叠加,完成最终效果。
作者佚名 出处:思缘教程
学习 · 提示
相关教程
关注大神微博加入>>


网友求助,请回答!