photoshop合成实例:蒸汽朋克风格的插画(15)
来源:未知
作者:kkfifgk
学习:9303人次

步骤14
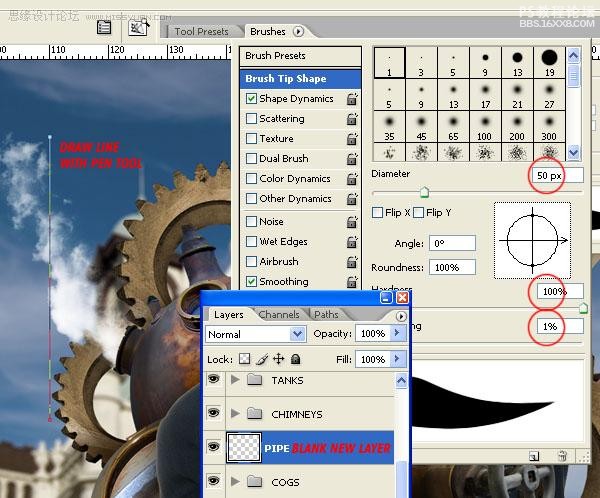
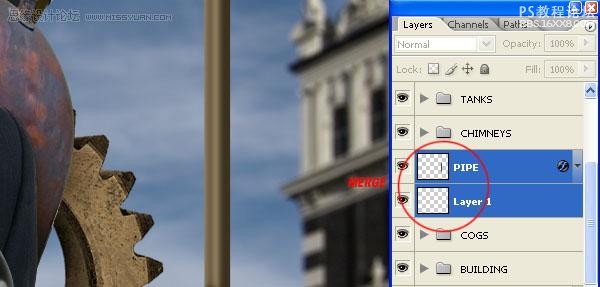
新建层命名为”PIPE”。使用钢笔工具画一条直线(设定路径没有形状层),然后选择画笔工具,如图设置。
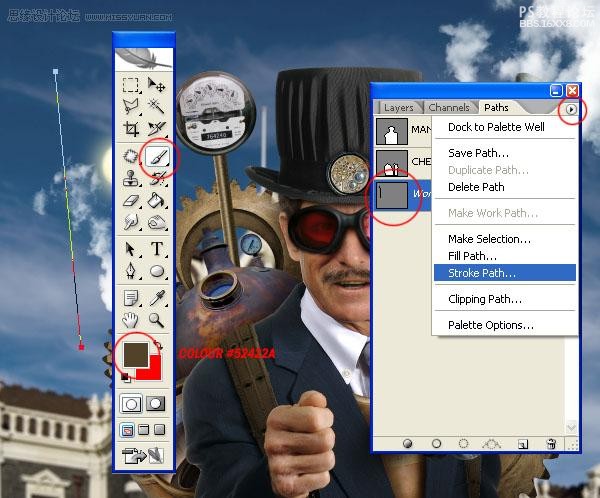
设置前景色为#52422b。去路径面板,选择你刚刚绘制的路径,并选择sub菜单中的描边路径。确保这个笔刷设置为100%的透明度和100%的流量。
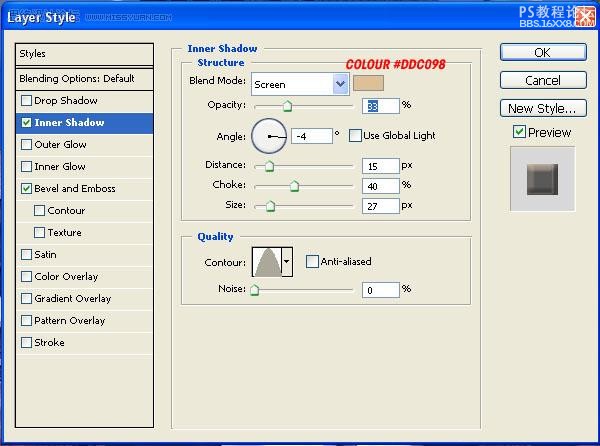
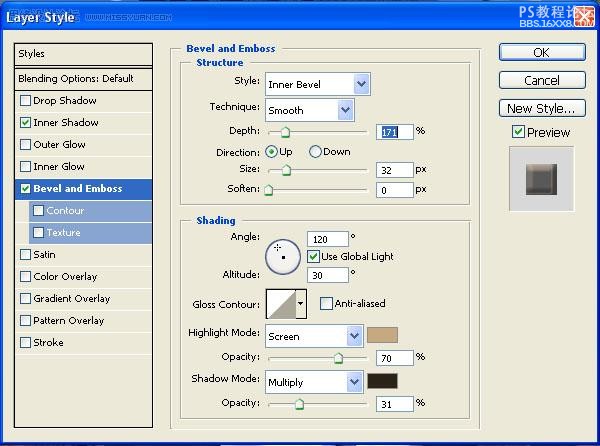
路径描边后,去层 层风格 内阴影,应用下图的设置。
如图设置斜角和浮雕。
在”PIPE”下方创建一个空白图层,选择这两个图层,按Command + E 键合并它们,这将栅格化图层样式。
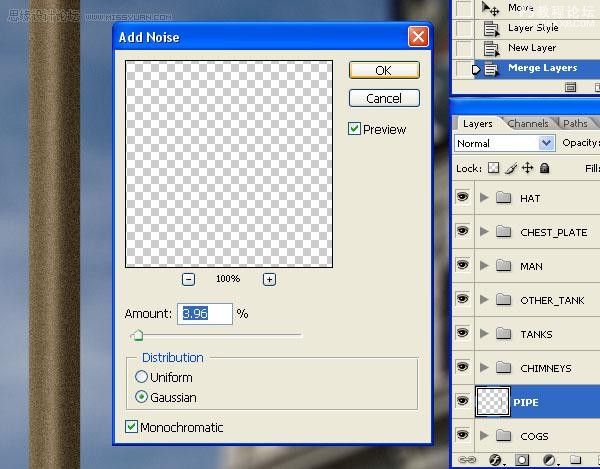
添加杂色(滤镜 杂色 添加杂色)
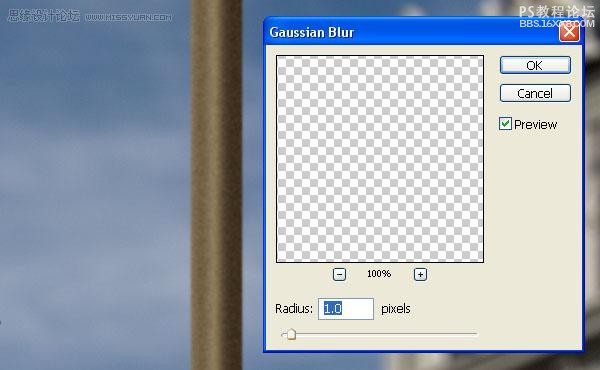
使用1.0像素的高斯模糊(滤镜 模糊 高斯模糊)
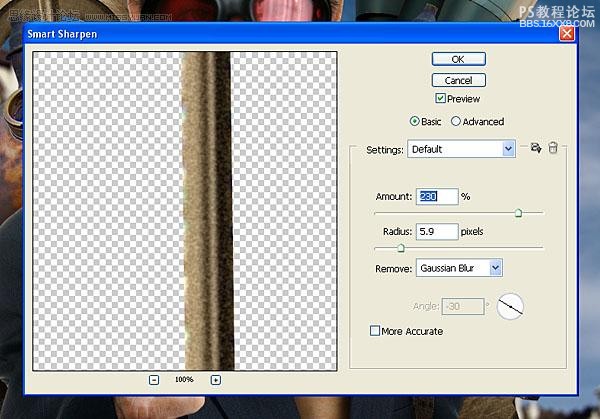
再使用智能锐化(滤镜 锐化 智能锐化)
学习 · 提示
相关教程
关注大神微博加入>>


网友求助,请回答!