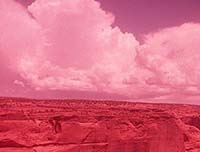
photoshop校正严重偏红色的神庙
来源:未知
作者:学有所成
学习:615人次
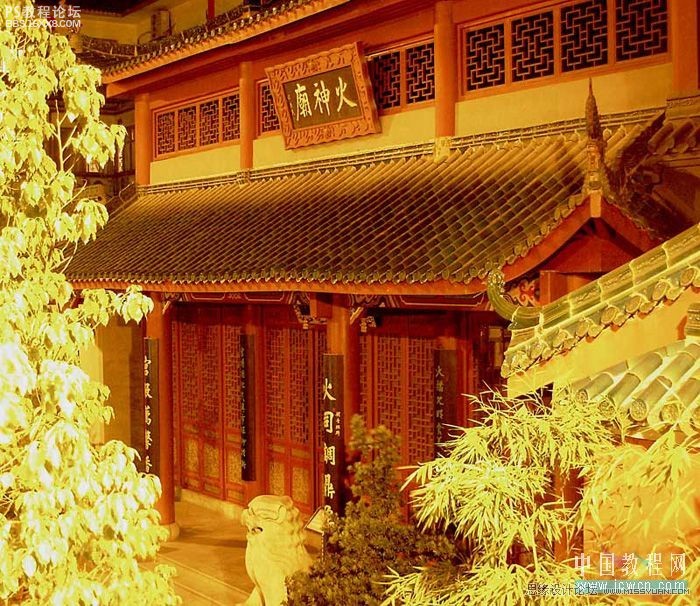
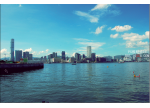
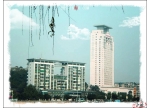
本教程主要用photoshop来矫正一张寺庙的外景图,由于夕阳的照射,整张图片都显得严重偏红,处理过的效果图恢复了本来的颜色,感兴趣的朋友一起来学习吧
原图:
效果图:

以下是事后回忆的主要操作步骤,没有效果图调得仔细。
进入论坛参与讨论: http://www.missyuan.com/viewthread.php?tid=421634
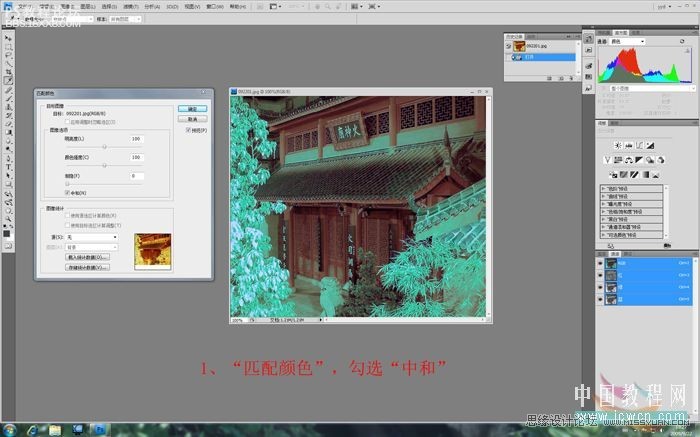
1.匹配颜色,勾选中和,参数如图
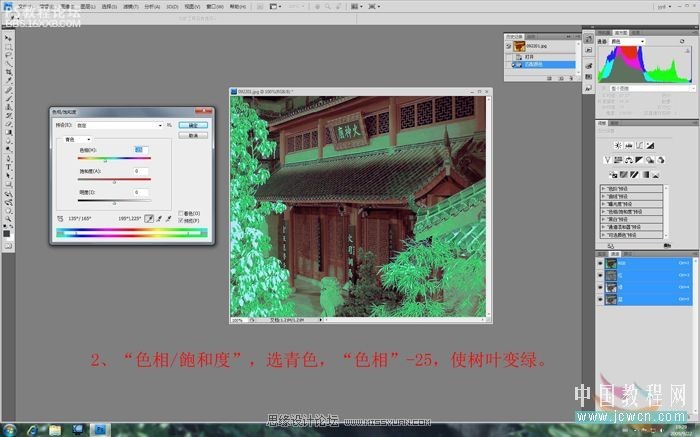
2.建立色相饱和度调整层,选青色,色相-25,使树叶变绿
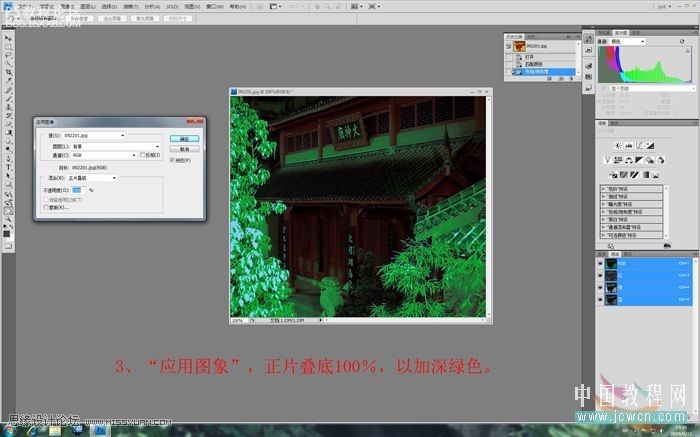
3.应用图像,正片叠底100%,以加深绿色
,4.阴影/高光,恢复房屋的亮度 5.现在要去掉石狮,墙壁的绿色,先用色相/饱和度把绿色,青色的明度调到+80 6.推到阴影/高光,早色相饱和度前点一下,用历时恢复画笔恢复石狮,墙壁的颜色 7.画笔在高光附近取色,用变暗模式,
4.阴影/高光,恢复房屋的亮度

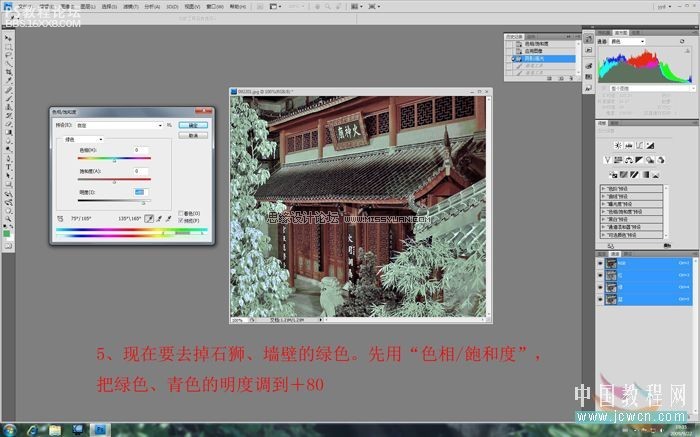
5.现在要去掉石狮,墙壁的绿色,先用"色相/饱和度"把绿色,青色的明度调到+80
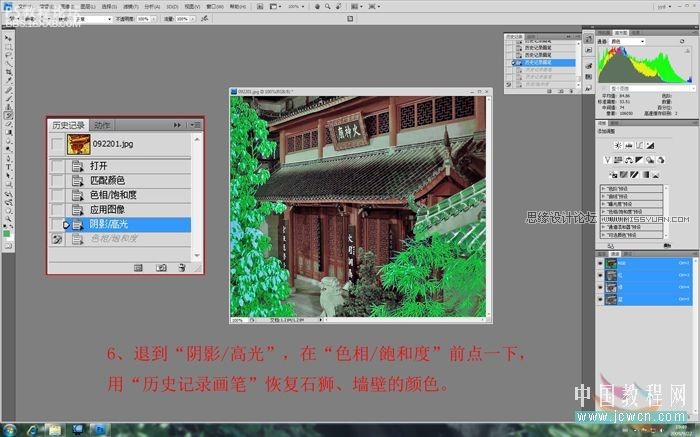
6.推到"阴影/高光",早色相饱和度前点一下,用历时恢复画笔恢复石狮,墙壁的颜色
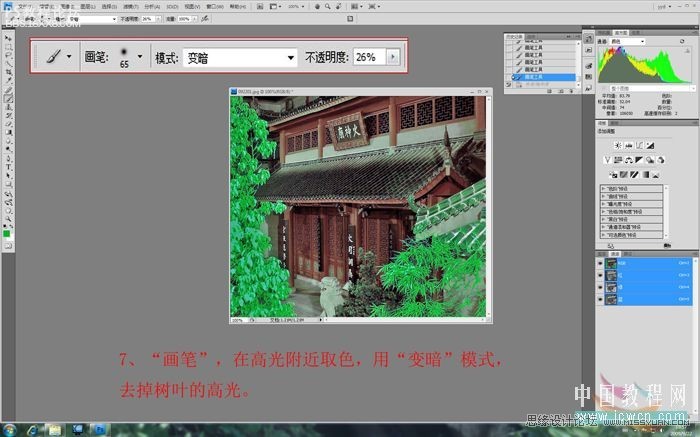
7.画笔在高光附近取色,用变暗模式,去掉树叶的高光
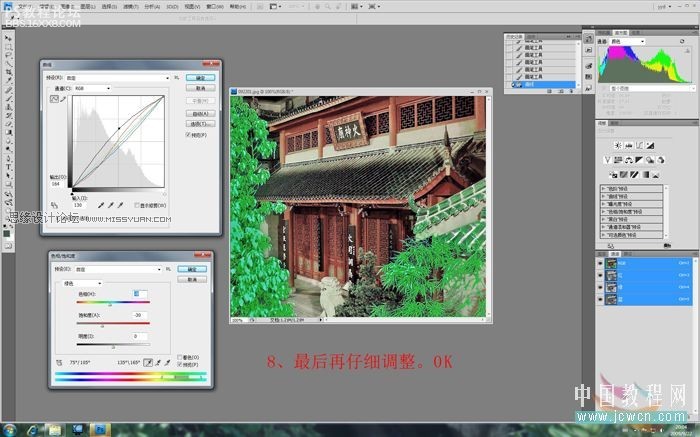
8.然后在仔细处理一下 完工
最终效果图:
作者:yd81 出处:中国教程网论坛
原图:
效果图:
以下是事后回忆的主要操作步骤,没有效果图调得仔细。
进入论坛参与讨论: http://www.missyuan.com/viewthread.php?tid=421634
1.匹配颜色,勾选中和,参数如图
2.建立色相饱和度调整层,选青色,色相-25,使树叶变绿
3.应用图像,正片叠底100%,以加深绿色
,4.阴影/高光,恢复房屋的亮度 5.现在要去掉石狮,墙壁的绿色,先用色相/饱和度把绿色,青色的明度调到+80 6.推到阴影/高光,早色相饱和度前点一下,用历时恢复画笔恢复石狮,墙壁的颜色 7.画笔在高光附近取色,用变暗模式,
4.阴影/高光,恢复房屋的亮度
5.现在要去掉石狮,墙壁的绿色,先用"色相/饱和度"把绿色,青色的明度调到+80
6.推到"阴影/高光",早色相饱和度前点一下,用历时恢复画笔恢复石狮,墙壁的颜色
7.画笔在高光附近取色,用变暗模式,去掉树叶的高光
8.然后在仔细处理一下 完工
最终效果图:
作者:yd81 出处:中国教程网论坛
学习 · 提示
相关教程
关注大神微博加入>>


网友求助,请回答!