photoshop打造环绕身体的星光特效
来源:未知
作者:学photoshop
学习:6237人次
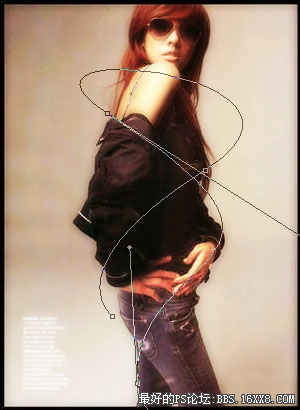
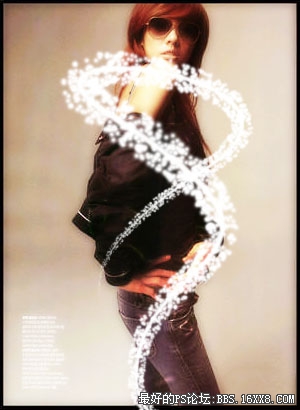
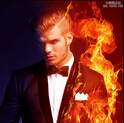
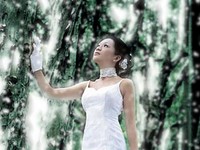
步骤 1、打开素材图。
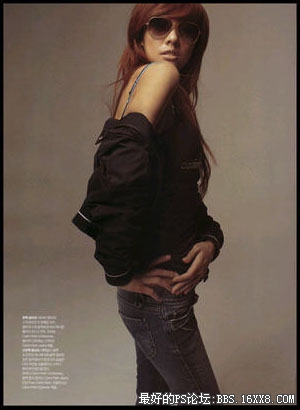
步骤 2、复制图层,并将图层混合模式设为“滤色”。

,
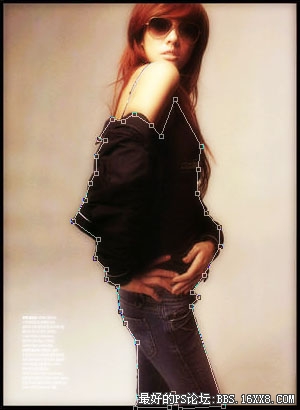
步骤 3、合并可见图层,并复制图层。滤镜 模糊 高斯模糊,模糊半径设为4.5,将复制图层的混合模式设为“叠加”。

步骤 4、使用钢笔工具描绘人物衣服部位(不需太精确)。
,
步骤 5、打开路径面板,右键点击路径 1选择建立选区。创建新图层,滤镜 渲染 云彩,滤镜 艺术风格 塑料包装,使用默认参数。
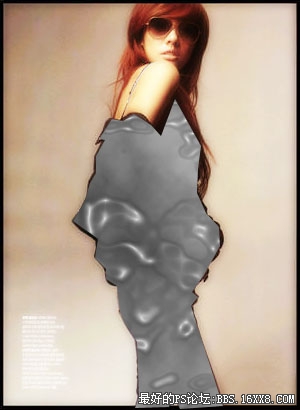
步骤 6、将图层混合模式改为“颜色减淡”,边缘部分可以用柔角橡皮擦工具擦除。
步骤 7、利用钢笔工具建立如下路径。
,
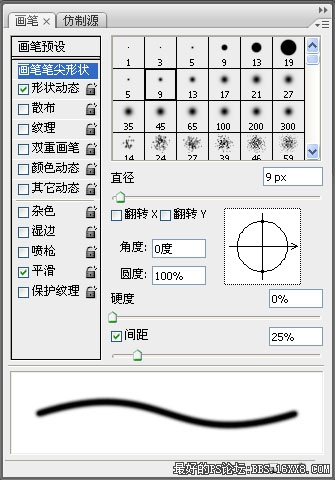
步骤 8、将前景色设为白色,背景色设为黑色,选择笔刷工具,打开笔刷设置面板,笔刷大小为9,硬度0%,并勾选形状动态(取默认设置)。
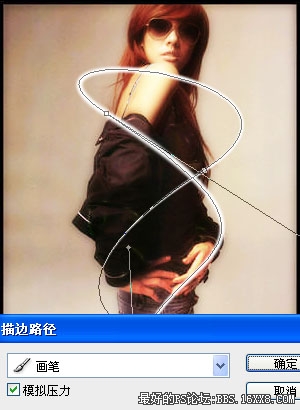
步骤 9、创建新图层,选择钢笔工具,打开路径面板,右键点击步骤 7所建路经选择“描边路径”。
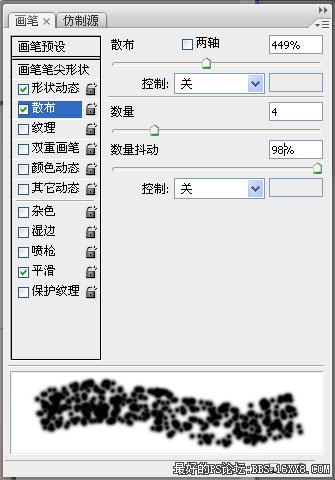
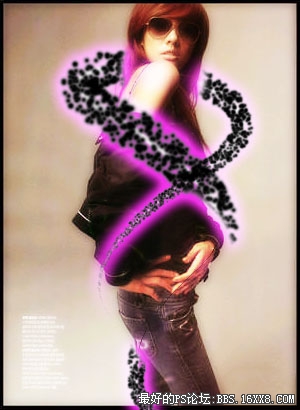
步骤 10、重复步骤 8,并添加散布设置如下。
,
步骤 11、重复步骤 9。
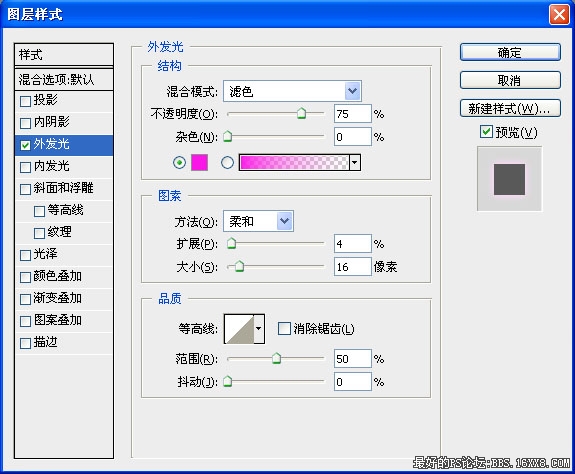
步骤 12、按下Enter删除路径,为图层添加外发光效果。
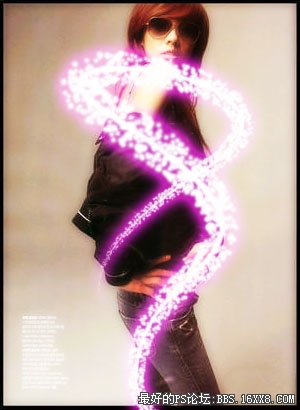
得到如下效果:
,
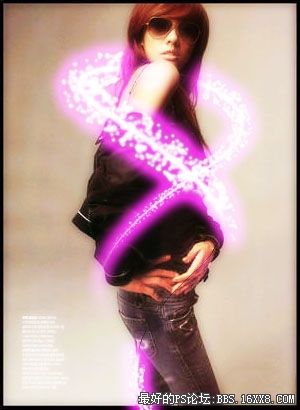
步骤 13、使用橡皮擦工具擦除不需要的部分。
步骤 14、复制光斑层,并反相(Ctrl + I)。
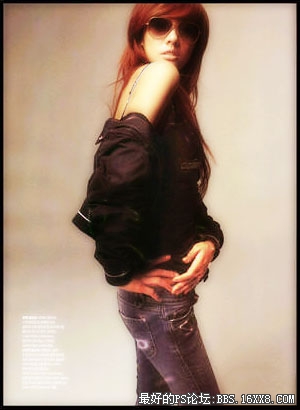
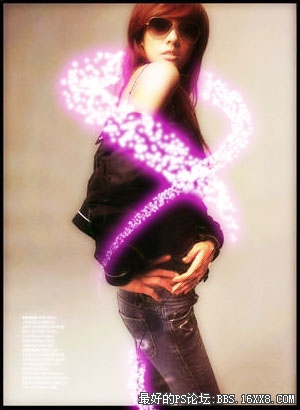
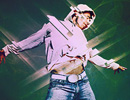
步骤 15、将图层混合模式设为“叠加”,得到最终效果。
步骤 2、复制图层,并将图层混合模式设为“滤色”。
,
步骤 3、合并可见图层,并复制图层。滤镜 模糊 高斯模糊,模糊半径设为4.5,将复制图层的混合模式设为“叠加”。
步骤 4、使用钢笔工具描绘人物衣服部位(不需太精确)。
,
步骤 5、打开路径面板,右键点击路径 1选择建立选区。创建新图层,滤镜 渲染 云彩,滤镜 艺术风格 塑料包装,使用默认参数。
步骤 6、将图层混合模式改为“颜色减淡”,边缘部分可以用柔角橡皮擦工具擦除。
步骤 7、利用钢笔工具建立如下路径。
,
步骤 8、将前景色设为白色,背景色设为黑色,选择笔刷工具,打开笔刷设置面板,笔刷大小为9,硬度0%,并勾选形状动态(取默认设置)。
步骤 9、创建新图层,选择钢笔工具,打开路径面板,右键点击步骤 7所建路经选择“描边路径”。
步骤 10、重复步骤 8,并添加散布设置如下。
,
步骤 11、重复步骤 9。
步骤 12、按下Enter删除路径,为图层添加外发光效果。
得到如下效果:
,
步骤 13、使用橡皮擦工具擦除不需要的部分。
步骤 14、复制光斑层,并反相(Ctrl + I)。
步骤 15、将图层混合模式设为“叠加”,得到最终效果。
学习 · 提示
相关教程
关注大神微博加入>>

网友求助,请回答!