photoshop做脸部连接线效果
来源:未知
作者:空来风
学习:421人次
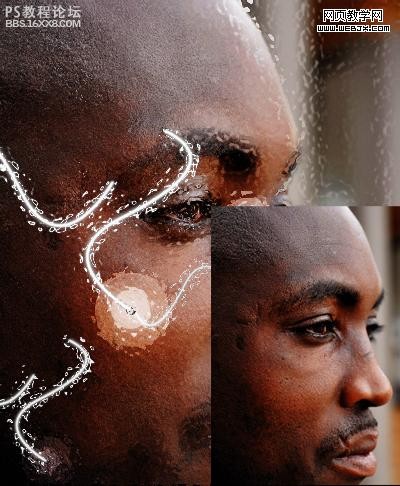
最终效果。
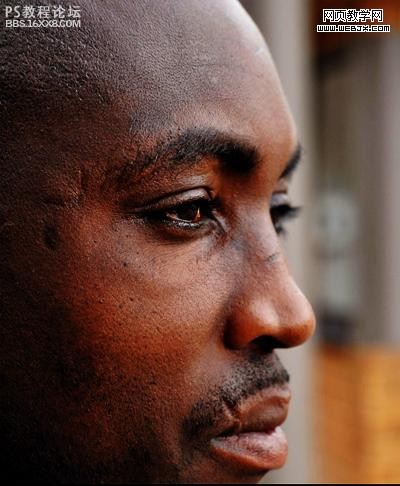
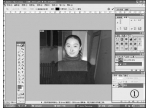
素材
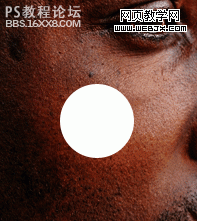
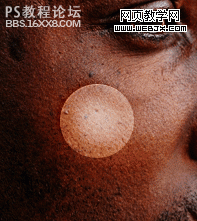
以下是详细的photoshop教程步骤:Step 2:新建图层绘制一个白色的圆。
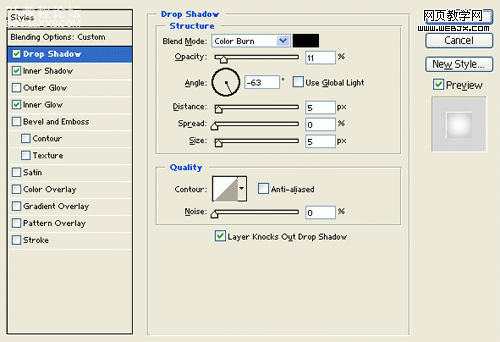
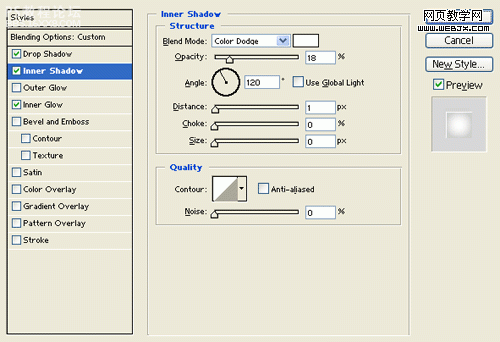
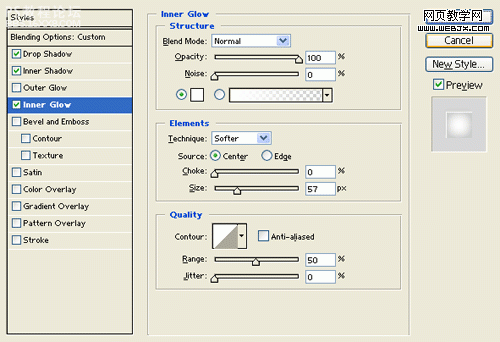
Step 3:添加图层样式,最后把图层模式设置为柔光。
效果如下。
,Step 4:再绘制一个39 x 39 px大小白色的圆,不透明度调整到49%,然后绘制一个小的黑色的圆。

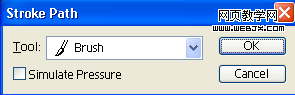
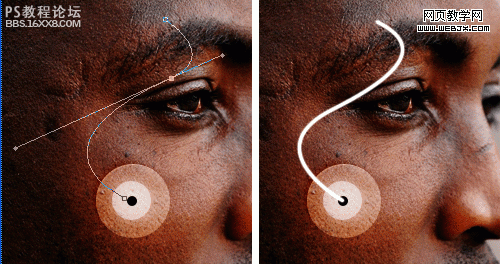
Step 5:选择一个大小为 6px硬笔刷,创建一个新图层,然后使用钢笔绘制一个路径,然后右击描边路径
效果如下
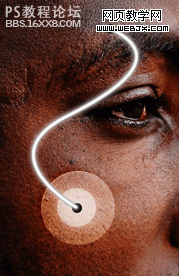
Step 6:复制图层,然后高斯模糊
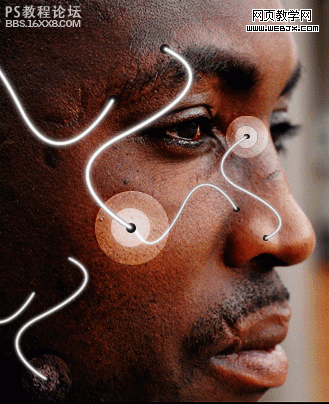
Step 7:绘制一些其他效果。
素材
以下是详细的photoshop教程步骤:Step 2:新建图层绘制一个白色的圆。
Step 3:添加图层样式,最后把图层模式设置为柔光。
效果如下。
,Step 4:再绘制一个39 x 39 px大小白色的圆,不透明度调整到49%,然后绘制一个小的黑色的圆。
Step 5:选择一个大小为 6px硬笔刷,创建一个新图层,然后使用钢笔绘制一个路径,然后右击描边路径
效果如下
Step 6:复制图层,然后高斯模糊
Step 7:绘制一些其他效果。
学习 · 提示
相关教程
关注大神微博加入>>


网友求助,请回答!