photoshop制作一种非常酷的眼部特效
来源:未知
作者:福特少普ps
学习:329人次
photoshop打造美女眼部花纹纹理特效
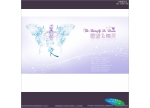
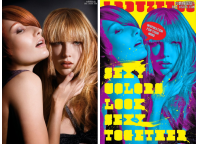
本文我们用photoshop制作一种非常酷的眼部特效,当然我们可以在互联网上看到好多类似的特效,比如下面的特效。
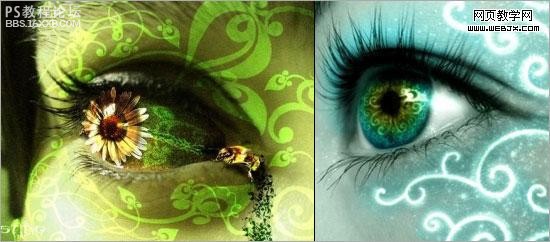
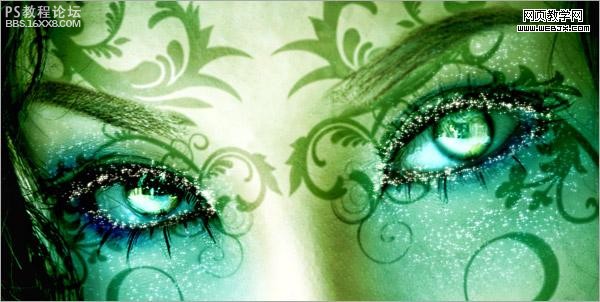
本文要制作的最终效果预览。
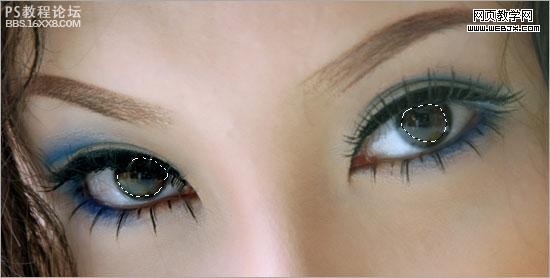
首先用photoshop打开原图。

为了使眼部放光,我们用椭圆选区工具绘制选区,然后执行羽化命令,半径设置为20px,效果如下。
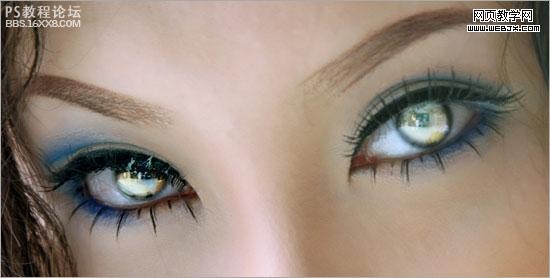
按CTRL+C复制,创建一个新图层粘贴,命名该图层为Eyes Glow,图层模式设置为滤色,然后复制Eyes Glow图层3次,效果如下。
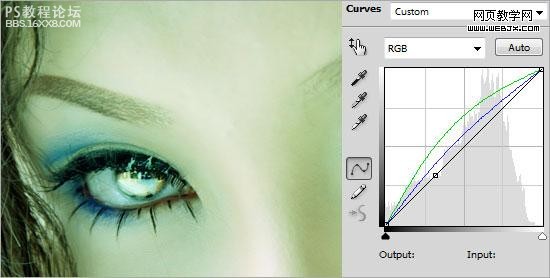
,之后创建曲线调整图层,分别调整绿色和蓝色通道,设置如下。
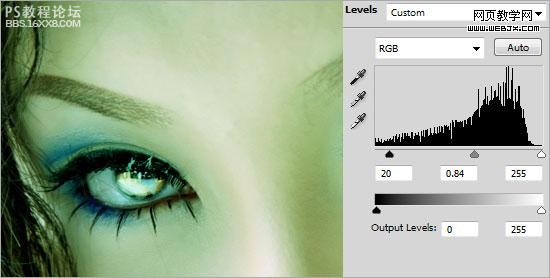
然后创建色阶调整层,设置如下20, 0.84, 255,效果如下。
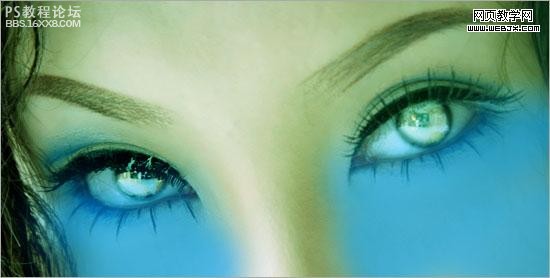
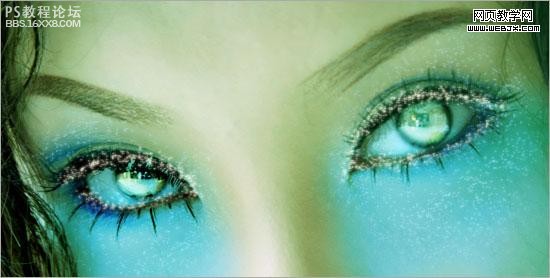
然后我们创建一个图层,修饰脸部,设置图层名字为Face Color,然后设置前景色为#45ADCA,使用柔角200px,绘制脸部眼睛周围,然后设置模式为柔光。
打开画笔面板设置画笔。

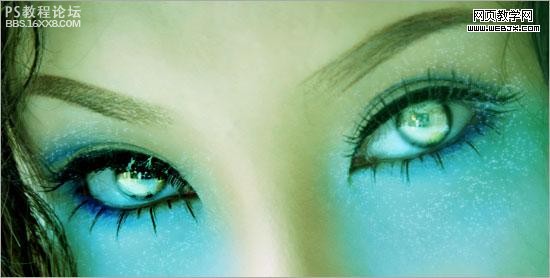
创建新图层Glitter,然后选择白色的3px大小的画笔,绘制眼睛的周围,然后右击图层设置图层样式外部发光,应用默认设置。
重复上面的步骤。
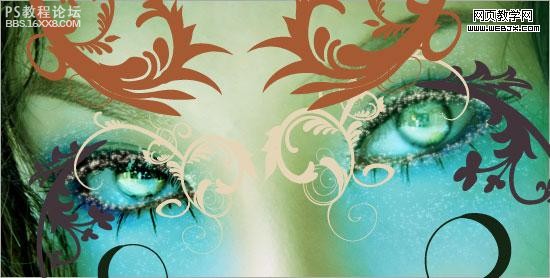
,然后我们设置一些图案,下载一些,用一些花纹笔刷也行。放到眼睛部分。
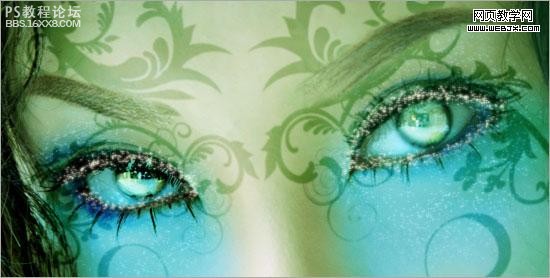
拼合所有图层,然后调整色相和饱和度,设置亮度为-100,设置模式为柔光,然后进行高斯模糊,模糊半径为2px,效果如下。
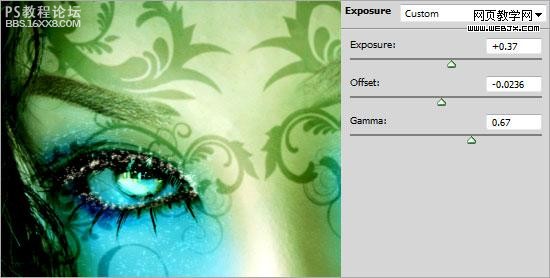
创建曝光调整图层,设置如下。
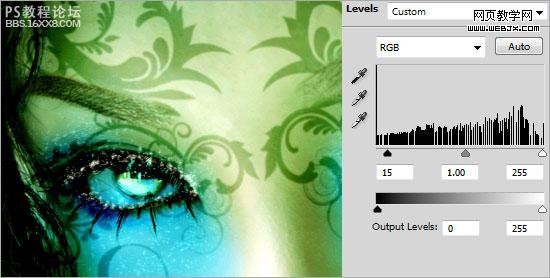
创建色阶调整图层,设置15, 1, 255,效果如下。
最终效果。
作者:佚名 出处:網頁教學網
本文我们用photoshop制作一种非常酷的眼部特效,当然我们可以在互联网上看到好多类似的特效,比如下面的特效。
本文要制作的最终效果预览。
首先用photoshop打开原图。
为了使眼部放光,我们用椭圆选区工具绘制选区,然后执行羽化命令,半径设置为20px,效果如下。
按CTRL+C复制,创建一个新图层粘贴,命名该图层为Eyes Glow,图层模式设置为滤色,然后复制Eyes Glow图层3次,效果如下。
,之后创建曲线调整图层,分别调整绿色和蓝色通道,设置如下。
然后创建色阶调整层,设置如下20, 0.84, 255,效果如下。
然后我们创建一个图层,修饰脸部,设置图层名字为Face Color,然后设置前景色为#45ADCA,使用柔角200px,绘制脸部眼睛周围,然后设置模式为柔光。
打开画笔面板设置画笔。
创建新图层Glitter,然后选择白色的3px大小的画笔,绘制眼睛的周围,然后右击图层设置图层样式外部发光,应用默认设置。
重复上面的步骤。
,然后我们设置一些图案,下载一些,用一些花纹笔刷也行。放到眼睛部分。
拼合所有图层,然后调整色相和饱和度,设置亮度为-100,设置模式为柔光,然后进行高斯模糊,模糊半径为2px,效果如下。
创建曝光调整图层,设置如下。
创建色阶调整图层,设置15, 1, 255,效果如下。
最终效果。
作者:佚名 出处:網頁教學網
学习 · 提示
- 发评论 | 交作业 -
最新评论
吵吵爱闹2011-03-30 07:01
太牛X了!!!
回复
w98091982010-09-10 02:29
厉害厉害本文来自:ps教程论坛(bbs.16xx8.com)详细出处参考:http://bbs.16xx8.com/thread-80149-1-2.html
相关教程
关注大神微博加入>>


网友求助,请回答!