photoshop做烟雾字教程(4)
来源:未知
作者:学photoshop
学习:9209人次
效果如下图所示。

第四步:执行【滤镜—模糊—高斯模糊】命令,模糊半径为10像素。
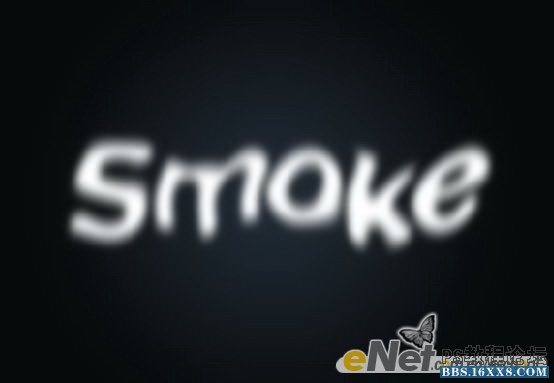
点击图层调板下方的【创建新组】按钮,新建一个组,然后将其重命名为【文字】,把刚才新建的文字图层拖入组【文字】中,并将组【文字】的混合模式改为【颜色减淡】效果如下图所示。
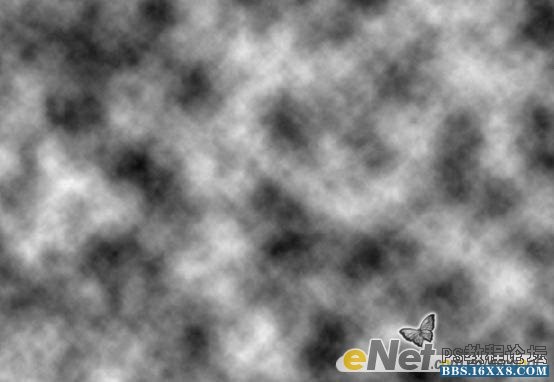
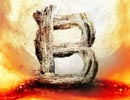
第五步:在所有图层的上面新建一层,命名为【云】。确认前景色为白色,背景色为黑色,执行【滤镜—渲染—云彩】命令,效果如下图所示。
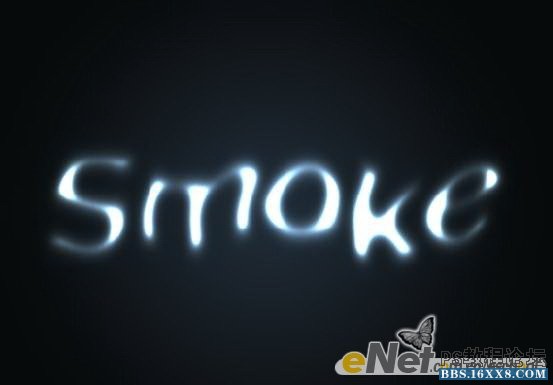
第四步:执行【滤镜—模糊—高斯模糊】命令,模糊半径为10像素。
点击图层调板下方的【创建新组】按钮,新建一个组,然后将其重命名为【文字】,把刚才新建的文字图层拖入组【文字】中,并将组【文字】的混合模式改为【颜色减淡】效果如下图所示。
第五步:在所有图层的上面新建一层,命名为【云】。确认前景色为白色,背景色为黑色,执行【滤镜—渲染—云彩】命令,效果如下图所示。
学习 · 提示
相关教程
关注大神微博加入>>


网友求助,请回答!