photoshop文字效果教程:超炫3D立体文字
来源:未知
作者:福特少普ps
学习:1650人次
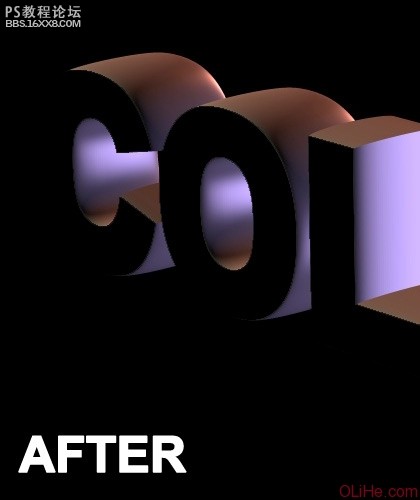
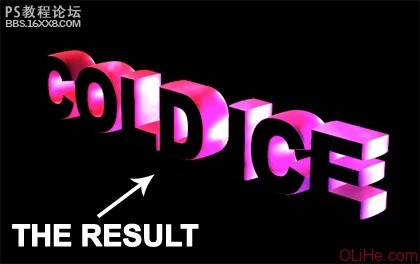
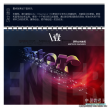
效果如图:

步骤1
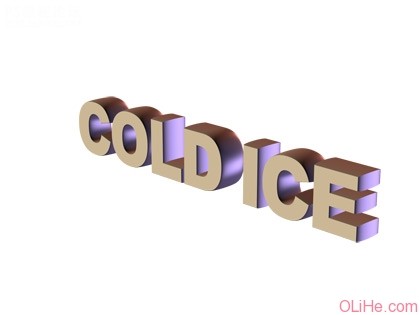
首先,我们需要写3D文本。我们可以在illustrator中制作,或者点击下面的缩略图下载样本(如何制作3D效果文字在这里就不累述了):
步骤2
放置3D文字,并重命名为“3D text ”。然后,用魔术棒工具选择字母的表面,剪切出这部分,你会看到下面的效果。

,步骤3
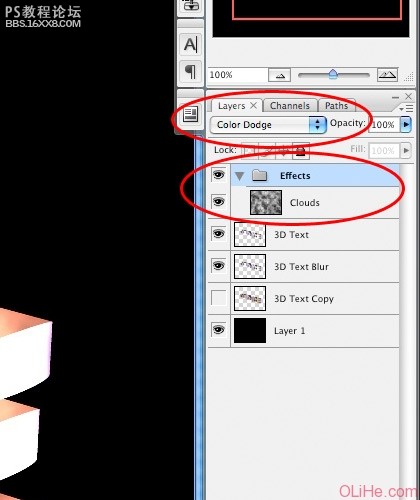
现在到了有趣的部分了。把这层复制两份,一份用于备份(“3D Text Copy”)和另一份(“3D Text Blur”)。把备份的副本拿到一边(隐藏)。留下其他两个层(“3D Text”和“3D Text Blur”)便于使用。(注意下图中图层的顺序)

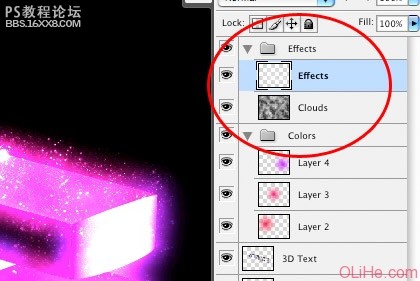
步骤4
接下来,创建一个新图层组,命名为“Effects”(效果),改变这个图层组的混合选项为“颜色减淡”。现在,要注意不要去影响其他层,在这个组里创建一个新层,应用滤镜“云”(滤镜 渲染 云彩)给它添加不错的效果,看下面的图。
,步骤5
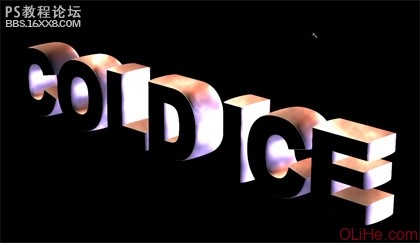
在你的面板里创建另一个组(如图),命名为“Colors”(颜色)。还记得我们步骤4使用的技术吗?我们要再次应用它。一如既往,在这个新组里创建一个新层,添加少量的粉红色,用渐变工具(径向模式)绘制一个柔边的光芒。之后,设置图层的混合模式为“低”混合设置或“柔光”。
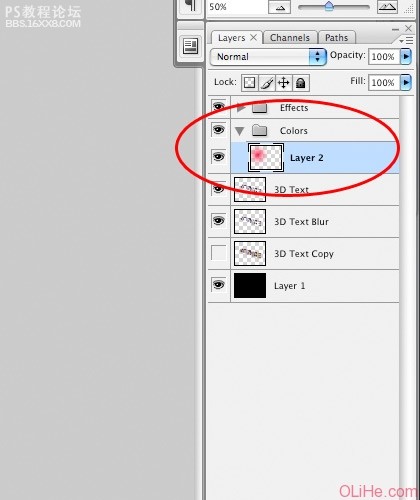
做到这一步,你可能会看到一团奇怪的粉红色的云,但不要担心。所有的部分都在计划之中。
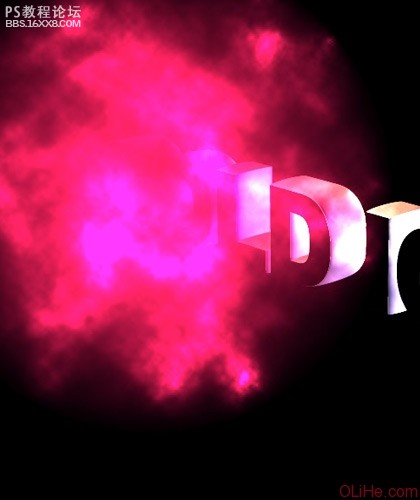
步骤6
重复两次或是更多次上一步骤,放到不同的位置。

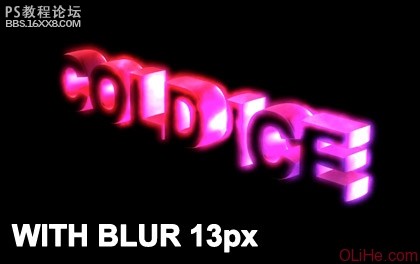
,步骤7
现在,“秘密的部分”要出场了, 你还记得我们在步骤3时预留的“3D Text Blur”图层吗?那么,它已经酝酿了足够长的时间!现在选择它,应用半径为13像素的高斯模糊(滤镜 模糊 高斯模糊)。
步骤8
现在是创作的部分。在“Effects”图层组里“Clouds”图层之上添加一个新层。按自己喜好找个grunge风格的污点笔刷,使用白色在每个字母内边缘涂抹。
,步骤9
还在跟着我操作吗?我们快完成了!在两个图层组(“Effects”和“Clouds”)中间添加一个新层。选择渐变工具(这次用线性模式),选择白色并按住Shift键,拖动渐变从画布的外边缘到图像的中间。 设置混合模式为“饱和”,看看会发生什么…
步骤1
首先,我们需要写3D文本。我们可以在illustrator中制作,或者点击下面的缩略图下载样本(如何制作3D效果文字在这里就不累述了):
步骤2
放置3D文字,并重命名为“3D text ”。然后,用魔术棒工具选择字母的表面,剪切出这部分,你会看到下面的效果。
,步骤3
现在到了有趣的部分了。把这层复制两份,一份用于备份(“3D Text Copy”)和另一份(“3D Text Blur”)。把备份的副本拿到一边(隐藏)。留下其他两个层(“3D Text”和“3D Text Blur”)便于使用。(注意下图中图层的顺序)
步骤4
接下来,创建一个新图层组,命名为“Effects”(效果),改变这个图层组的混合选项为“颜色减淡”。现在,要注意不要去影响其他层,在这个组里创建一个新层,应用滤镜“云”(滤镜 渲染 云彩)给它添加不错的效果,看下面的图。
,步骤5
在你的面板里创建另一个组(如图),命名为“Colors”(颜色)。还记得我们步骤4使用的技术吗?我们要再次应用它。一如既往,在这个新组里创建一个新层,添加少量的粉红色,用渐变工具(径向模式)绘制一个柔边的光芒。之后,设置图层的混合模式为“低”混合设置或“柔光”。
做到这一步,你可能会看到一团奇怪的粉红色的云,但不要担心。所有的部分都在计划之中。
步骤6
重复两次或是更多次上一步骤,放到不同的位置。
,步骤7
现在,“秘密的部分”要出场了, 你还记得我们在步骤3时预留的“3D Text Blur”图层吗?那么,它已经酝酿了足够长的时间!现在选择它,应用半径为13像素的高斯模糊(滤镜 模糊 高斯模糊)。
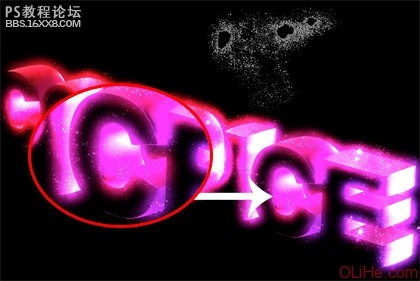
步骤8
现在是创作的部分。在“Effects”图层组里“Clouds”图层之上添加一个新层。按自己喜好找个grunge风格的污点笔刷,使用白色在每个字母内边缘涂抹。
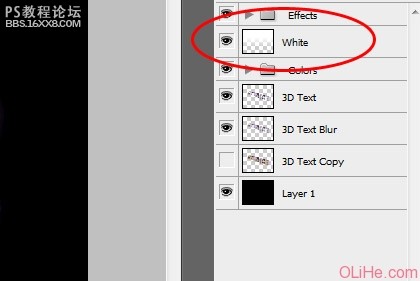
,步骤9
还在跟着我操作吗?我们快完成了!在两个图层组(“Effects”和“Clouds”)中间添加一个新层。选择渐变工具(这次用线性模式),选择白色并按住Shift键,拖动渐变从画布的外边缘到图像的中间。 设置混合模式为“饱和”,看看会发生什么…
学习 · 提示
相关教程
关注大神微博加入>>


网友求助,请回答!