Photoshop效果教程:精美风景画艺术照片(4)
来源:作者:四季轮回 来源:中国教
作者:bbs.16xx8.com
学习:404人次
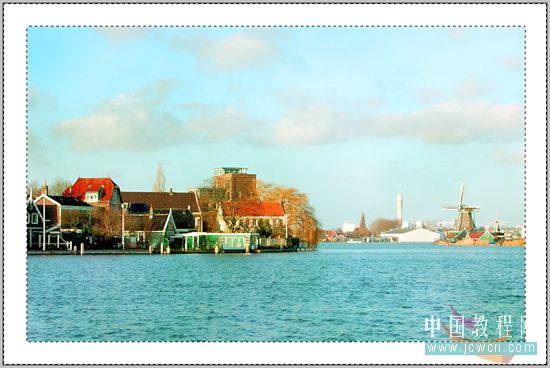
13、将前景色设置为“白色”,按“Ctrl+Shift+I”组合键进行反选命令后,按“Alt+Delete”组合键为其填充颜色,填充后的图像效果如图12A所示:
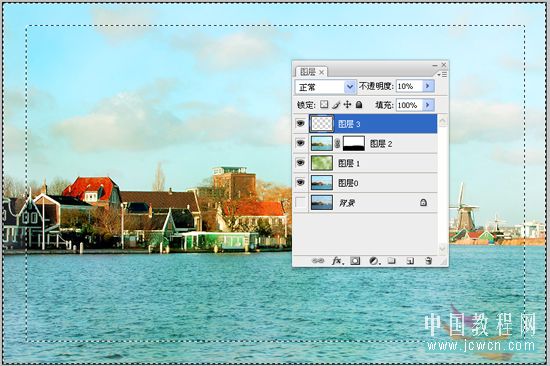
14、在图层调板中设置“不透明度”为10%,得到的图像效果如图12B所示:
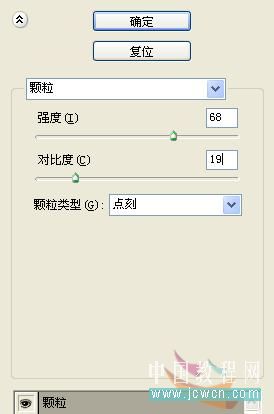
15、单击菜单栏中的“滤镜/“纹理/“颗粒”命令,在打开的对话框中设置参数,如图13所示:
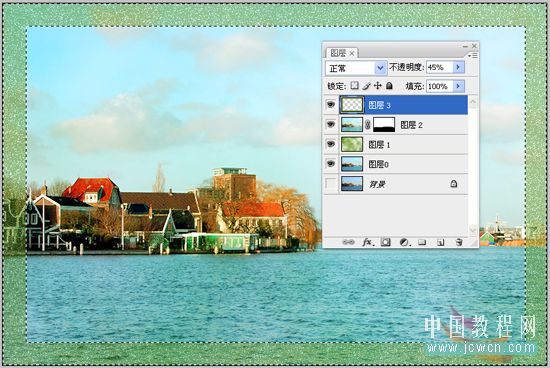
16、应用“颗粒”命令后,在图层调板中设置“不透明度”为45%,得到的图像效果如图14所示:
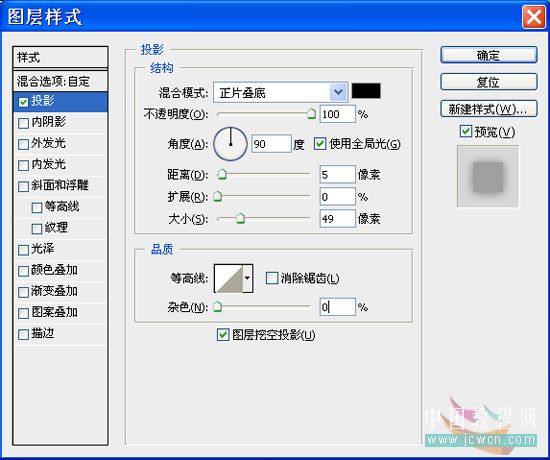
17、单击菜单栏中的“图层”/“图层样式”/“投影”命令,在打开的对话框中设置参数,如图15所示:
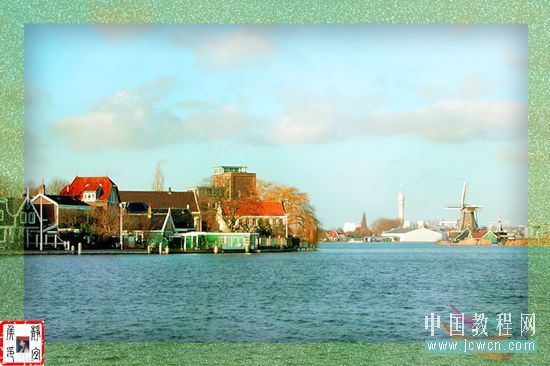
18、应用“投影”命令后,得到的图像最终效果如图16所示:
学习 · 提示
相关教程
关注大神微博加入>>


网友求助,请回答!