Photoshop制作好看的三维特效水晶标志(3)
来源:作者:令彬 译 来源:10steps
作者:bbs.16xx8.com
学习:960人次
步骤 6、创建新图层,并命名为底层,将其置于上述两层下方;
重复步骤 2,使用#00F5FF填充,并调整图像到如下位置。

步骤 7、复制底层,并命名为阴影层,将阴影层置于底层下方;
滤镜 >> 模糊 >> 高斯模糊,模糊半径设为10。

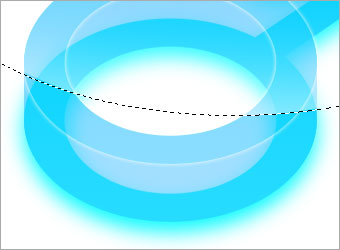
步骤 8、在所有层上方创建图层,并使用椭圆选框工具建立如下选区,使用300px柔角笔刷在圆形选区底部轻轻扫过,图层不透明度“60%”。
步骤 9、采用与步骤 8类似的方法为箭头添加高光效果。

学习 · 提示
关注大神微博加入>>


网友求助,请回答!