Photoshop鼠绘真实的嘴唇(3)
来源:
作者:
学习:8460人次
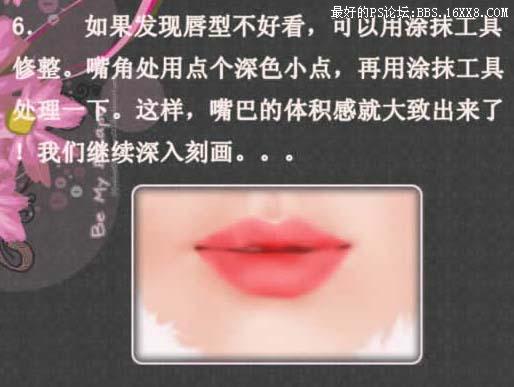
6、如果发现唇形不好看,可以用涂抹工具修正。然后在嘴角处用画笔点个深色小点,再用涂抹工具处理一下,这样,嘴巴的体积感就大致出来了。
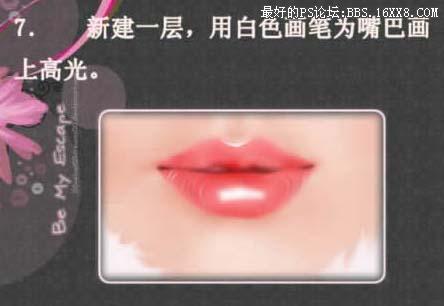
7、新建一层,用白色画笔涂上高光。
8、用橡皮工具把刚才的白色高光擦出一丝一丝的,体现嘴唇的质感。
9、同样的方法,用加深工具(2像素,高光,曝光度:5%)在嘴唇的那一层上涂出嘴唇的质感。

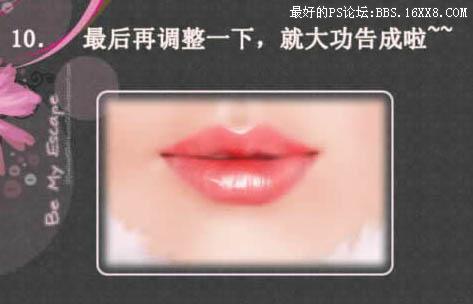
10、最后修饰下细节,完成最终效果。
学习 · 提示


相关教程
关注大神微博加入>>

网友求助,请回答!