非主流ps教程:非主流柔美色彩教程(2)
来源:
作者:
学习:185人次
6、新建一个图层盖印图层,执行:滤镜 模糊 高斯模糊,数值为5,确定后把图层混合模式改为叠加,效果如图6。

图6
7、创建曲线调整图层,参数 设置如图9,确定后新建一个图层填充颜色:#0489FA,然后把图层混合模式改为滤色,图层不透明度改为:40%,效果 如图10。
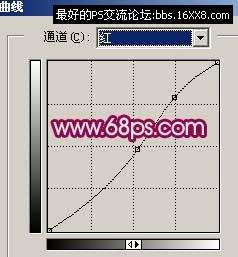
图9

图10
8、新建一个图层盖印图层,把图层混 合模式改为正片叠底,效果如图11。

图11
11、新建一个图层,填充颜色:#6D6D6D,把图层混合模式改为正片叠底, 加上图层蒙版把人物部分擦出来,效果如图15。

图15
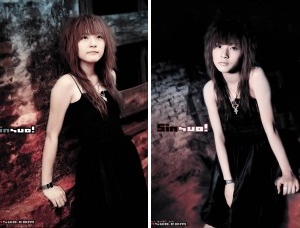
12、新建一个图层,盖印图层,给人 物加点腮红再整体修饰下,完成最终效果。

图16
搜索更多相关主题的帖子: 非主流ps教程 photoshop教程
学习 · 提示
相关教程
关注大神微博加入>>


![[非主流PS教程] 非主流PS教程V.onai图图教程](http://pic.16xx8.com/article/UploadPic/2007/10/26/2007102672715838_lit.jpg)


网友求助,请回答!