在母亲节用photoshop绘画一朵康乃馨送给母亲(2)
来源:
作者:
学习:6497人次
3、Ctrl+Enter转路径为选区,新建一个图层,在花瓣内拉出一条由浅到深的渐变。
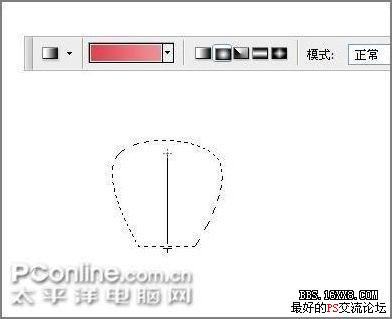
图4
4、这样一片花瓣就基本成形了。
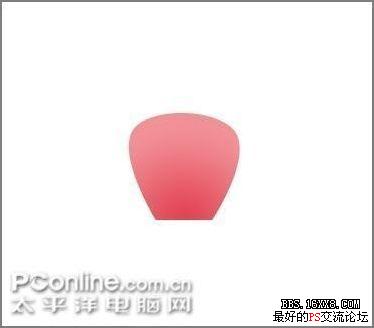
图5
5月第2个周日就是母亲节了,在此小编祝福天下的母亲健康快乐!本教程是关于使用photoshop鼠绘康乃馨,制作过程主要运用了路径工具、涂抹工具、加深和减淡工具以及自由变换工具来完成。网友不妨通过自己动手鼠绘一直康乃馨送给妈妈,以表对妈妈的深情的祝福!
5、选择涂抹工具,设置如下,将花瓣的边缘涂抹成不规则的形状。
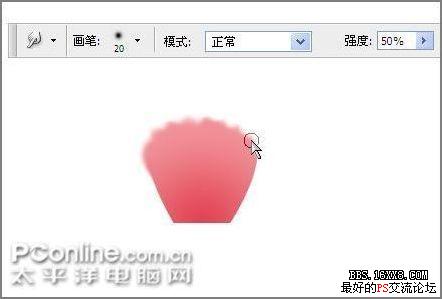
图6
6、选择加深工具,将花瓣的边缘涂抹一遍以增加立体感。
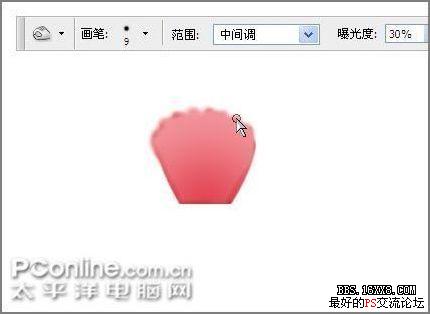
图7
7、选择移动工具,按住Alt键拖动花瓣,就复制出了另外几片花瓣。

图8
8、Ctrl+T将第1片花瓣旋转到如下角度。
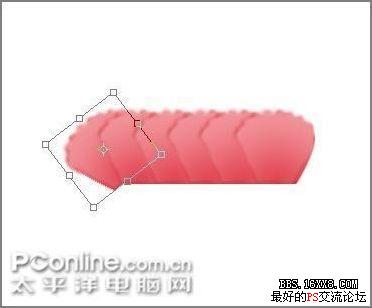
图9
9、分别旋转其他的花瓣到合适角度,并调整位置到如下形状。
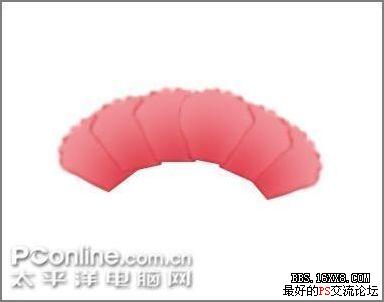
图10
学习 · 提示
 <怒>
<怒>相关教程
关注大神微博加入>>


网友求助,请回答!