Photoshop为数码照片制作立体水晶相框(4)
来源:
作者:
学习:11300人次
7、选择工具箱中的钢笔工具,在画面中绘制路径,效果如图10所示。将路径转换为选区,新建图层
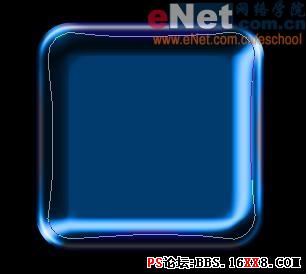
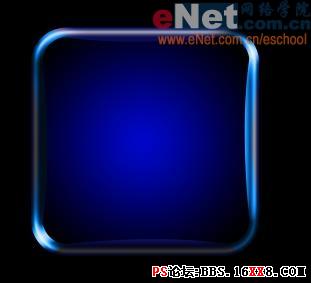
3,选择工具箱中的渐变工具,在属性栏中选择径向渐变,在选区进行填充,图像效果如图11所示。
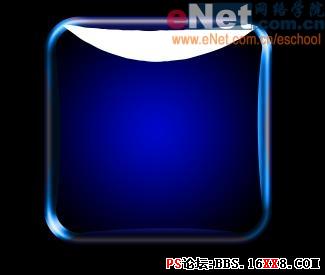
8、设置前景色为白色,新建图层4,选择工具箱中的钢笔工具,在画面中绘制路径,单击路径面板上的用前景色填充路径按钮,对路径进行填充,图像效果如图12所示。
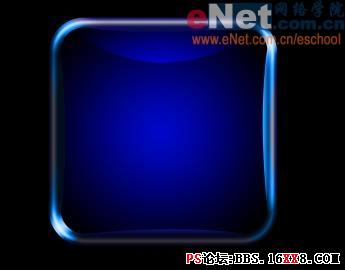
9、按住Ctrl键单击图层3,执行“选择”“反选”命令,按Delete键删除选区内的图像。设置图层4的图层混合模式为叠加,复制图层4生成图层4副本,效果如图13所示。
学习 · 提示
相关教程
关注大神微博加入>>


网友求助,请回答!