ps非主流时尚签名图教程(3)
来源:
作者:
学习:9300人次
5、新建图层,填充图案,模式为叠加,把人物面部擦出来,合并之后在新图层抽丝,模式为柔光。

6、背景复制一层,去色,高斯模糊,模式为叠加,不透时有度80%,填充80%。

7、图面构图需要裁剪一下,在加点自己喜欢的笔刷,打上文字,(宋体12号描边1像素)合并所有图层。

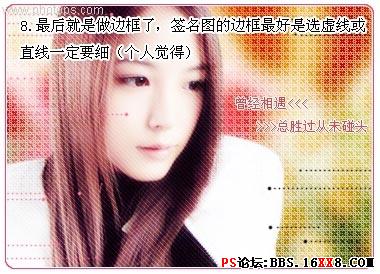
8、最后就是做边框了,签名图的边框最好是选虚线或直线一定要细。
学习 · 提示
相关教程
关注大神微博加入>>


网友求助,请回答!