PS鼠绘真实鼻子...。(3)
来源:不详
作者:佚名
学习:695人次
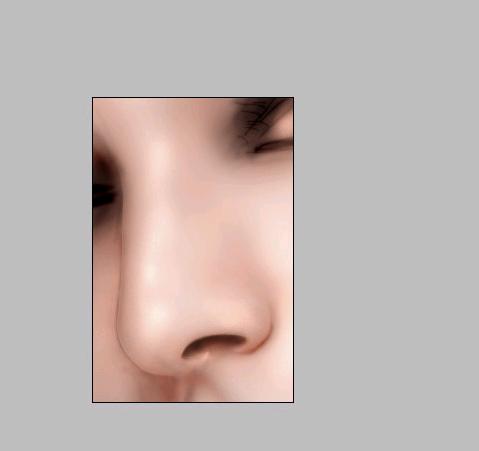
9.局部地方使用高斯模糊
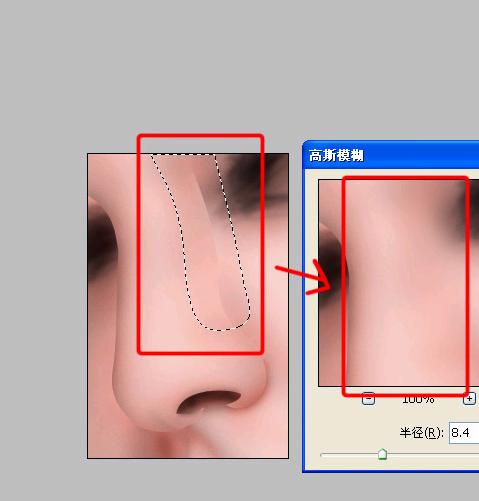
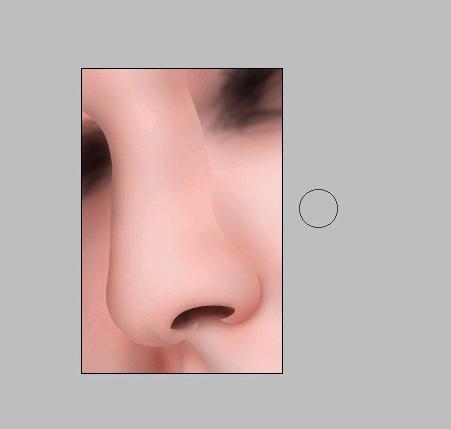
10.小范围的生硬随便用点模糊工具涂一涂就行了!有点像了吧~呵呵!这只是暗调效果,接下来是要用减淡工具减淡出高光的部分。
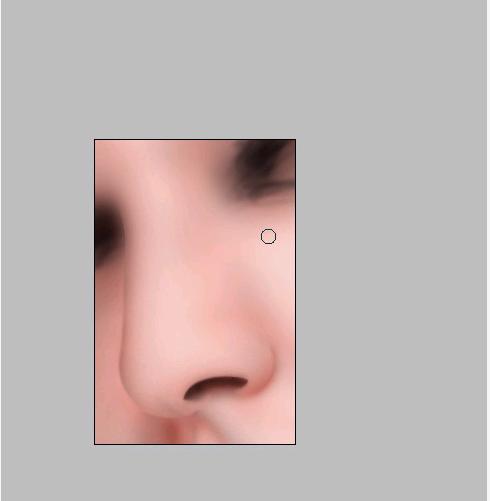
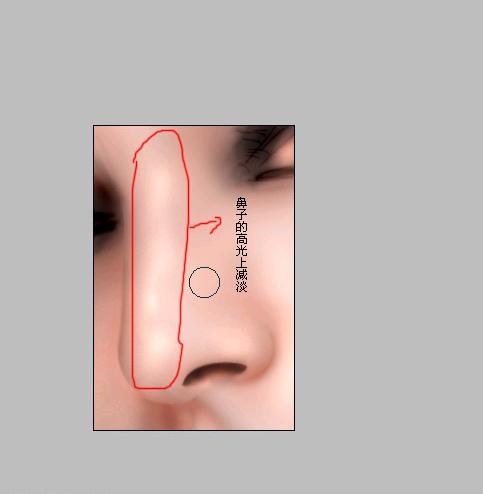
11.用曝光度5-7%的高光模式减淡工具对高光部位进行减淡。

12再减淡!质感出来了!!!
13.CTRL U降了点饱和度,因为饱和度高了点!
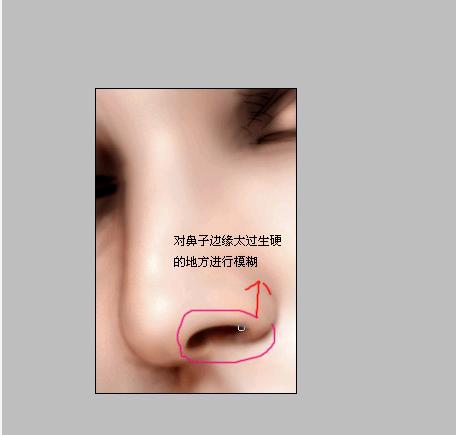
14.用模糊工具对较为生硬的边缘进行涂抹,让它感觉更融洽!
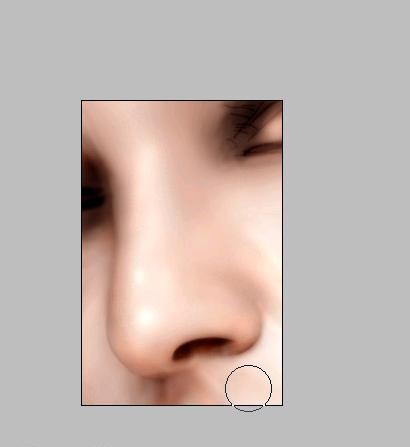
15.对脸部比较粗糙的色块进行模糊工具的涂抹!使皮肤感觉更光滑!
学习 · 提示
相关教程
关注大神微博加入>>


网友求助,请回答!