Photoshop制作精美灯槽
来源:不详
作者:佚名
学习:6565人次
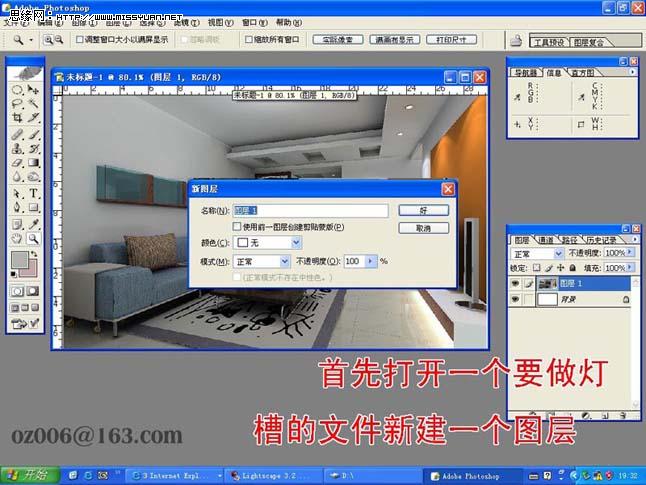
Photoshop制作精美灯槽(作者:oz006 来源:火星时代动画) 1、我们首先打开一个带灯槽的文件,并新建立一个图层。
2、然后在工具栏中选择钢笔工具,并在制作灯槽的位置画一条路径。

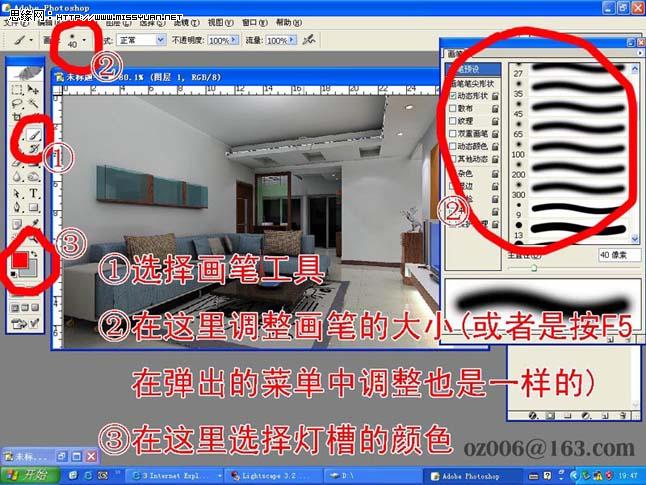
3、在工具栏中选择画笔工具,并将其大小改为40,并设置灯槽的颜色,如图。
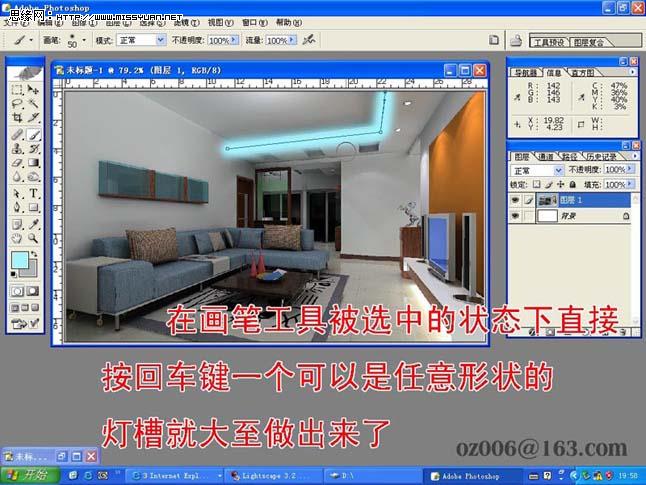
4、在画笔工具被选择的状态下直接按回车键。
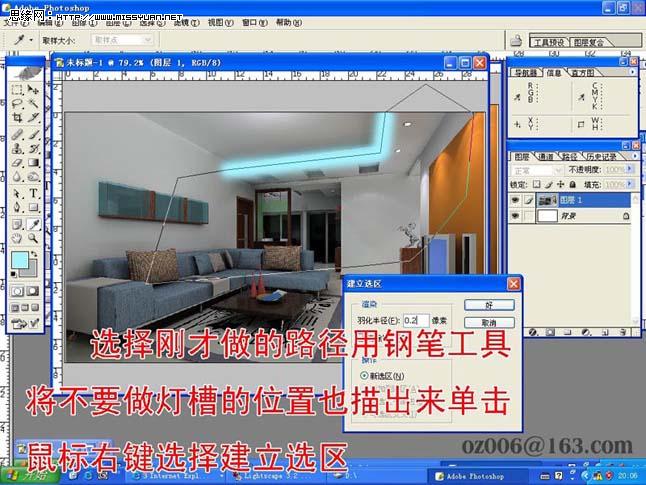
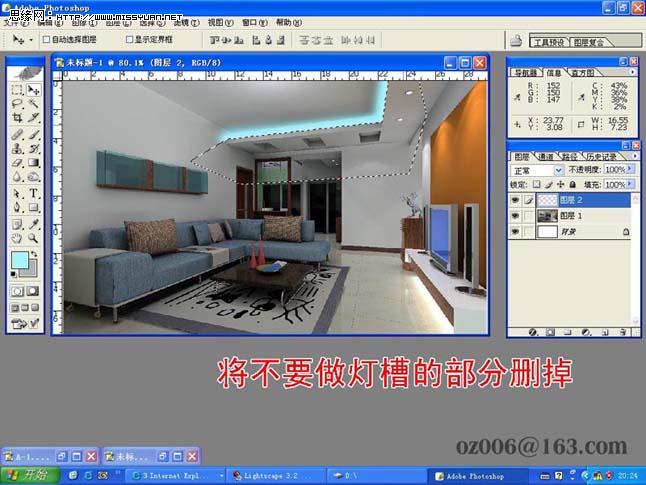
5、选择刚才用钢笔工具制作的路径,并用钢笔工具将不要灯槽的位置也描出来。
6、将不要灯槽的部分删除。
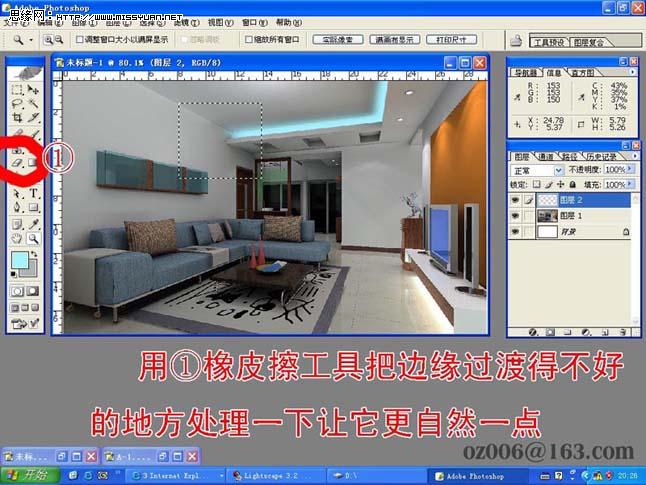
7、用橡皮擦工具修饰一下边缘。
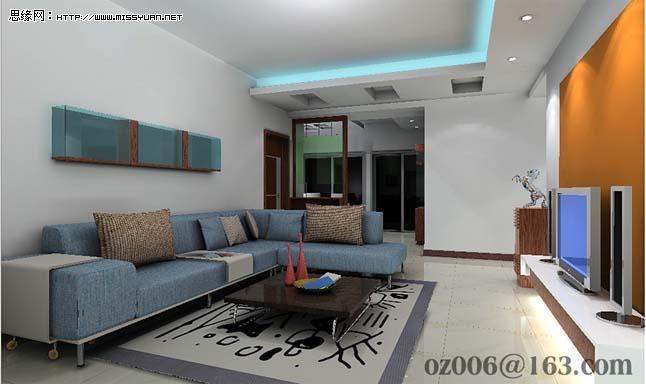
8、得到的效果如图。
![]()
2、然后在工具栏中选择钢笔工具,并在制作灯槽的位置画一条路径。
3、在工具栏中选择画笔工具,并将其大小改为40,并设置灯槽的颜色,如图。
4、在画笔工具被选择的状态下直接按回车键。
5、选择刚才用钢笔工具制作的路径,并用钢笔工具将不要灯槽的位置也描出来。
6、将不要灯槽的部分删除。
7、用橡皮擦工具修饰一下边缘。
8、得到的效果如图。
学习 · 提示
相关教程
关注大神微博加入>>


网友求助,请回答!