利用PhotoShop制作生锈的栅栏
来源:不详
作者:佚名
学习:6112人次
利用PhotoShop制作生锈的栅栏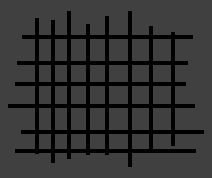

创建300x300画布,并用#404040填充背景。
创建新的图层并命名为“栅栏”。
使用直线工具绘制如左图所示4像素宽的黑线。
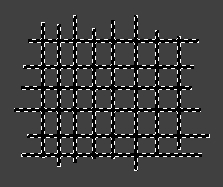

按住CTRL并点击图层面板中的栅栏层获得选区。
创建新的图层并命名为“立体栅栏”,用#737373填充选区。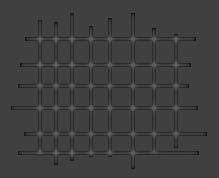


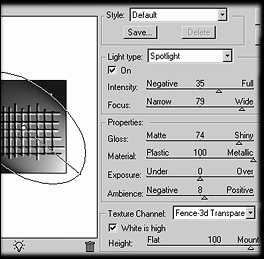
确定立体栅栏层为当前层,滤镜 >> 渲染 >> 光照效果。

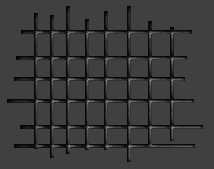

选择栅栏层并将不透明度降为 65%。
选择立体栅栏层,合并图层(Ctrl E)。
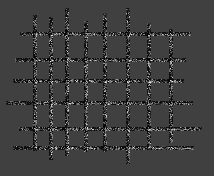

滤镜 >> 杂色 >> 添加杂色。
数量:75
高斯分布
单色
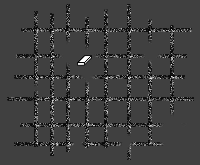
使用橡皮擦工具制作破损栅栏效果。


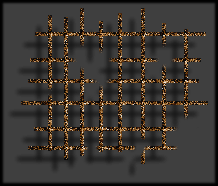
图像 >> 调整 >> 色彩平衡。
按左图设置属性。

![]()


创建300x300画布,并用#404040填充背景。
创建新的图层并命名为“栅栏”。
使用直线工具绘制如左图所示4像素宽的黑线。


按住CTRL并点击图层面板中的栅栏层获得选区。
创建新的图层并命名为“立体栅栏”,用#737373填充选区。


滤镜 >> 模糊 >> 高斯模糊,半径为2.0像素。
再应用高斯模糊两次,半径分别为1.0和0.5像素。
取消选择(Ctrl D)。

确定立体栅栏层为当前层,滤镜 >> 渲染 >> 光照效果。


光照类型:点光源。
其他设置见左图。


选择栅栏层并将不透明度降为 65%。
选择立体栅栏层,合并图层(Ctrl E)。


滤镜 >> 杂色 >> 添加杂色。
数量:75
高斯分布
单色

使用橡皮擦工具制作破损栅栏效果。


图像 >> 调整 >> 色彩平衡。
按左图设置属性。


图层 >> 图层样式 >> 投影。
角度:45
其余属性按默认设置。
学习 · 提示
相关教程
关注大神微博加入>>
网友求助,请回答!
