Photoshop绘制美丽的光感渐隐线框特效
来源:不详
作者:佚名
学习:1010人次
Photoshop绘制美丽的光感渐隐线框特效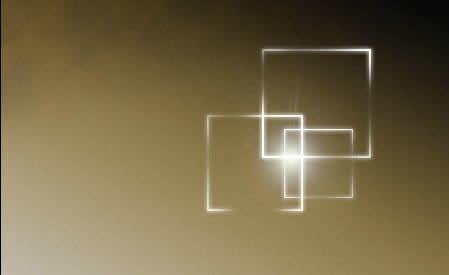


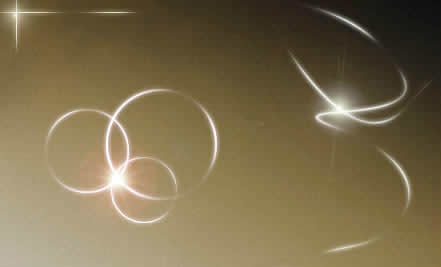

有朋友看到我做的照片里有这样的光感渐隐线框,其实这并不是个十分复杂的制作,下面我介绍一下Photoshop相片处理中光效的运用技巧。
究竟是什么让我们的图片这么丰富多彩?是光。
然而光又是那么不可捉摸,以每秒30万公里的速度划过眼前,不停息,就像飞逝的时间……
然而我们的画面又是什么?并不是光源,而是色彩。所谓色彩,又是一两部著作说不完的事。
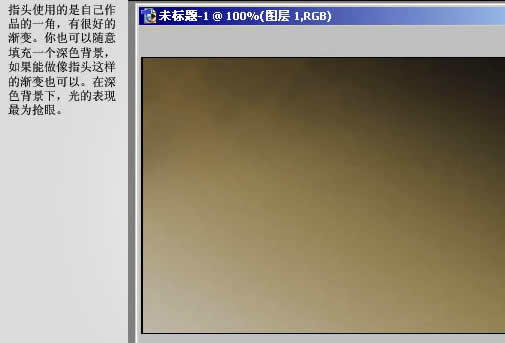
直白的说,如何用色彩表象光感?在黑色背景下的白色线条? 这是不够的。
最重要的是光芒的放射感,为实现这种放射感,我们可以充分利用ps的各种功效。图层样式-外发光是大家用得最多也最方便的制作光感的方式了。
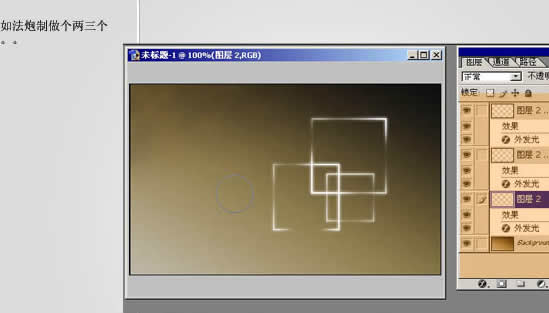
这里是指矩形选框工具,工具箱最左上角的那个。
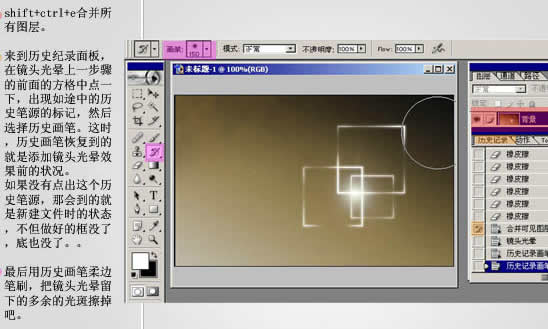
指头又犯错了~这里可以先合并图层!这样做起来会方便一点。
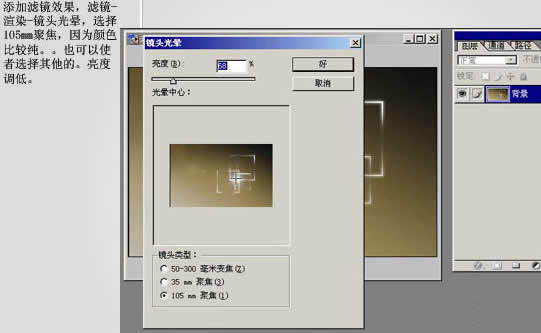
这一步的合并其实不要了,上面已经合并了。需要去除多余的光斑,如果不想去也就不用啦~~
也可以自由发挥作出其他各种图形。
学习 · 提示
相关教程
关注大神微博加入>>


网友求助,请回答!