Photoshop打造渐变高光波纹效果
来源:不详
作者:佚名
学习:6437人次
Photoshop打造渐变高光波纹效果1、首先新建一个白色背景的550*400象素的文件,选择渐变工具,将选项栏上的Mode设置为Difference模式。

现在随意地在画布上画上几笔吧。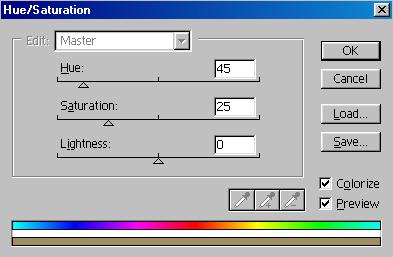
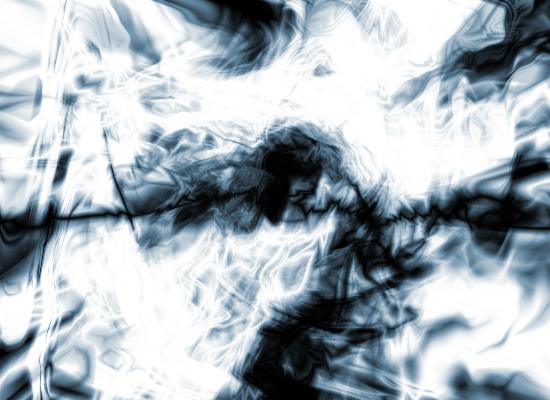
完成后你的图象现在应该是这样的:
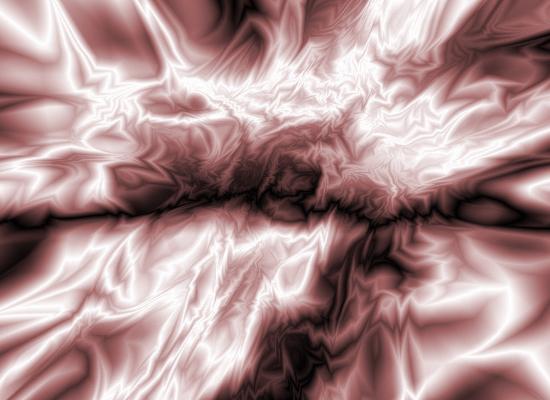
完成后把Layer 2的图层混合模式改为Overlay(叠加模式)
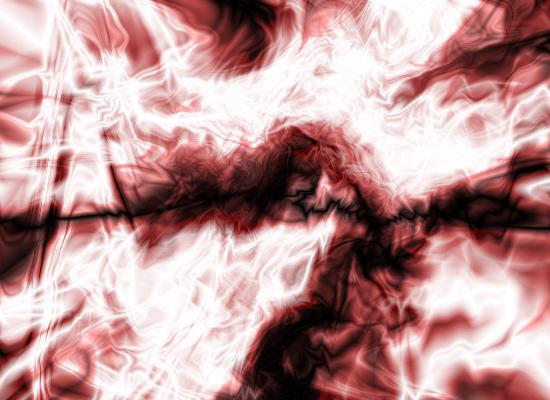
4、复制Layer 2,将复制得到的图层命名为Layer 3,执行 Filter/ Distort/Teirl(滤镜/扭曲/旋转扭曲)命令,Angle(角度)填100°。完成后将layer 3的图层混合模式也改成Overlay模式。

现在随意地在画布上画上几笔吧。
2、按Ctrl U就会弹出调整色相和饱和度的对话框,你可以调节Hue(色相)下的三角滑块来改变图象的色相,调整完毕后要选中Colorize后再按确定。最后把此图层命名成Layer 1。
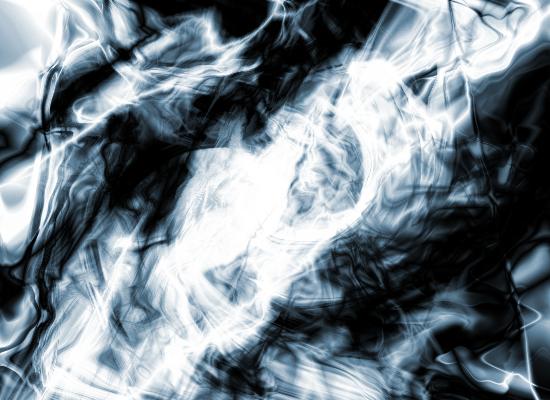
完成后你的图象现在应该是这样的:
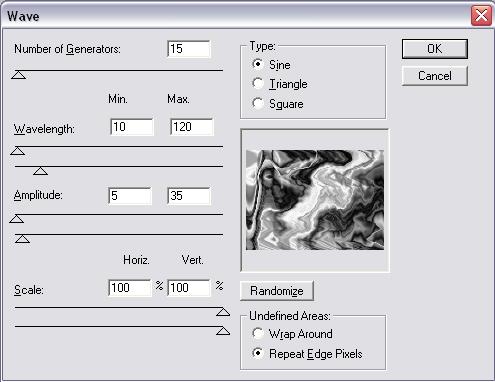
3、复制Layer 1,将复制得到的图层命名为Layer 2,对Layer 2执行 Filter/ Distort/ Wave(滤镜/扭曲/波浪),参数设置具体如图所示:
完成后把Layer 2的图层混合模式改为Overlay(叠加模式)
5、如果你愿意可以将图层复制一次来增强效果。
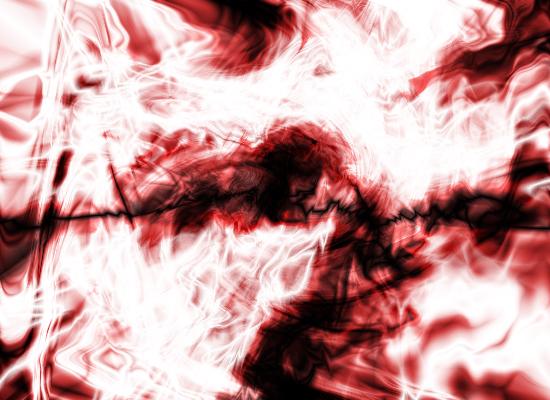
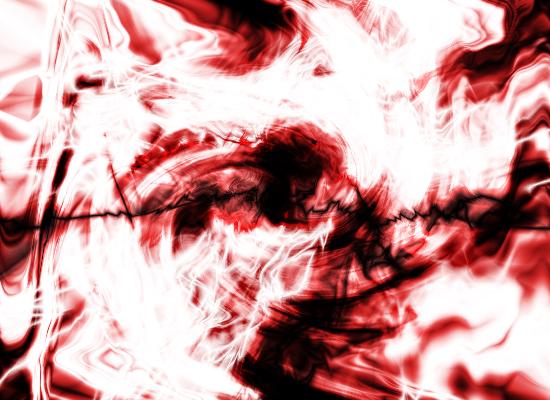
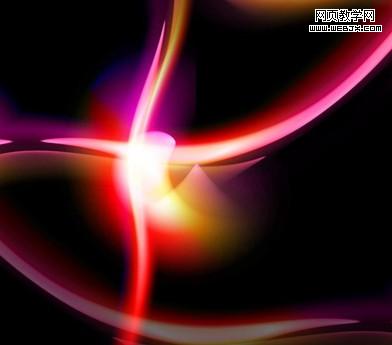
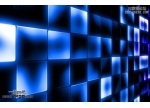
6、再次按下Ctrl U来调整图象的色相,同样要选中Colorize后再按确定。图象最终就做成了,这里的例图是一开始大家看到的不一样,这是因为每次一开始做渐变效果的时候就不太可能和上次的完全一样。大家做出来的图应该也和我的不一样,但是殊途同归,操作步骤都是一样的。
学习 · 提示
相关教程
关注大神微博加入>>


网友求助,请回答!