PS初学者实例教程——制作沙金字效果
来源:不详
作者:佚名
学习:24215人次
PS初学者实例教程——制作沙金字效果 作者:webkxq2007 教程来源:中国教程网论坛
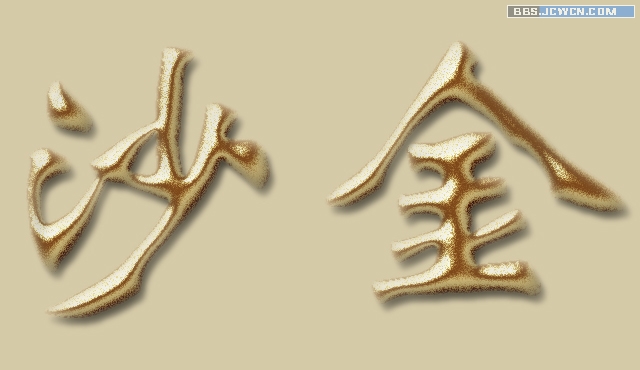
先看下最终效果:
本新闻共9
一、点击文件——新建,或按Ctrl n新建一个文件如图设置

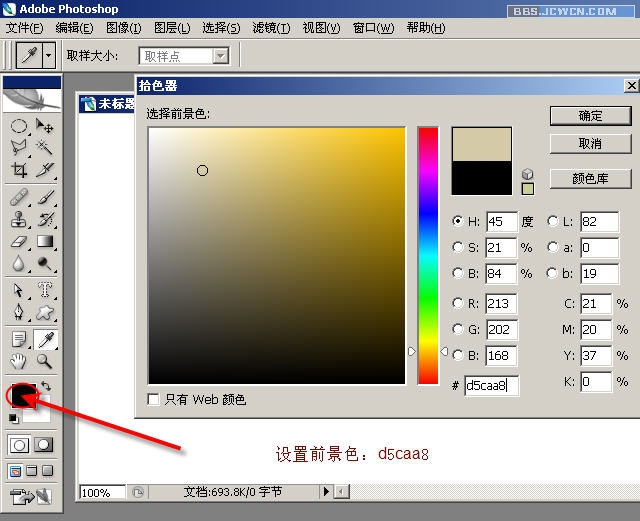
二、设置前景色:d5caa8
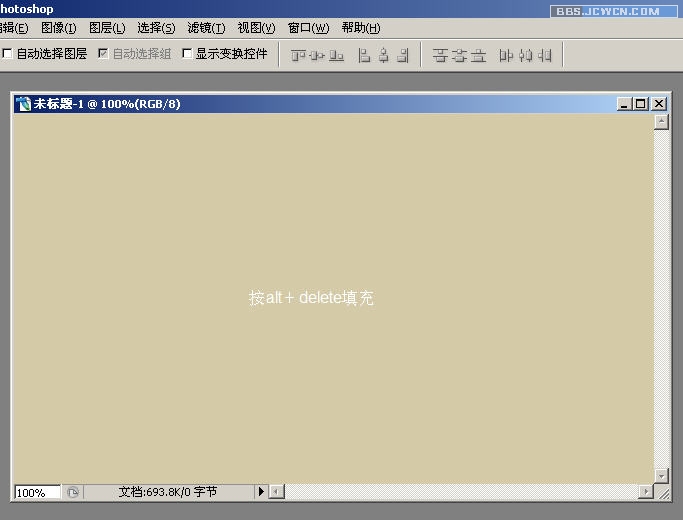
三、按Alt Delete填充
本新闻共9
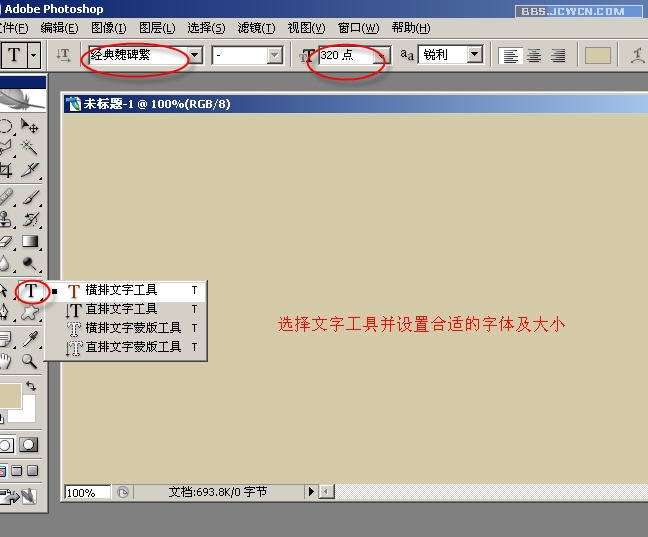
四、选择文字工具并设置合适的字体及大小
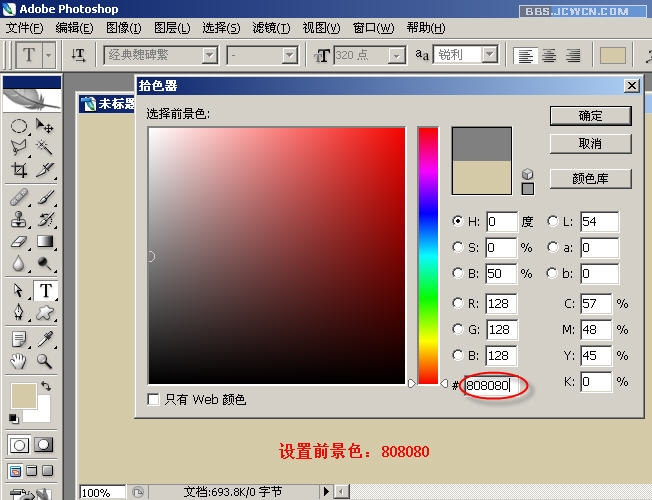
五、设置前景色:808080
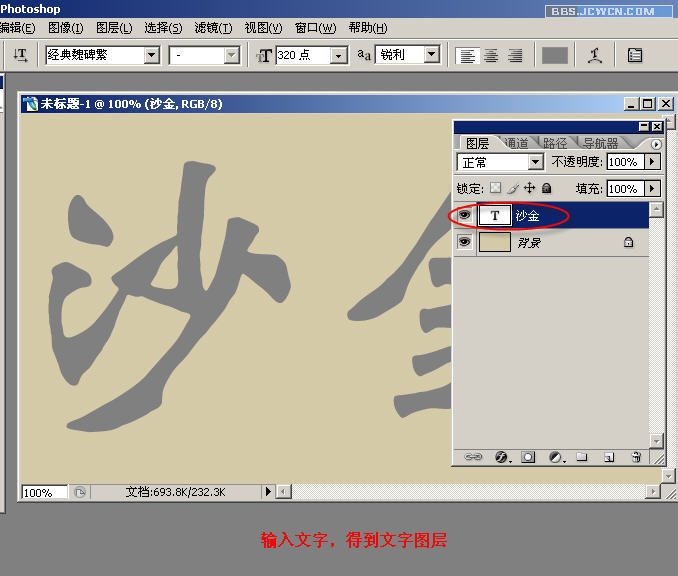
六、输入文字,得到文字图层
本新闻共9
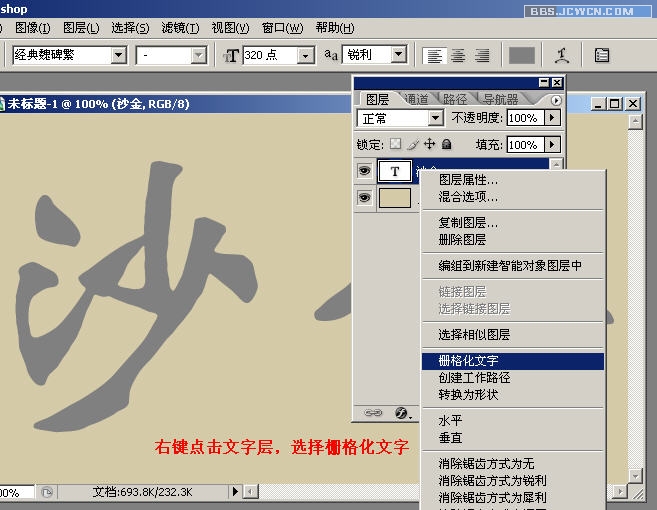
七、右键点击文字层,选择栅格化文字
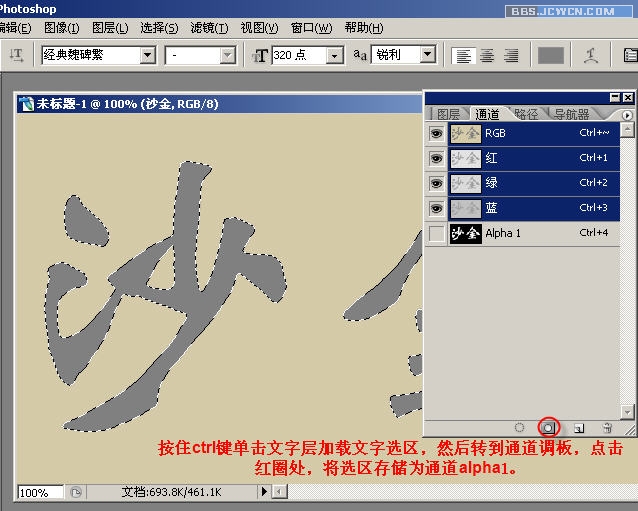
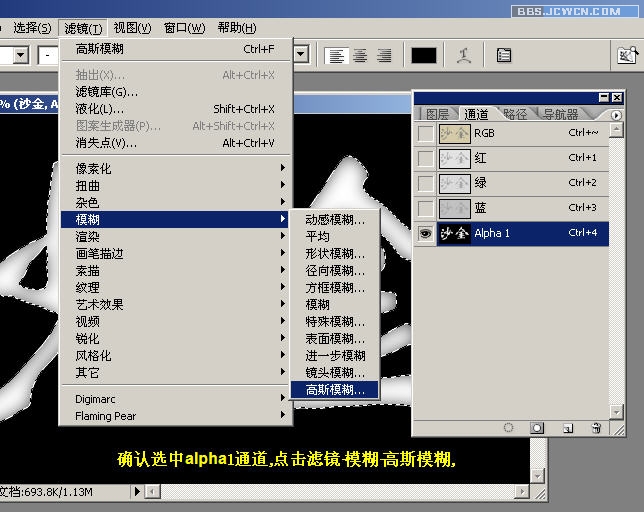
八、按住Ctrl键单击文字层加载文字选区,然后转到通道调板,点击红圈处,将选区存储为通道alpha1
九、确认选中alpha1通道,点击滤镜——模糊——高斯模糊
本新闻共9
十、设置模糊半径:8像素
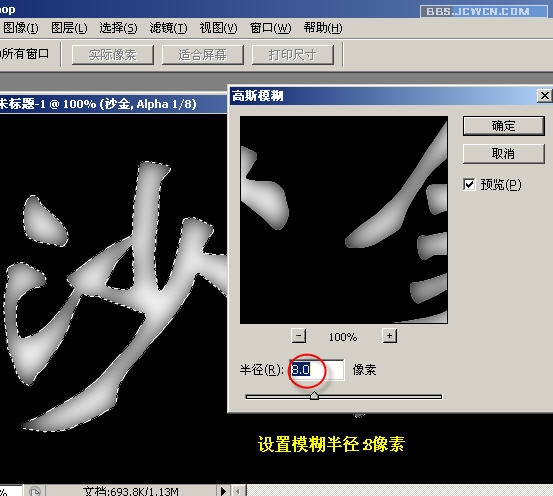
十一、连续做三次高斯模糊,半径依次递减为:4,2,1像素

十二、高斯模糊后的效果

本新闻共9
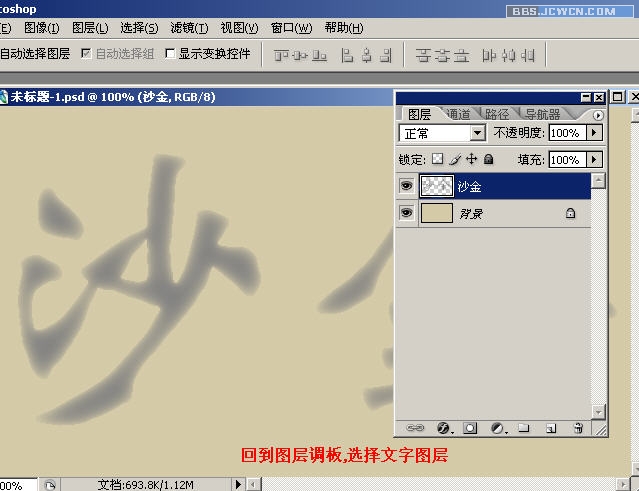
十三、回到图层调板,选择文字图层
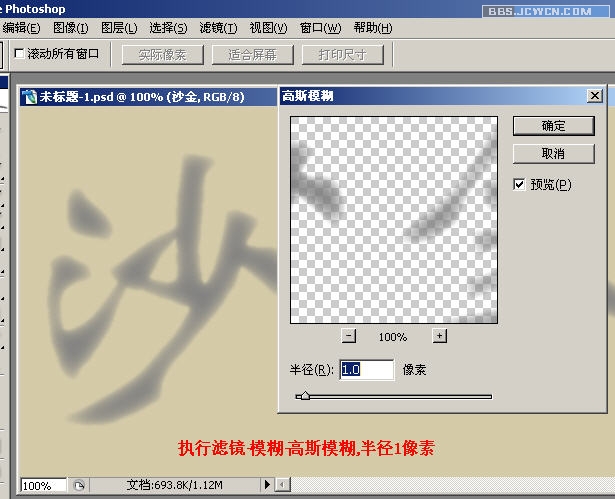
十四、执行滤镜——模糊——高斯模糊,半径1像素
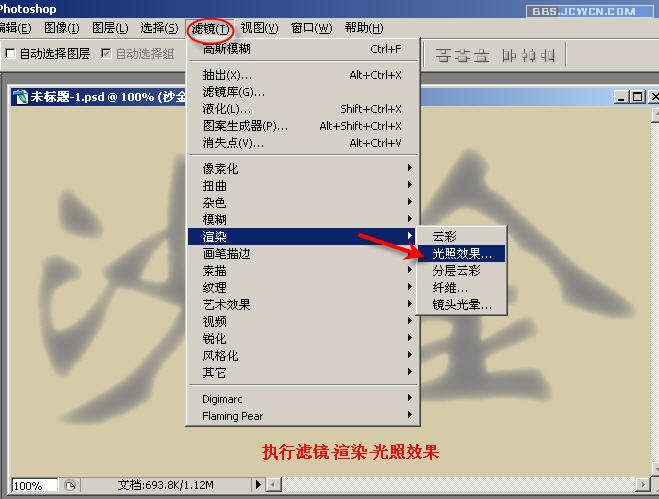
十五、执行滤镜——渲染——光照效果
本新闻共9
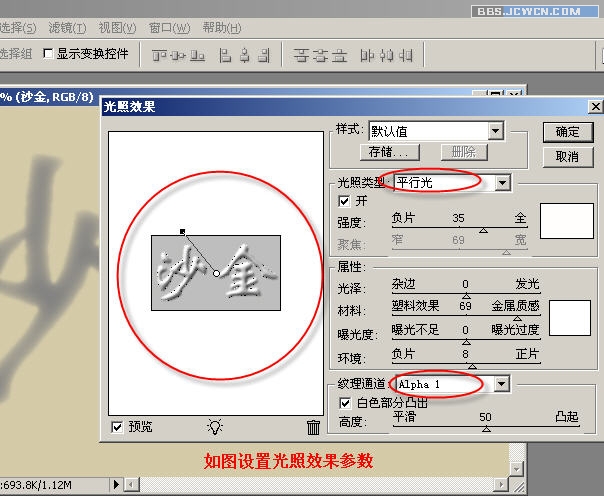
十六、如图设置光照效果参数
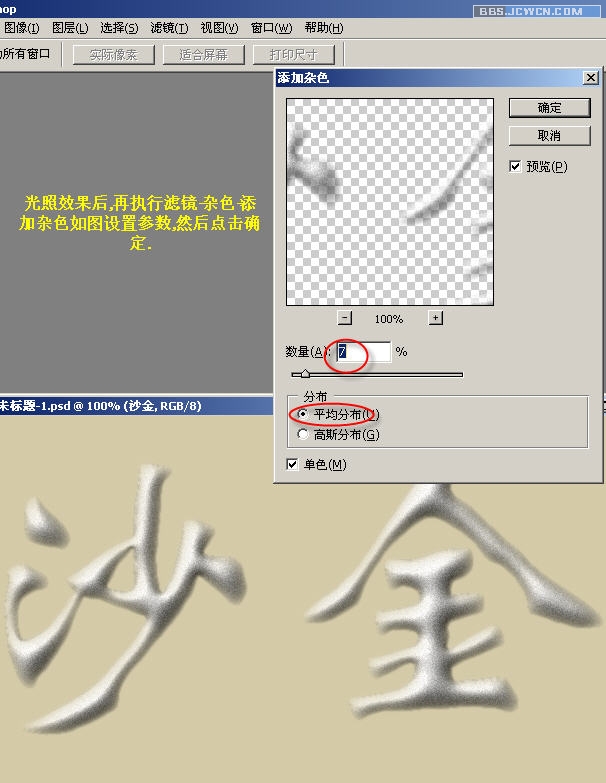
十七、光照效果后,再执行滤镜——杂色——添加杂色,如图设置参数,然后点击确定
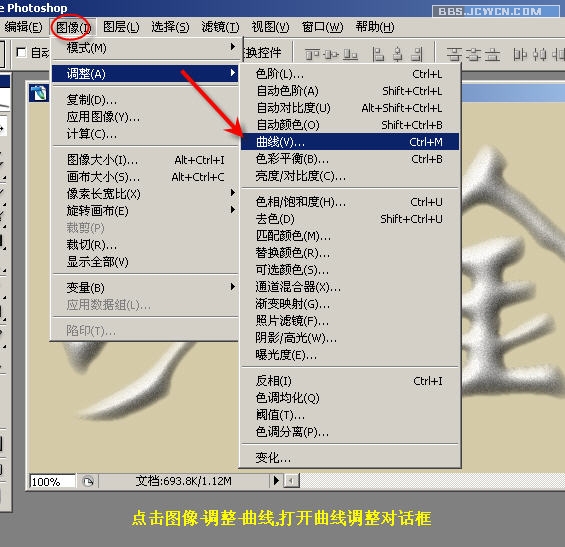
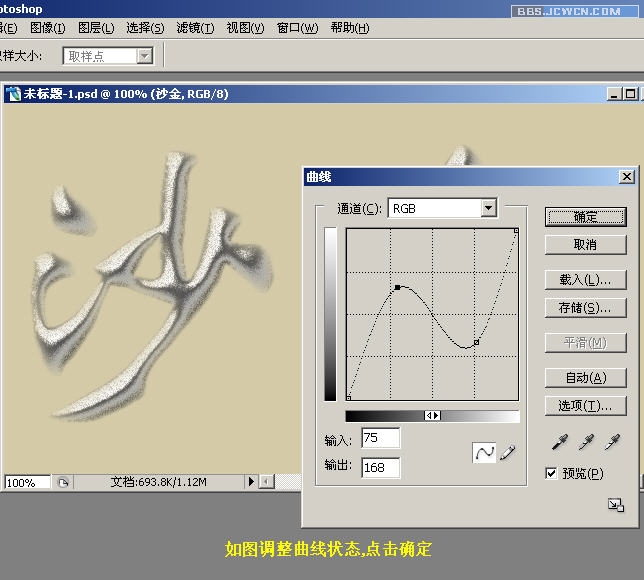
十八、点击图像——调整——曲线,打开曲线调整对话框
本新闻共9
十九、如图调整曲线状态,点击确定
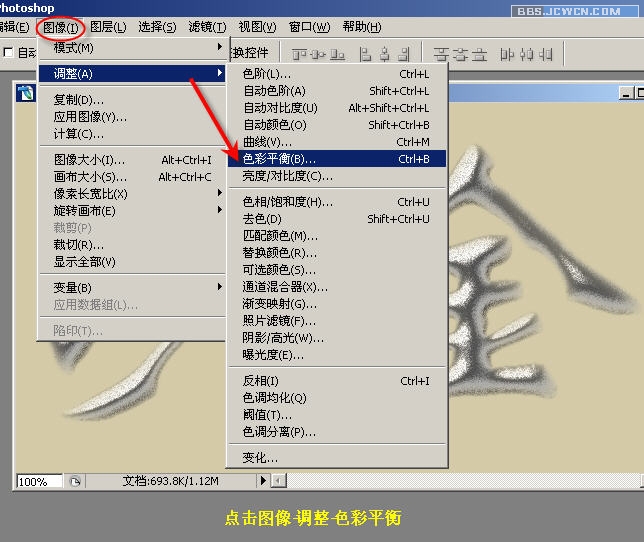
二十、点击图像——调整——色彩平衡
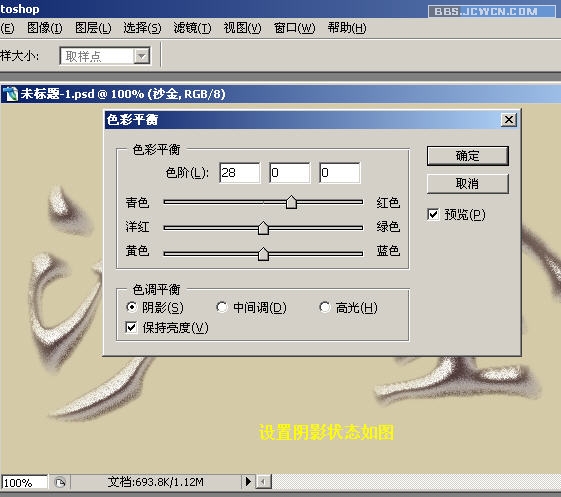
二十一、设置阴影状态如图
本新闻共9
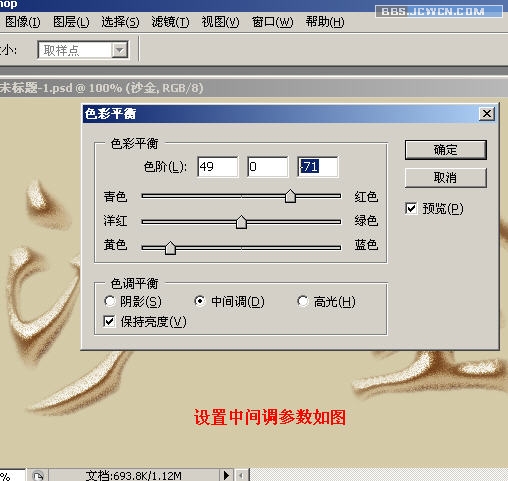
二十二、设置中间调参数如图
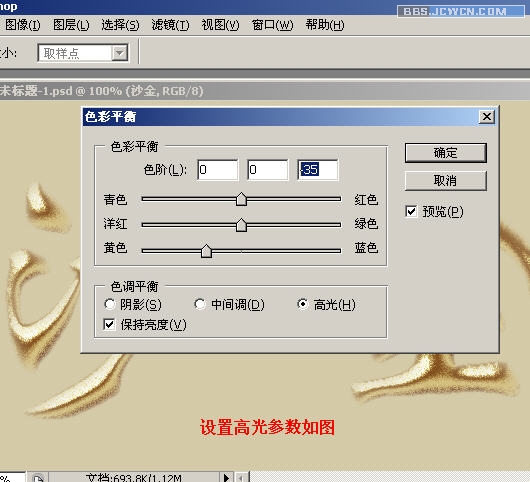
二十三、设置高光参数如图
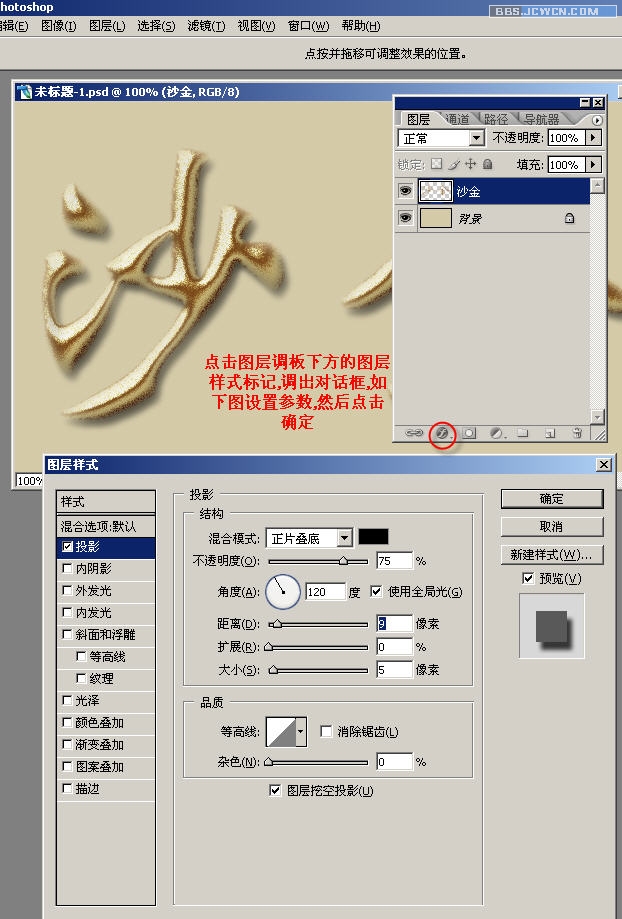
二十四、点击图层调板下方的图层样式标记,调出对话框,如下图设置参数,然后点击确定
再看下最效结果:
 简单的,我们教你,深奥的,你来分享,非主流照片|qqkongjian|feizhuliu|tupian|luntan|psjiaocheng|bishua|ruanjian|chajian|xiazai|psxiazai|qqkongjiandaima
先看下最终效果:
本新闻共9
一、点击文件——新建,或按Ctrl n新建一个文件如图设置
二、设置前景色:d5caa8
三、按Alt Delete填充
本新闻共9
四、选择文字工具并设置合适的字体及大小
五、设置前景色:808080
六、输入文字,得到文字图层
本新闻共9
七、右键点击文字层,选择栅格化文字
八、按住Ctrl键单击文字层加载文字选区,然后转到通道调板,点击红圈处,将选区存储为通道alpha1
九、确认选中alpha1通道,点击滤镜——模糊——高斯模糊
本新闻共9
十、设置模糊半径:8像素
十一、连续做三次高斯模糊,半径依次递减为:4,2,1像素
十二、高斯模糊后的效果
本新闻共9
十三、回到图层调板,选择文字图层
十四、执行滤镜——模糊——高斯模糊,半径1像素
十五、执行滤镜——渲染——光照效果
本新闻共9
十六、如图设置光照效果参数
十七、光照效果后,再执行滤镜——杂色——添加杂色,如图设置参数,然后点击确定
十八、点击图像——调整——曲线,打开曲线调整对话框
本新闻共9
十九、如图调整曲线状态,点击确定
二十、点击图像——调整——色彩平衡
二十一、设置阴影状态如图
本新闻共9
二十二、设置中间调参数如图
二十三、设置高光参数如图
二十四、点击图层调板下方的图层样式标记,调出对话框,如下图设置参数,然后点击确定
再看下最效结果:
简单的,我们教你,深奥的,你来分享,非主流照片|qqkongjian|feizhuliu|tupian|luntan|psjiaocheng|bishua|ruanjian|chajian|xiazai|psxiazai|qqkongjiandaima
学习 · 提示
相关教程
关注大神微博加入>>


网友求助,请回答!