沙滩投影字
来源:不详
作者:佚名
学习:991人次
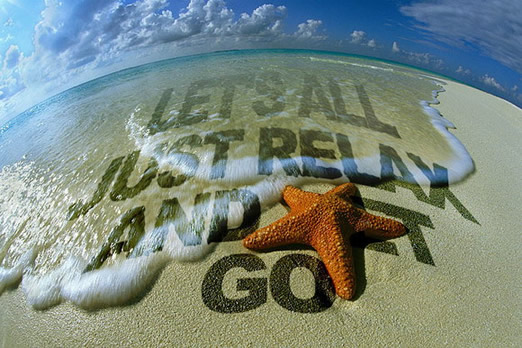
沙滩投影字本文我们用Photoshop在一幅碧海蓝天的海滩图片上添加上超酷的投影字。
先看一下完成效果:
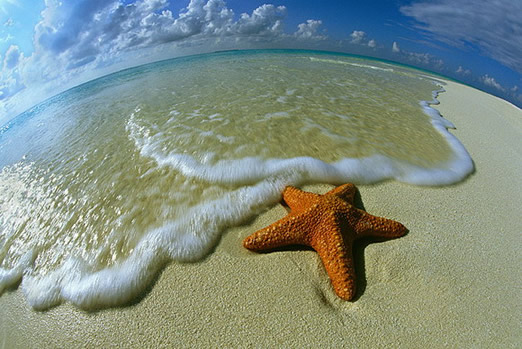
这是原图。
第一步很简单,先把字打上。
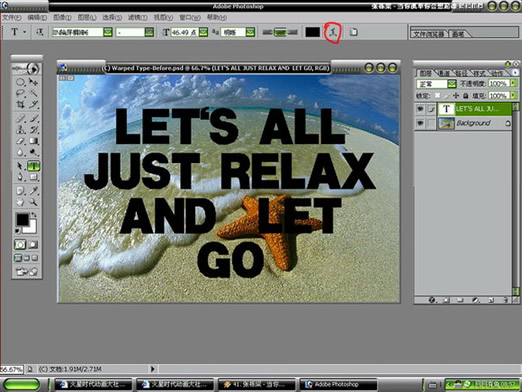
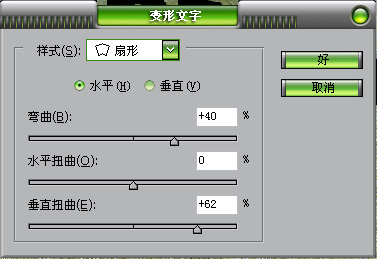
参数根据字体的大小任设置变形。
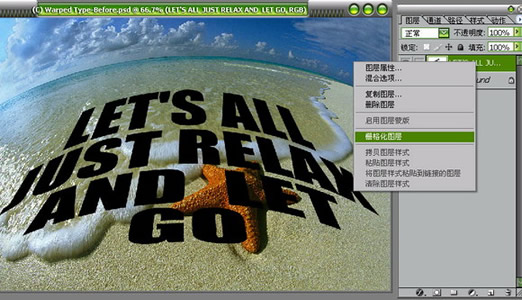
在文字图层,点右键,删格化图层。
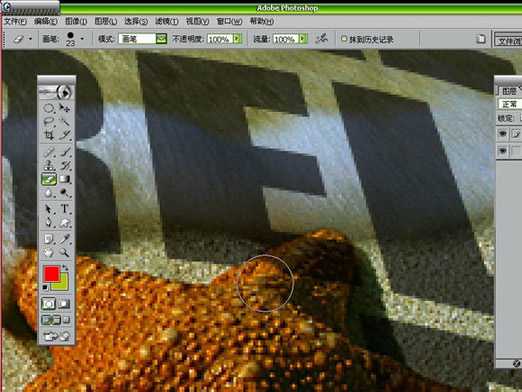
把图放大,选择橡皮工具擦除,所不需要的文字图层,最好把文字的透明度调到70%左右,方便你擦除 。
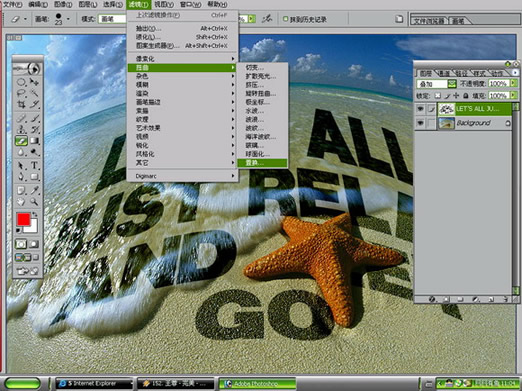
图层方式改为叠加。
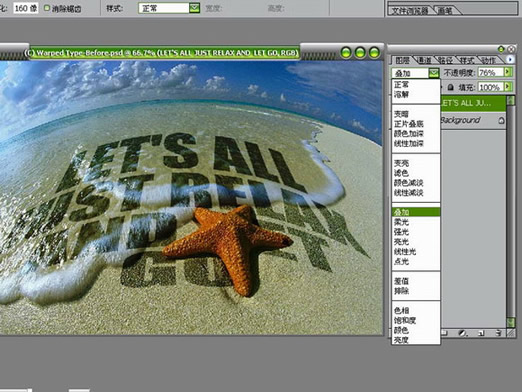
开始羽化远处的文字,八仙过海各显奇能,我只是用其中的一种办法。 就是选择椭圆工具,放大点,羽化设到160,然后点DELETE两下,OK 。
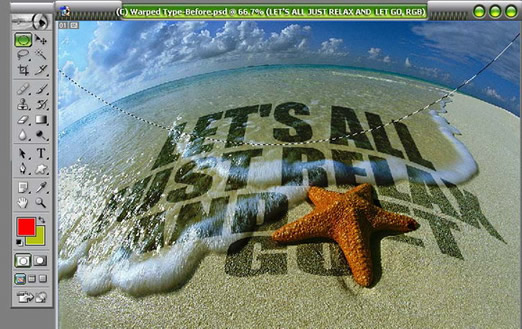
滤镜--扭曲---波纹。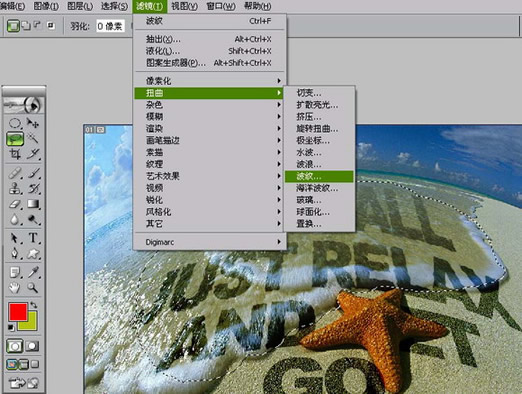
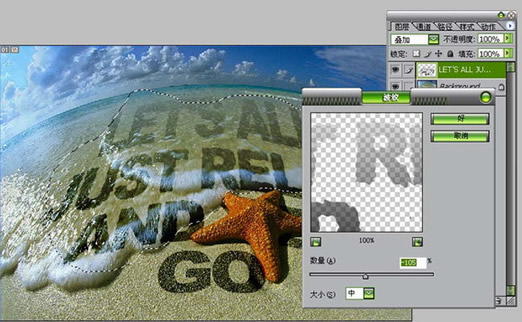
调节波纹数量为 -105 。
最后效果。


先看一下完成效果:
这是原图。
第一步很简单,先把字打上。
参数根据字体的大小任设置变形。
在文字图层,点右键,删格化图层。
把图放大,选择橡皮工具擦除,所不需要的文字图层,最好把文字的透明度调到70%左右,方便你擦除 。
图层方式改为叠加。
开始羽化远处的文字,八仙过海各显奇能,我只是用其中的一种办法。 就是选择椭圆工具,放大点,羽化设到160,然后点DELETE两下,OK 。
滤镜--扭曲---波纹。
调节波纹数量为 -105 。
最后效果。
学习 · 提示
相关教程
关注大神微博加入>>


网友求助,请回答!