一步实现:Photoshop图片梦幻叠加
来源:不详
作者:佚名
学习:493人次
一步实现:Photoshop图片梦幻叠加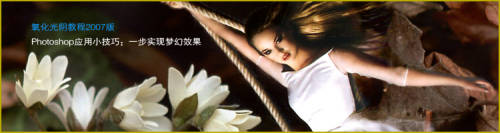
来源: 火星时代

看了很多图片半透明叠加的教程,总觉得过于复杂,工具应当是提高效率的,这里介绍一个用Photoshop迅速实现梦幻叠加的小技巧。
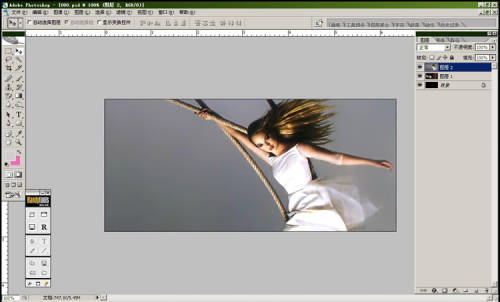
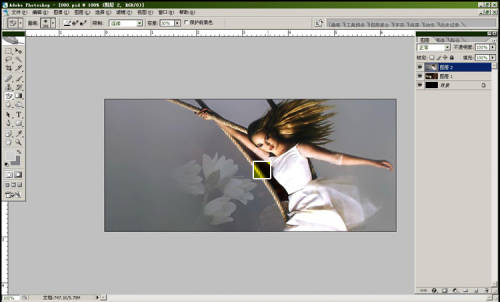
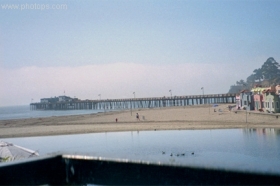
1、调入前景图片
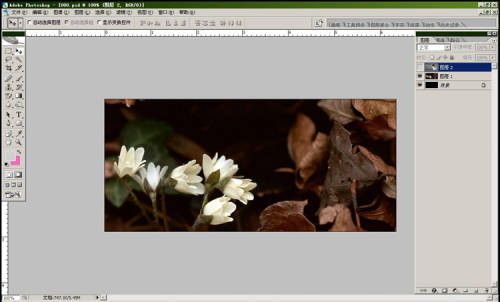
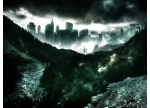
2、打开背景图片
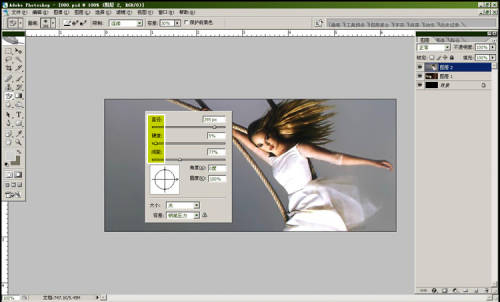
3、选择工具面板橡皮工具中的“背景橡皮擦工具”,调整各项参数。
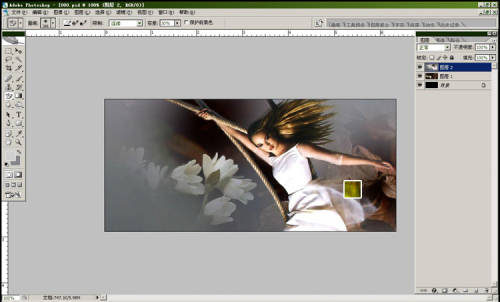
4、擦除。
5、实现半透明效果要注意调整工具圆心与物体之间的距离。
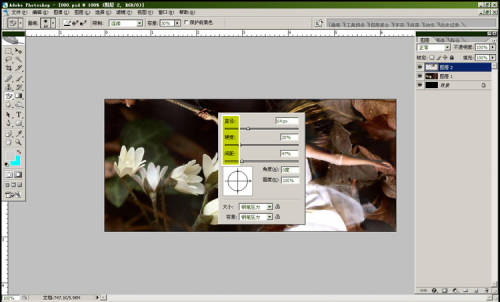
6、大面积背景色被擦除后,有些边缘会有像素残留,调整橡皮的尺寸、硬度进行细部处理。
处理技巧和要点:
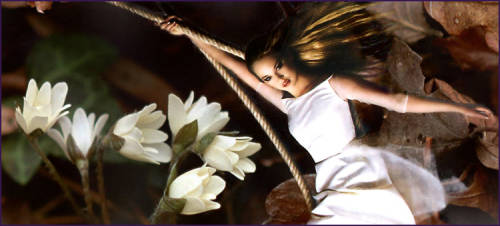
本方法适用于背景色相对简洁的前景图片叠加处理,如果是复杂图片则需用其他抠图方法来处理。
对于半透明的部分可以在扣图时保留背景色,结合背景橡皮擦工具处理,注意参数的调整。
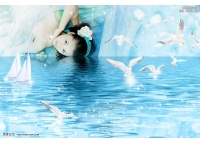
最终效果:
来源: 火星时代
学习 · 提示
相关教程
关注大神微博加入>>


网友求助,请回答!