PS合成绚丽的潮流星光美女插画(13)
来源:活力盒子
作者:汤汤
学习:1462人次
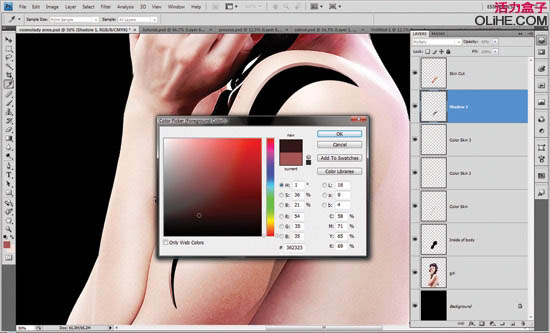
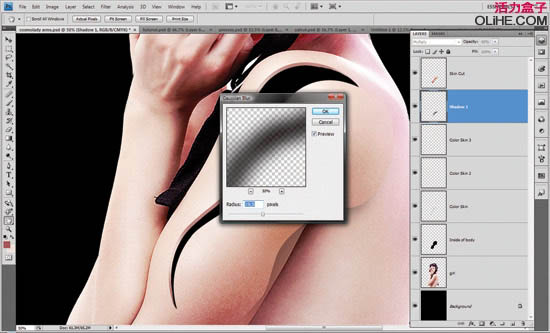
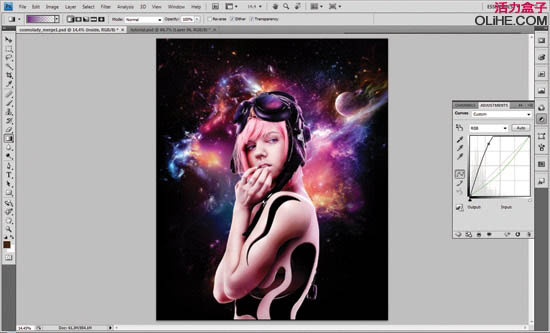
22、我们需要在形状的底部添加一些阴影来整合整个图像。参照我们的截图。
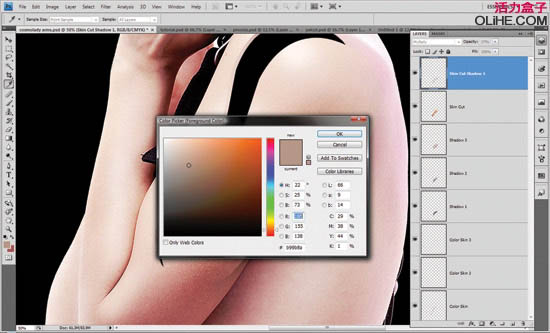
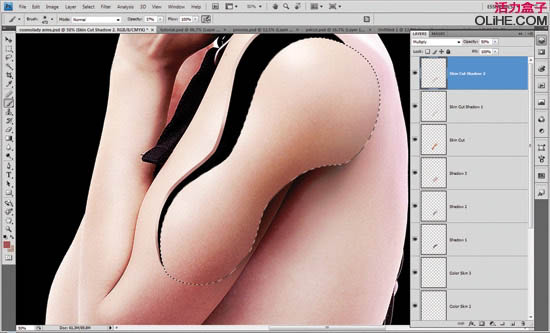
23、重复步骤19~22,在美女身上创建更多的洞。

24、使美女产生更强烈的立体感。创建4个曲线调整图层(2 个为阴影,1个为高光,1个为眼睛的颜色),重复相同的图层蒙版技术和笔刷描绘。


23、重复步骤19~22,在美女身上创建更多的洞。
24、使美女产生更强烈的立体感。创建4个曲线调整图层(2 个为阴影,1个为高光,1个为眼睛的颜色),重复相同的图层蒙版技术和笔刷描绘。
学习 · 提示
相关教程
关注大神微博加入>>


网友求助,请回答!