制作漂亮方便的相册模板--模板应用实例教程
来源:不详
作者:佚名
学习:5717人次
制作漂亮方便的相册模板--模板应用实例教程网上的高手很多,但也有不少和我一样是刚入门的初学者的,常常有人问:怎么利用现成的模板做出简单而漂亮的相册呢?这就是我做这个Photoshop教程的初衷,方法比较简单,适合初学者。
我的相册模板是利用Photoshop蒙板做的
完成后的效果图如下:

模板的效果图:

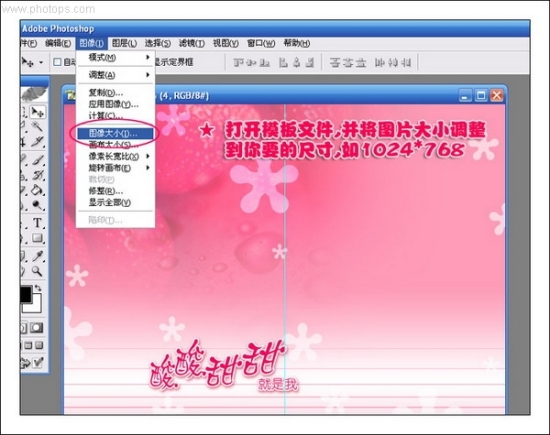
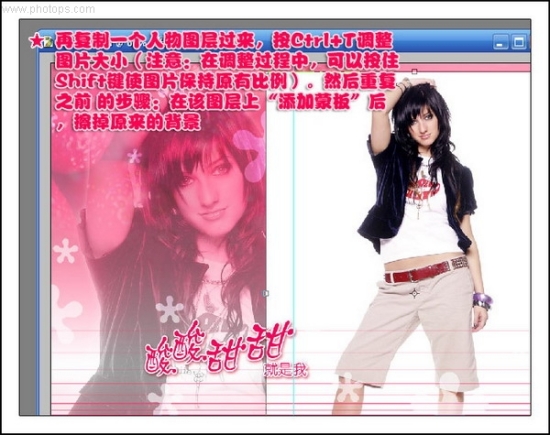
步骤一
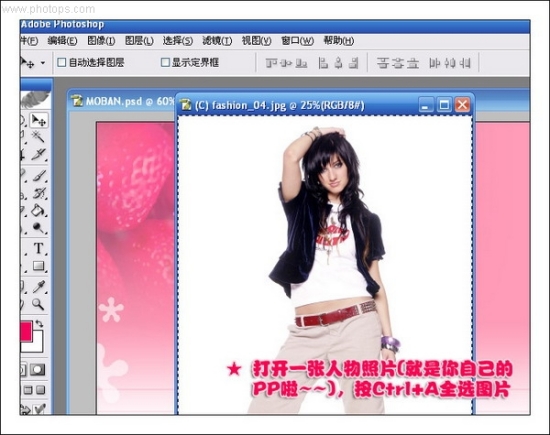
步骤二
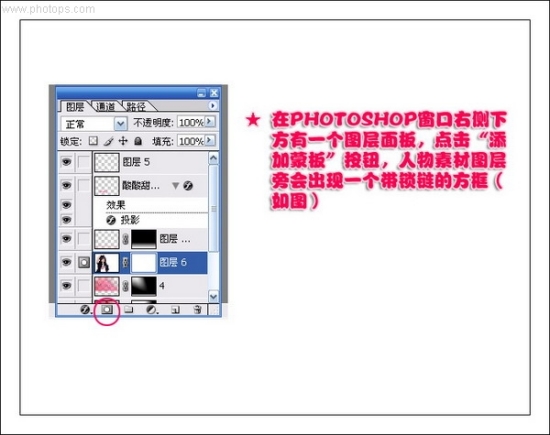
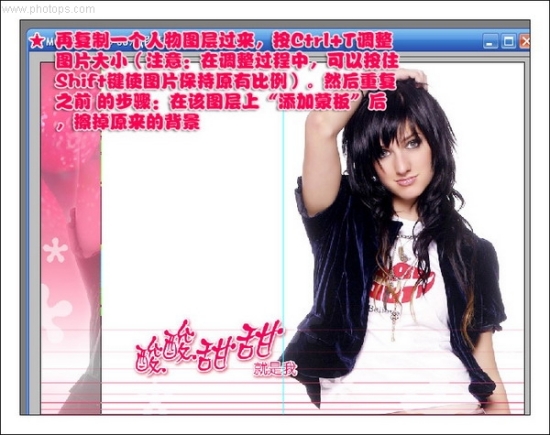
步骤三

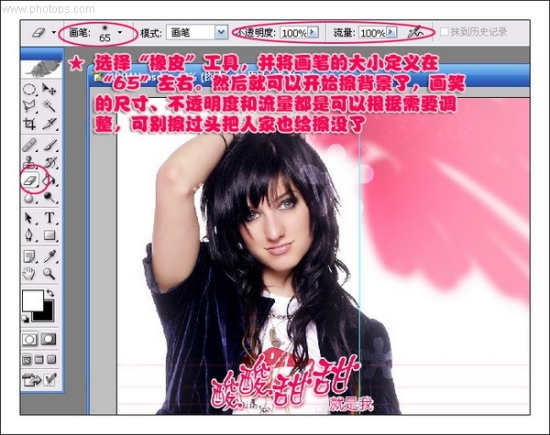
步骤四

步骤五
步骤六
步骤七

步骤八

步骤九
步骤十
我擦!我擦!我擦擦擦!!擦到如下的效果就完成了!不过一定要注意调整画笔的大小、不透明度等参数的设置。


我的相册模板是利用Photoshop蒙板做的
完成后的效果图如下:
模板的效果图:
步骤一
步骤二
步骤三
步骤四
步骤五
步骤六
步骤七
步骤八
步骤九
步骤十
我擦!我擦!我擦擦擦!!擦到如下的效果就完成了!不过一定要注意调整画笔的大小、不透明度等参数的设置。
学习 · 提示
相关教程
关注大神微博加入>>


网友求助,请回答!