巧用PS渐变映射打造迷人老照片
来源:不详
作者:佚名
学习:1173人次
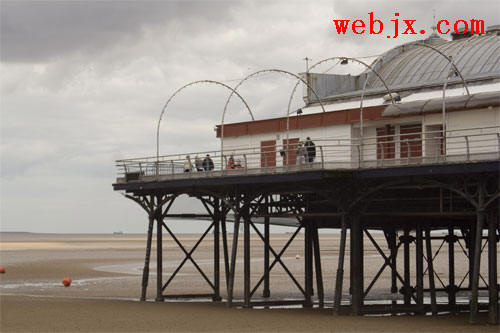
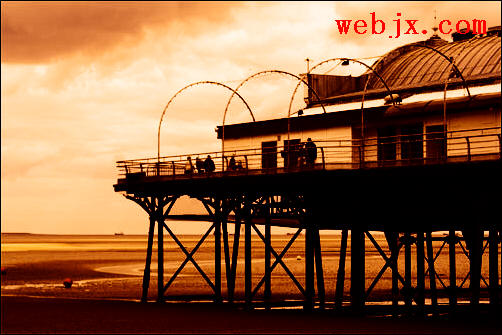
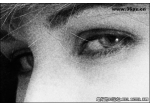
巧用PS渐变映射打造迷人老照片 原图:
打开原图,创建渐变映射调整层
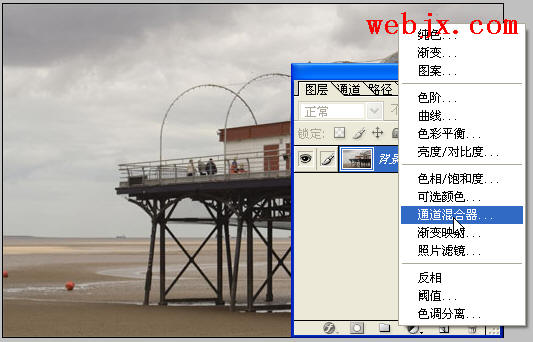
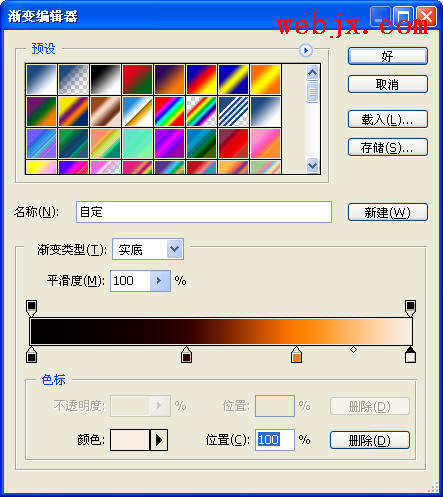
单击进行编辑:

设置颜色为:0%-颜色:#000000,41%-颜色:#330000,70%-颜色:#ff7c00,100%-颜色:#f8eee4
设置图层模式为叠加:
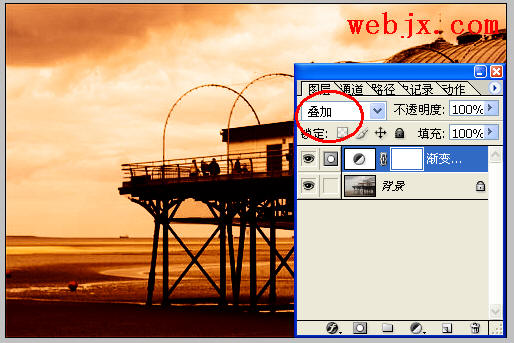
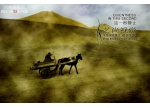
最终效果:
 简单的,我们教你,深奥的,你来分享
打开原图,创建渐变映射调整层
单击进行编辑:
设置颜色为:0%-颜色:#000000,41%-颜色:#330000,70%-颜色:#ff7c00,100%-颜色:#f8eee4
设置图层模式为叠加:
最终效果:
简单的,我们教你,深奥的,你来分享学习 · 提示
相关教程
关注大神微博加入>>


网友求助,请回答!