Photoshop打造韩式风格教程之油画风格
来源:不详
作者:佚名
学习:1244人次
Photoshop打造韩式风格教程之油画风格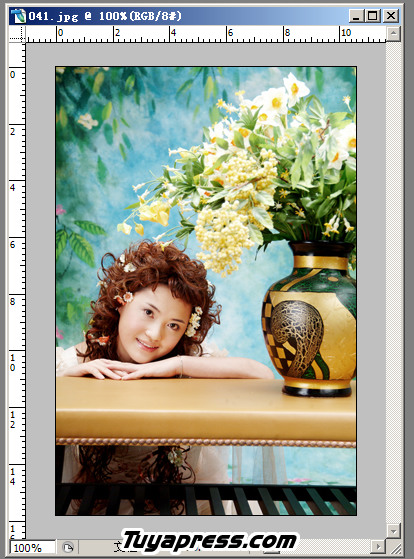

一直没时间,让很多朋友失望了,现在抽出了点时间,但愿能每周发一个教程^^
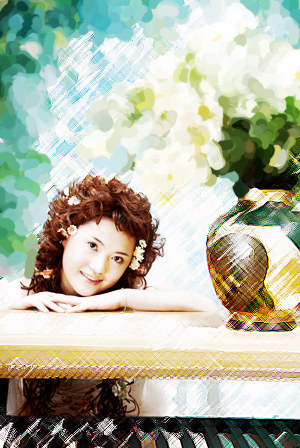
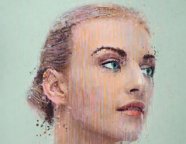
首先打开一张照片
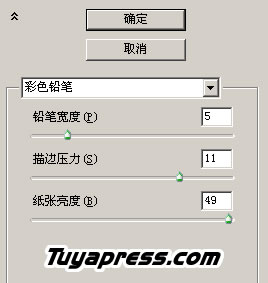
然后,滤镜 >>艺术效果 >>彩色铅笔
参数如图
确定
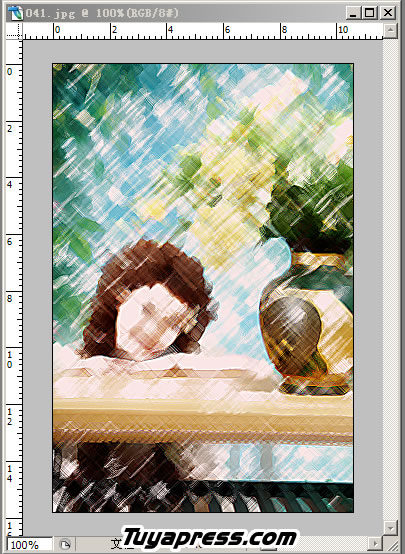
选择工具栏中的“历史笔刷” 选择合适的大小,对图中的人物进行涂鸦
你会发现,人物变清晰了
其实现在的效果也不错
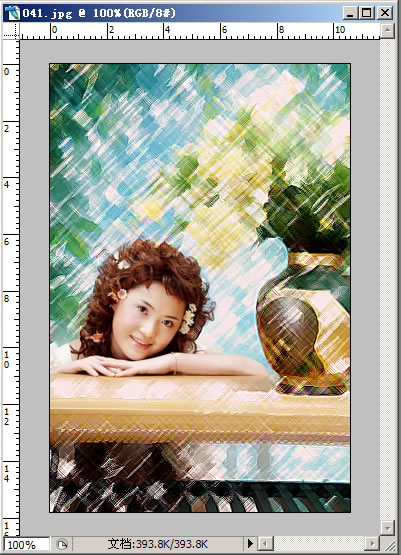
选择工具栏中的“艺术笔刷” 选择合适的大小,对图中的背景适当涂鸦
最终效果:
学习 · 提示
- 发评论 | 交作业 -
最新评论
s2xi2009-10-05 09:00
2# 啃草的兔子 哇,那么直接说查查啊,说明您的技术挺不错的哦,那就露2手啊,不要光说不做哦,photoshop:0101
回复
相关教程
关注大神微博加入>>


网友求助,请回答!